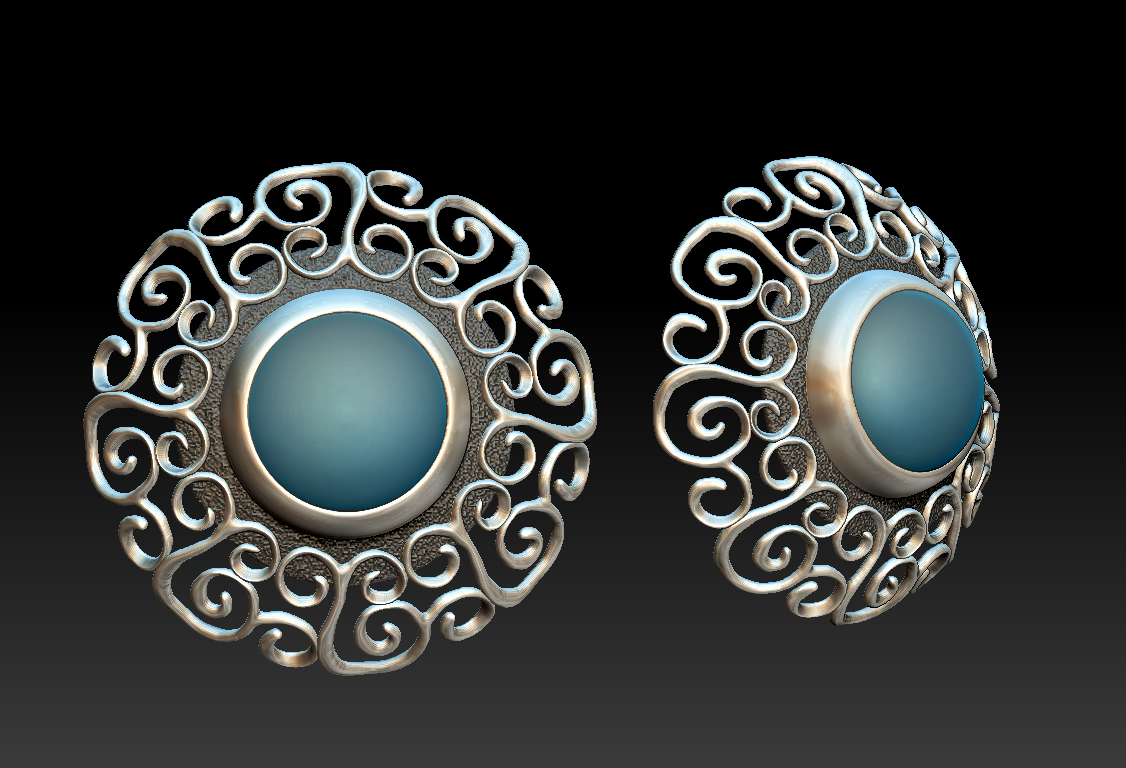
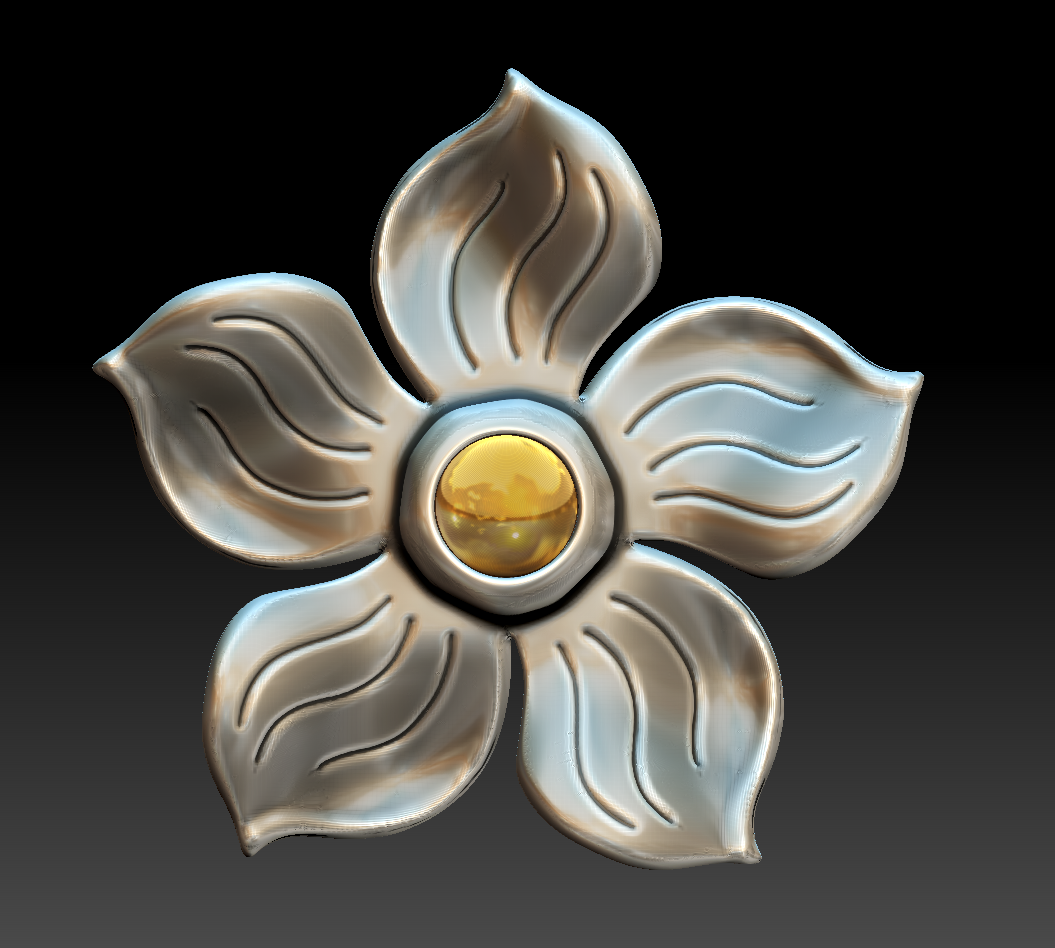
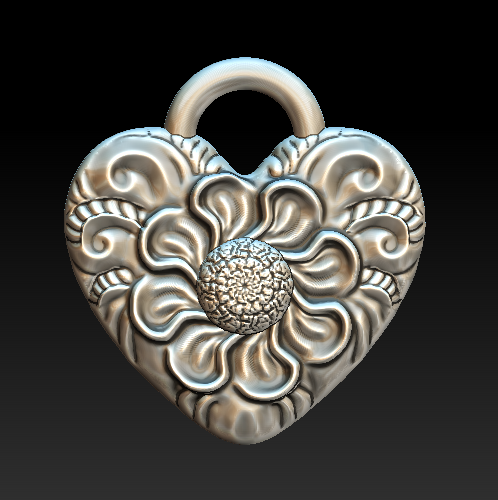
I'm just putting this experimental earring up here because I think it turned out pretty cool! Created in the new ZBrush Core.
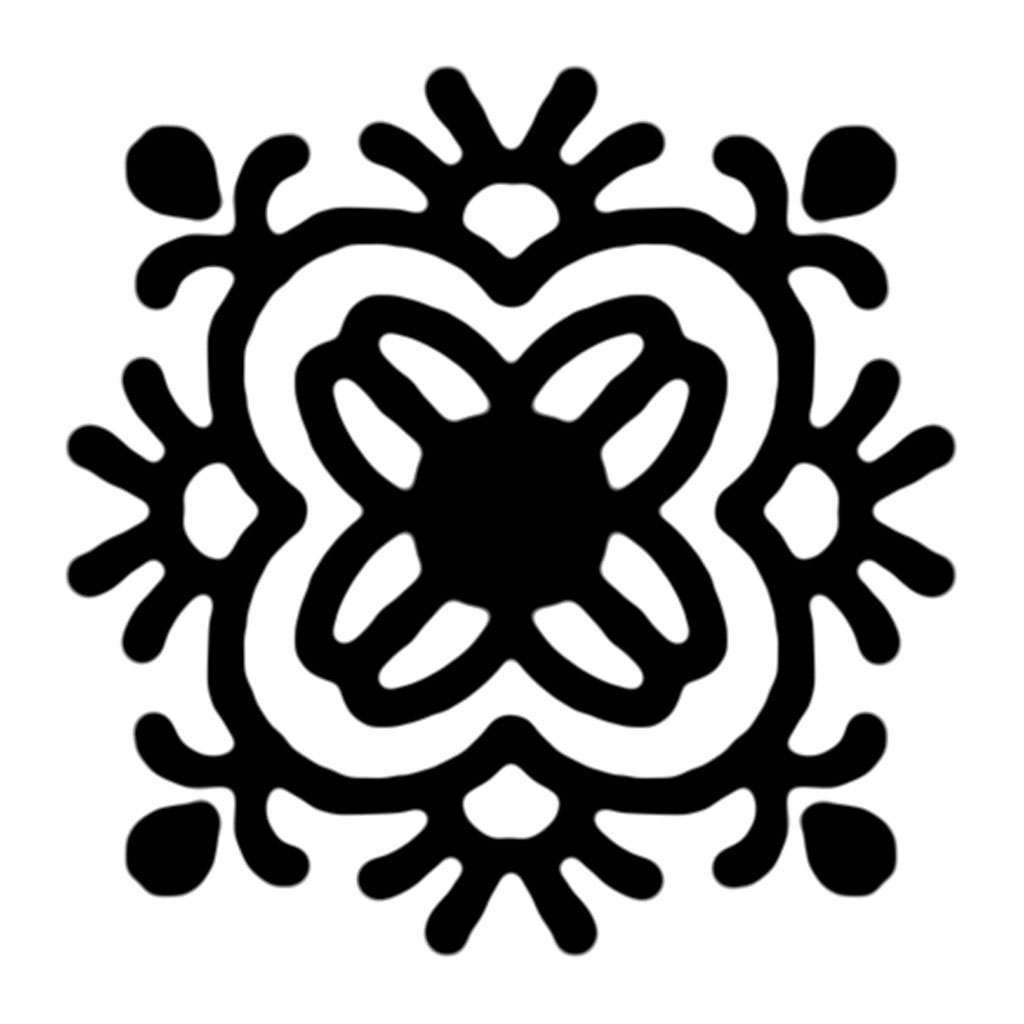
I used a kaleidoscope drawing program that I found on the internet to make the basic design, used the Gaussian Blur tool in Photoshop to blur the jagged edges, then Unsharp Mask to bring it back into focus. The design was then brought into ZBrush as an alpha mask, turned into a polygroup, isolated, then extracted. The resulting mesh was then Dynameshed so it could be sculpted, then divided (using Subdivisions and the Divide function) to give a finer mesh for sculpting.
UPDATE: I’m now using iOrnament on the iPad with the Apple Pencil as a design tool for repeating patterns and mandalas. It eliminates the problem of having to blur the image and sharpen…just use AirDrop and send it over to your computer!
BIG DISCLAIMER: I wouldn't say that this is my best design work, but it was more of an experiment...so carry on.
Rendered image from ZBrush
I used the Helix tool in ZBrush to create the coil on the drop, added some jump rings, then brought in a Cube primitive and Dynameshed it so I could draw a mask and create the darker supports that would recess into the background after a patina was applied. The original supports were straight. The curls add a nice touch that mirrors the swirls on the main design.
By the way...using the MRGB function in ZBrush, you can "paint" different areas to mimic the patination applied during finishing. Just choose a material, and change the color to a darker gray. This behaves a little differently than using the "dirty" silver MatCap material, and results in a more dramatic presentation of the finished piece.
UPDATE: When this earring was printed and cast, it was too thick and too heavy. Thanks to the technology, I was able to shrink the thickness, enhance the scrolls, and reprint. The great thing about having a printer on your workbench is being able to make adjustments and test techniques.
The models with supports added, ready to print. This version was too thick and too heavy.
