I’m pleased to let everyone know that here shortly I’ll be introducing my new full-length ZBrush jewelry course at www.zbrushjewelry.com. If you’re interested in being notified when I go live, sign up here.

and now for something completely different...rendering??
So earlier this week I made the mistake of downloading the trial of something called Keyshot. Here’s the deal…when you model something in ZBrush, or any basic CAD program, it doesn’t look like a photo. If you watch those home shows on HGTV, they’ll show a CAD drawing of the home, but it’s not until later that they show the fancy, more-realistic view. That’s an extra step that can take a lot of time and some expensive hardware and software. And that’s how movie studios get realistic animated creates…they’re all RENDERED, adding some photo-realism.
(click to enlarge) Using Nanomesh in ZBrush as a test to make a pavé ring…
I had heard that ZBrush has a partner in crime when it comes to making that photorealistic stuff…but I also heard it was almost $1800! For “real” jewelers who sell expensive jewelry, they probably don’t bat an eye at that price. But for someone making casual lifestyle jewelry, that’s almost as much as a 3D printer.
I knew the need was there, though, so I started researching while working on my ZBrush course. I tried Blender, which is free, but OMG…it made my head hurt. Maybe Keyshot was more user-friendly? (Hint: It’s almost a religious debate among CAD folks…) Might as well know something about it. That was a mistake…I’m hooked. Do I really ever have to physically make jewelry again? This CAD thing is SO MUCH CLEANER! I’ll just look at my stuff on the screen and imagine I made it. But I guess that’s cheating future archeologists!
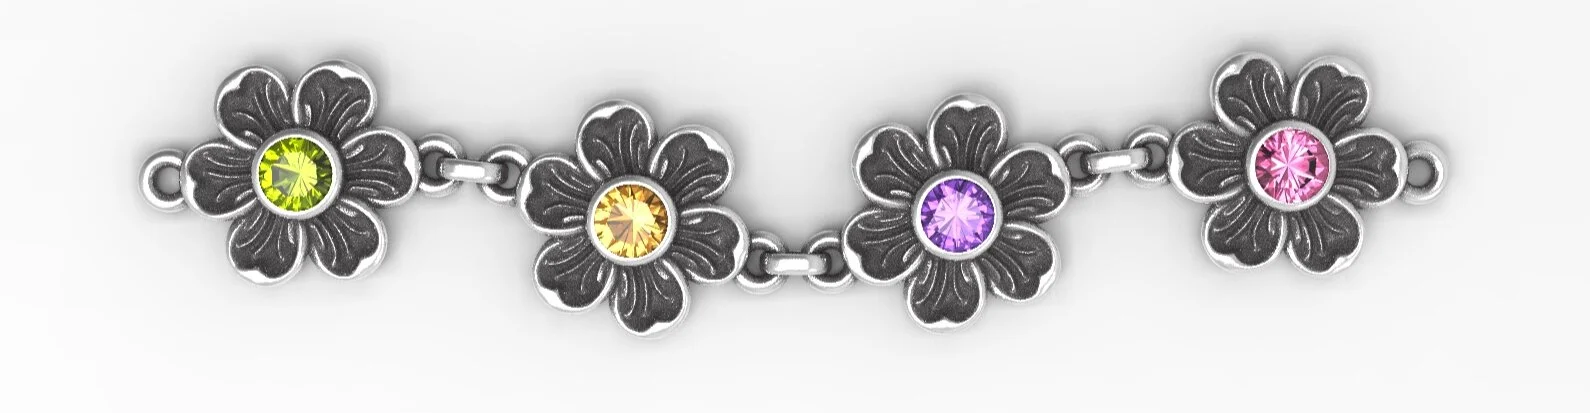
So here’s the interesting part. That cute little start to a bracelet above? It’s not real. I modeled it in ZBrush and rendered it in Keyshot. It does not exist in a physical form. How will we know what to believe anymore??
Anyway, I realized that I got the price wrong, and that there is a version specifically for users of ZBrush that’s $200, then there’s something called the ZBrush to Keyshot Bridge that costs another $149. At least I’m hoping that’s what it costs. I MUST have this. Forget designer shoes!
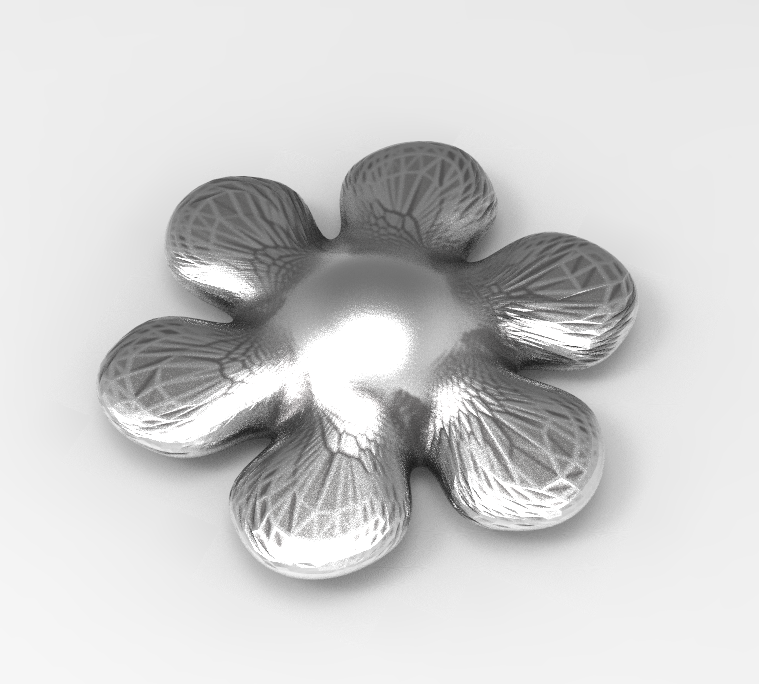
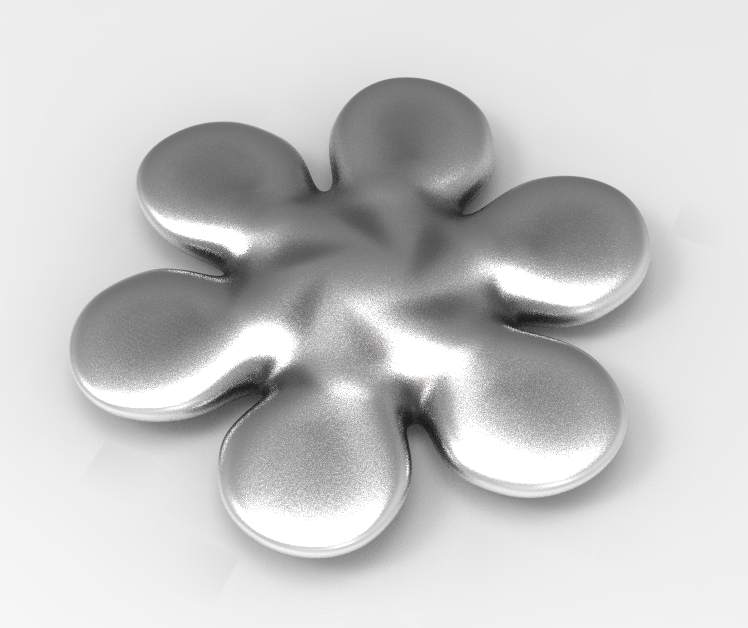
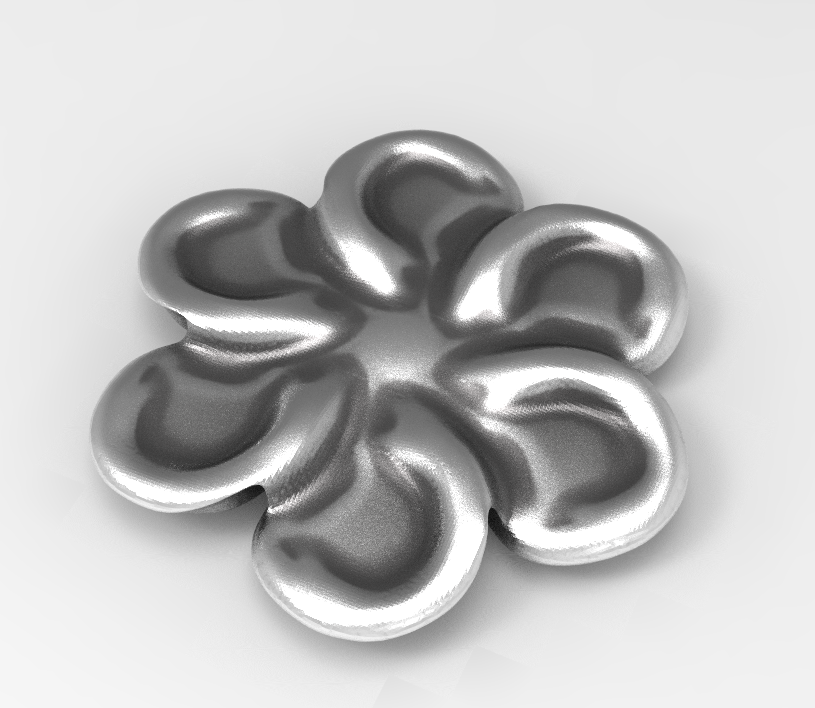
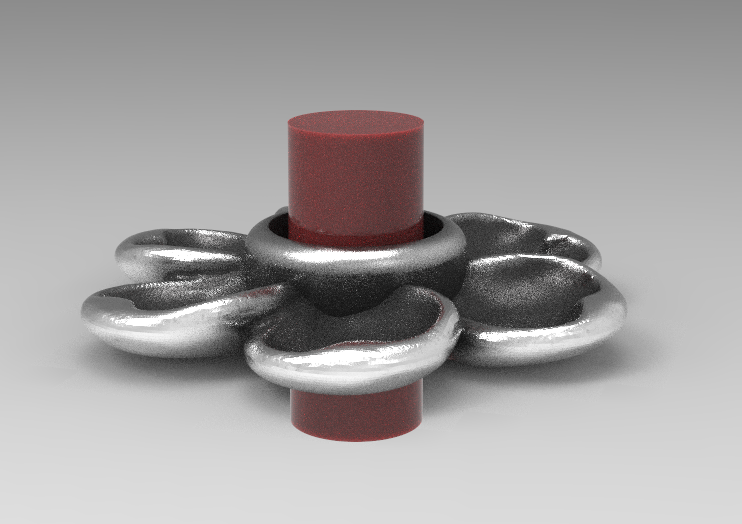
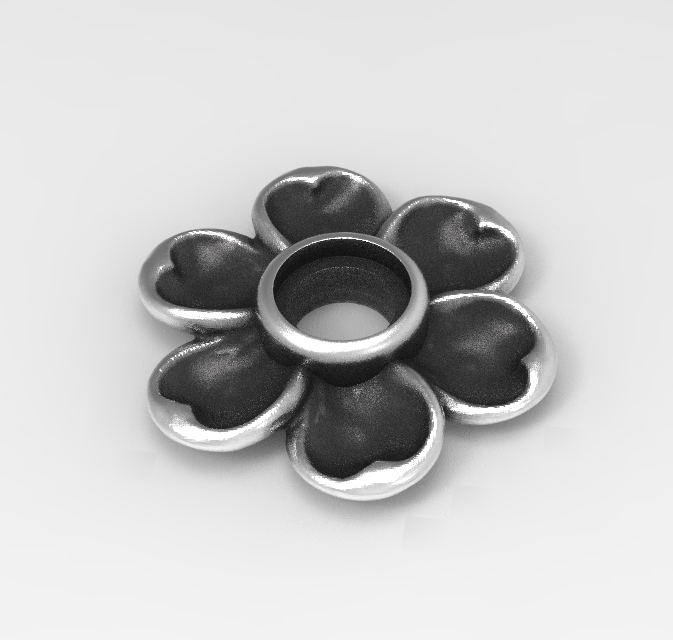
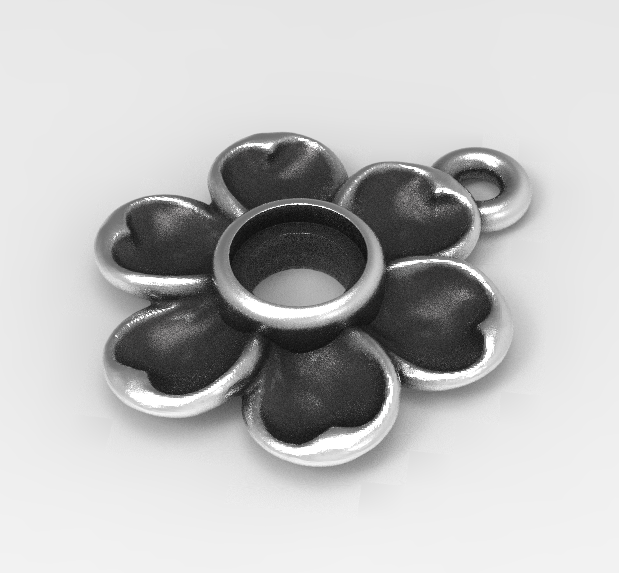
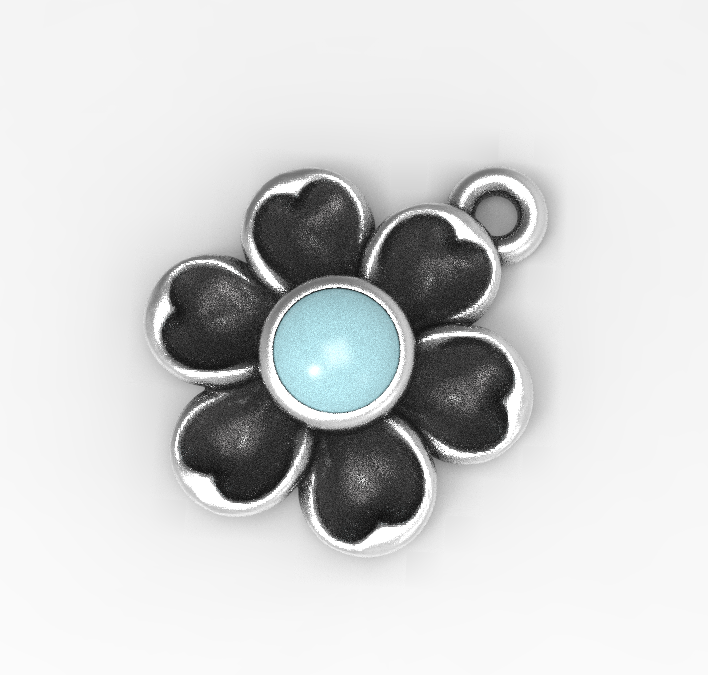
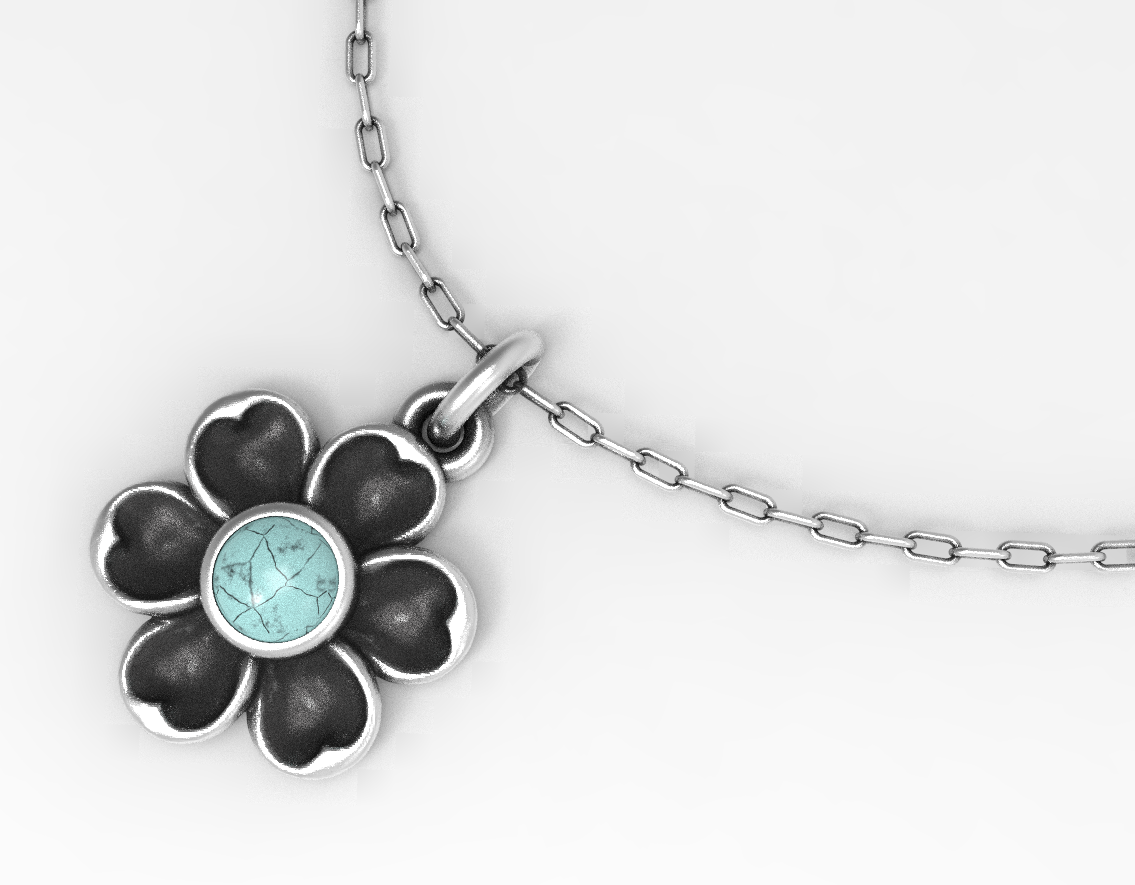
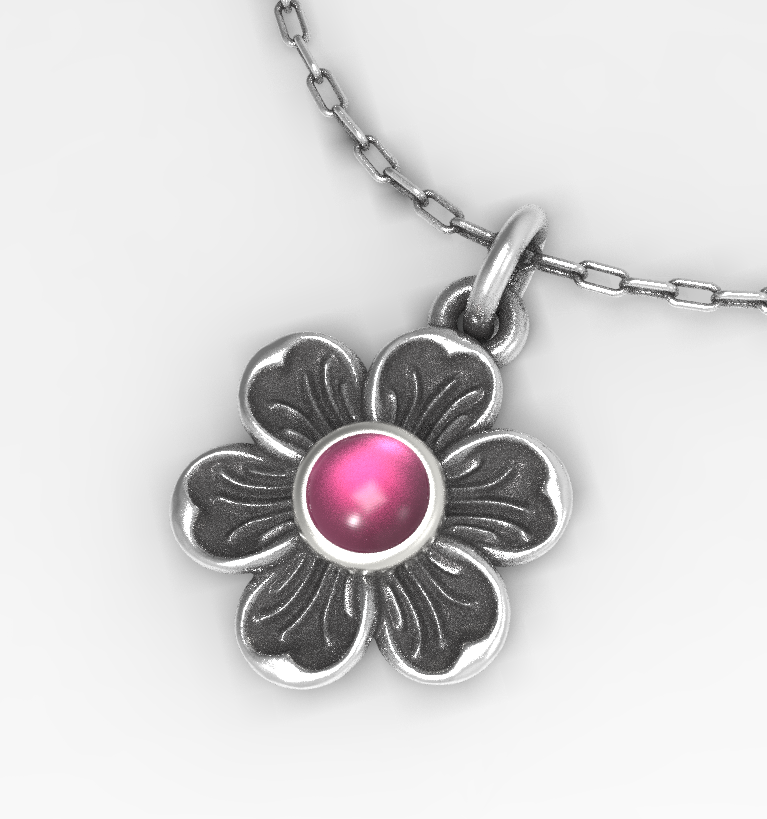
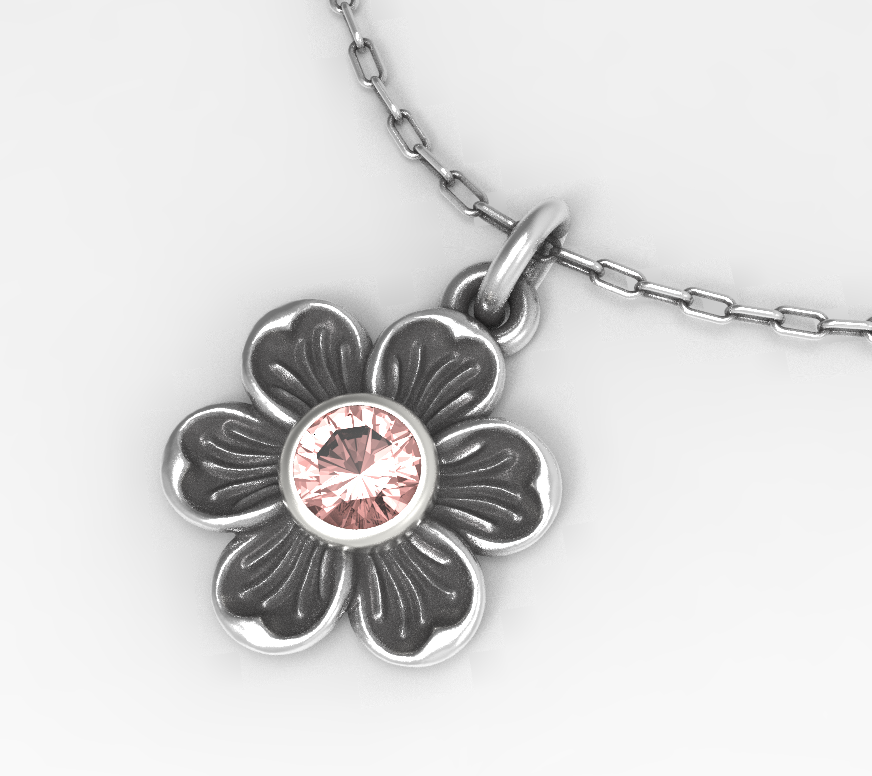
And it’s super late…like 2:47 a.m. on a Saturday, but I couldn’t stop rendering things…anything I could get my hands on. So I thought you might enjoy seeing the process of making a flower charm. It will be in my upcoming ZBrush course.


Anyway, I’m signing off. Time to actually go to bed.
cost of printing @ Shapeways
I had a really great question from a viewer on my YouTube channel yesterday on the flower eternity band tutorial—how much would it cost to have the ring printed and cast? There are several factors that can affect the overall cost, like the thickness of the band and the type of metal. I wear a similar band to this one, and mine is 1.5mm in thickness and it has never bent out of shape.
I’d only sent models out to Shapeways very early in my ZBrush exploration, and even then I’d only had waxes made. So I had no idea what the answer to this question was…so I created a new ring and got it ready for Shapeways. Mind you, there are other great services out there, but Shapeways has a large variety of materials available.
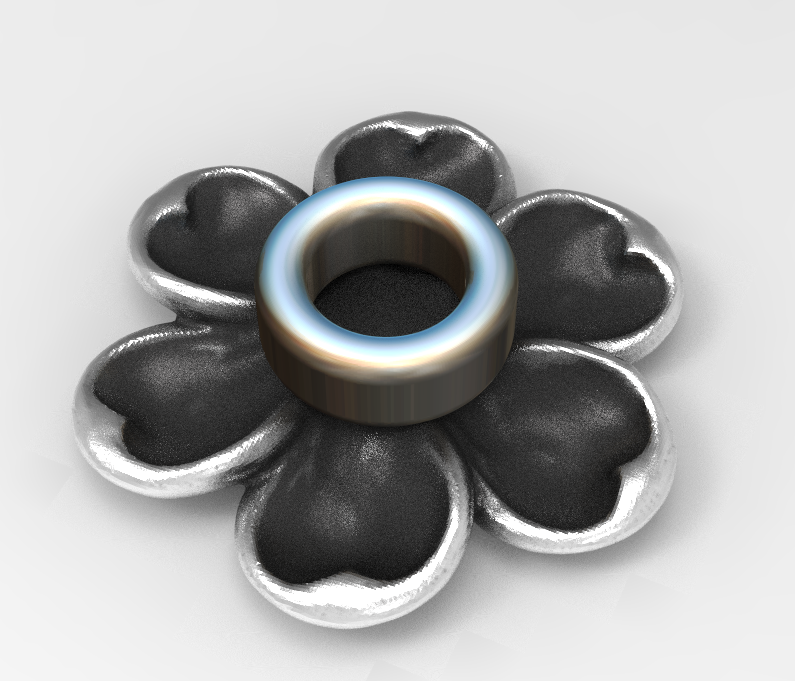
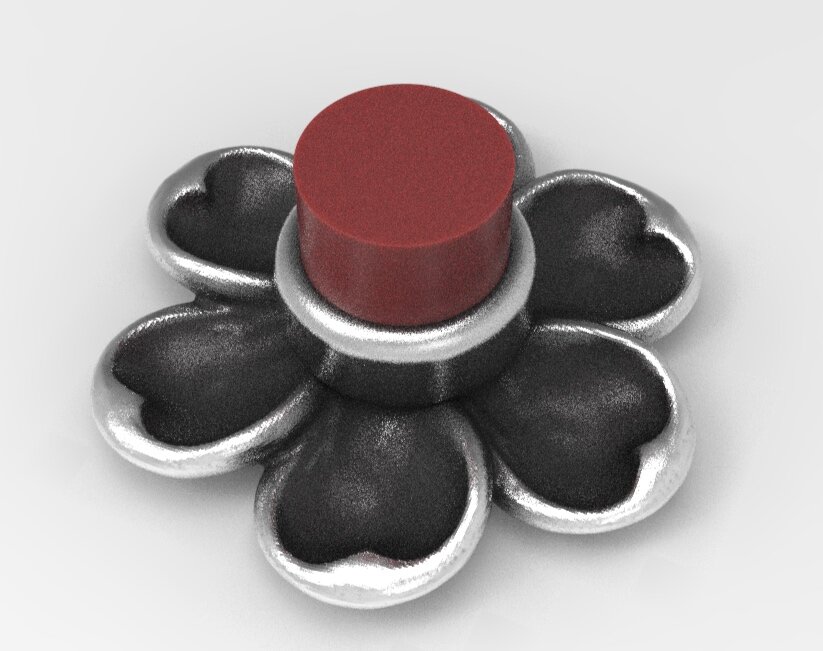
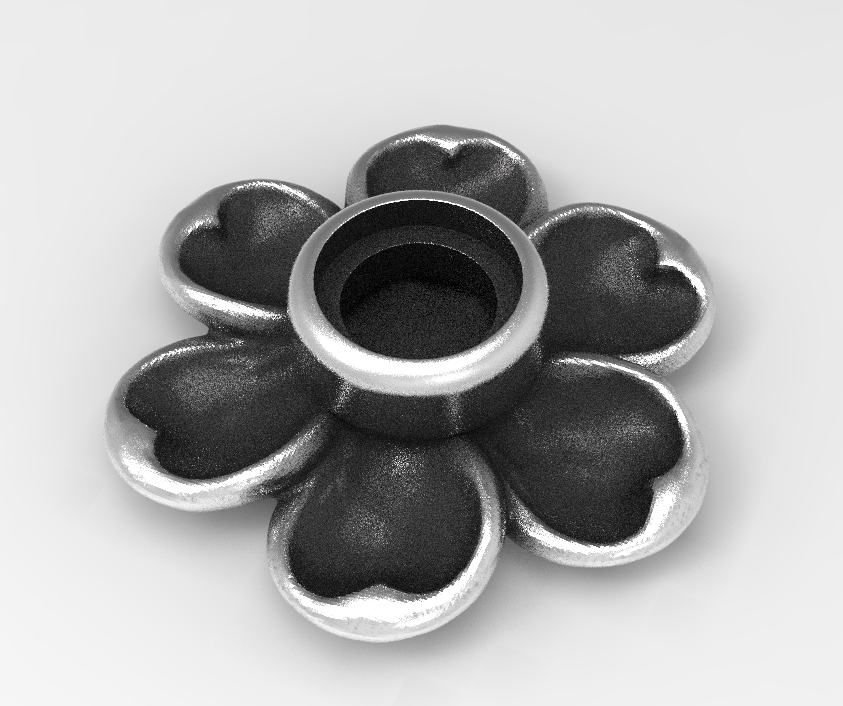
I decided to add a bezel setting to mine with a hole that’s smaller than the stone. I’ll use setting burs and a hammer handset on my Foredom to bezel set the stones. Creating a bezel with a smaller hole gives me flexibility on my stone size. Here are a couple photos of the model in ZBrush:
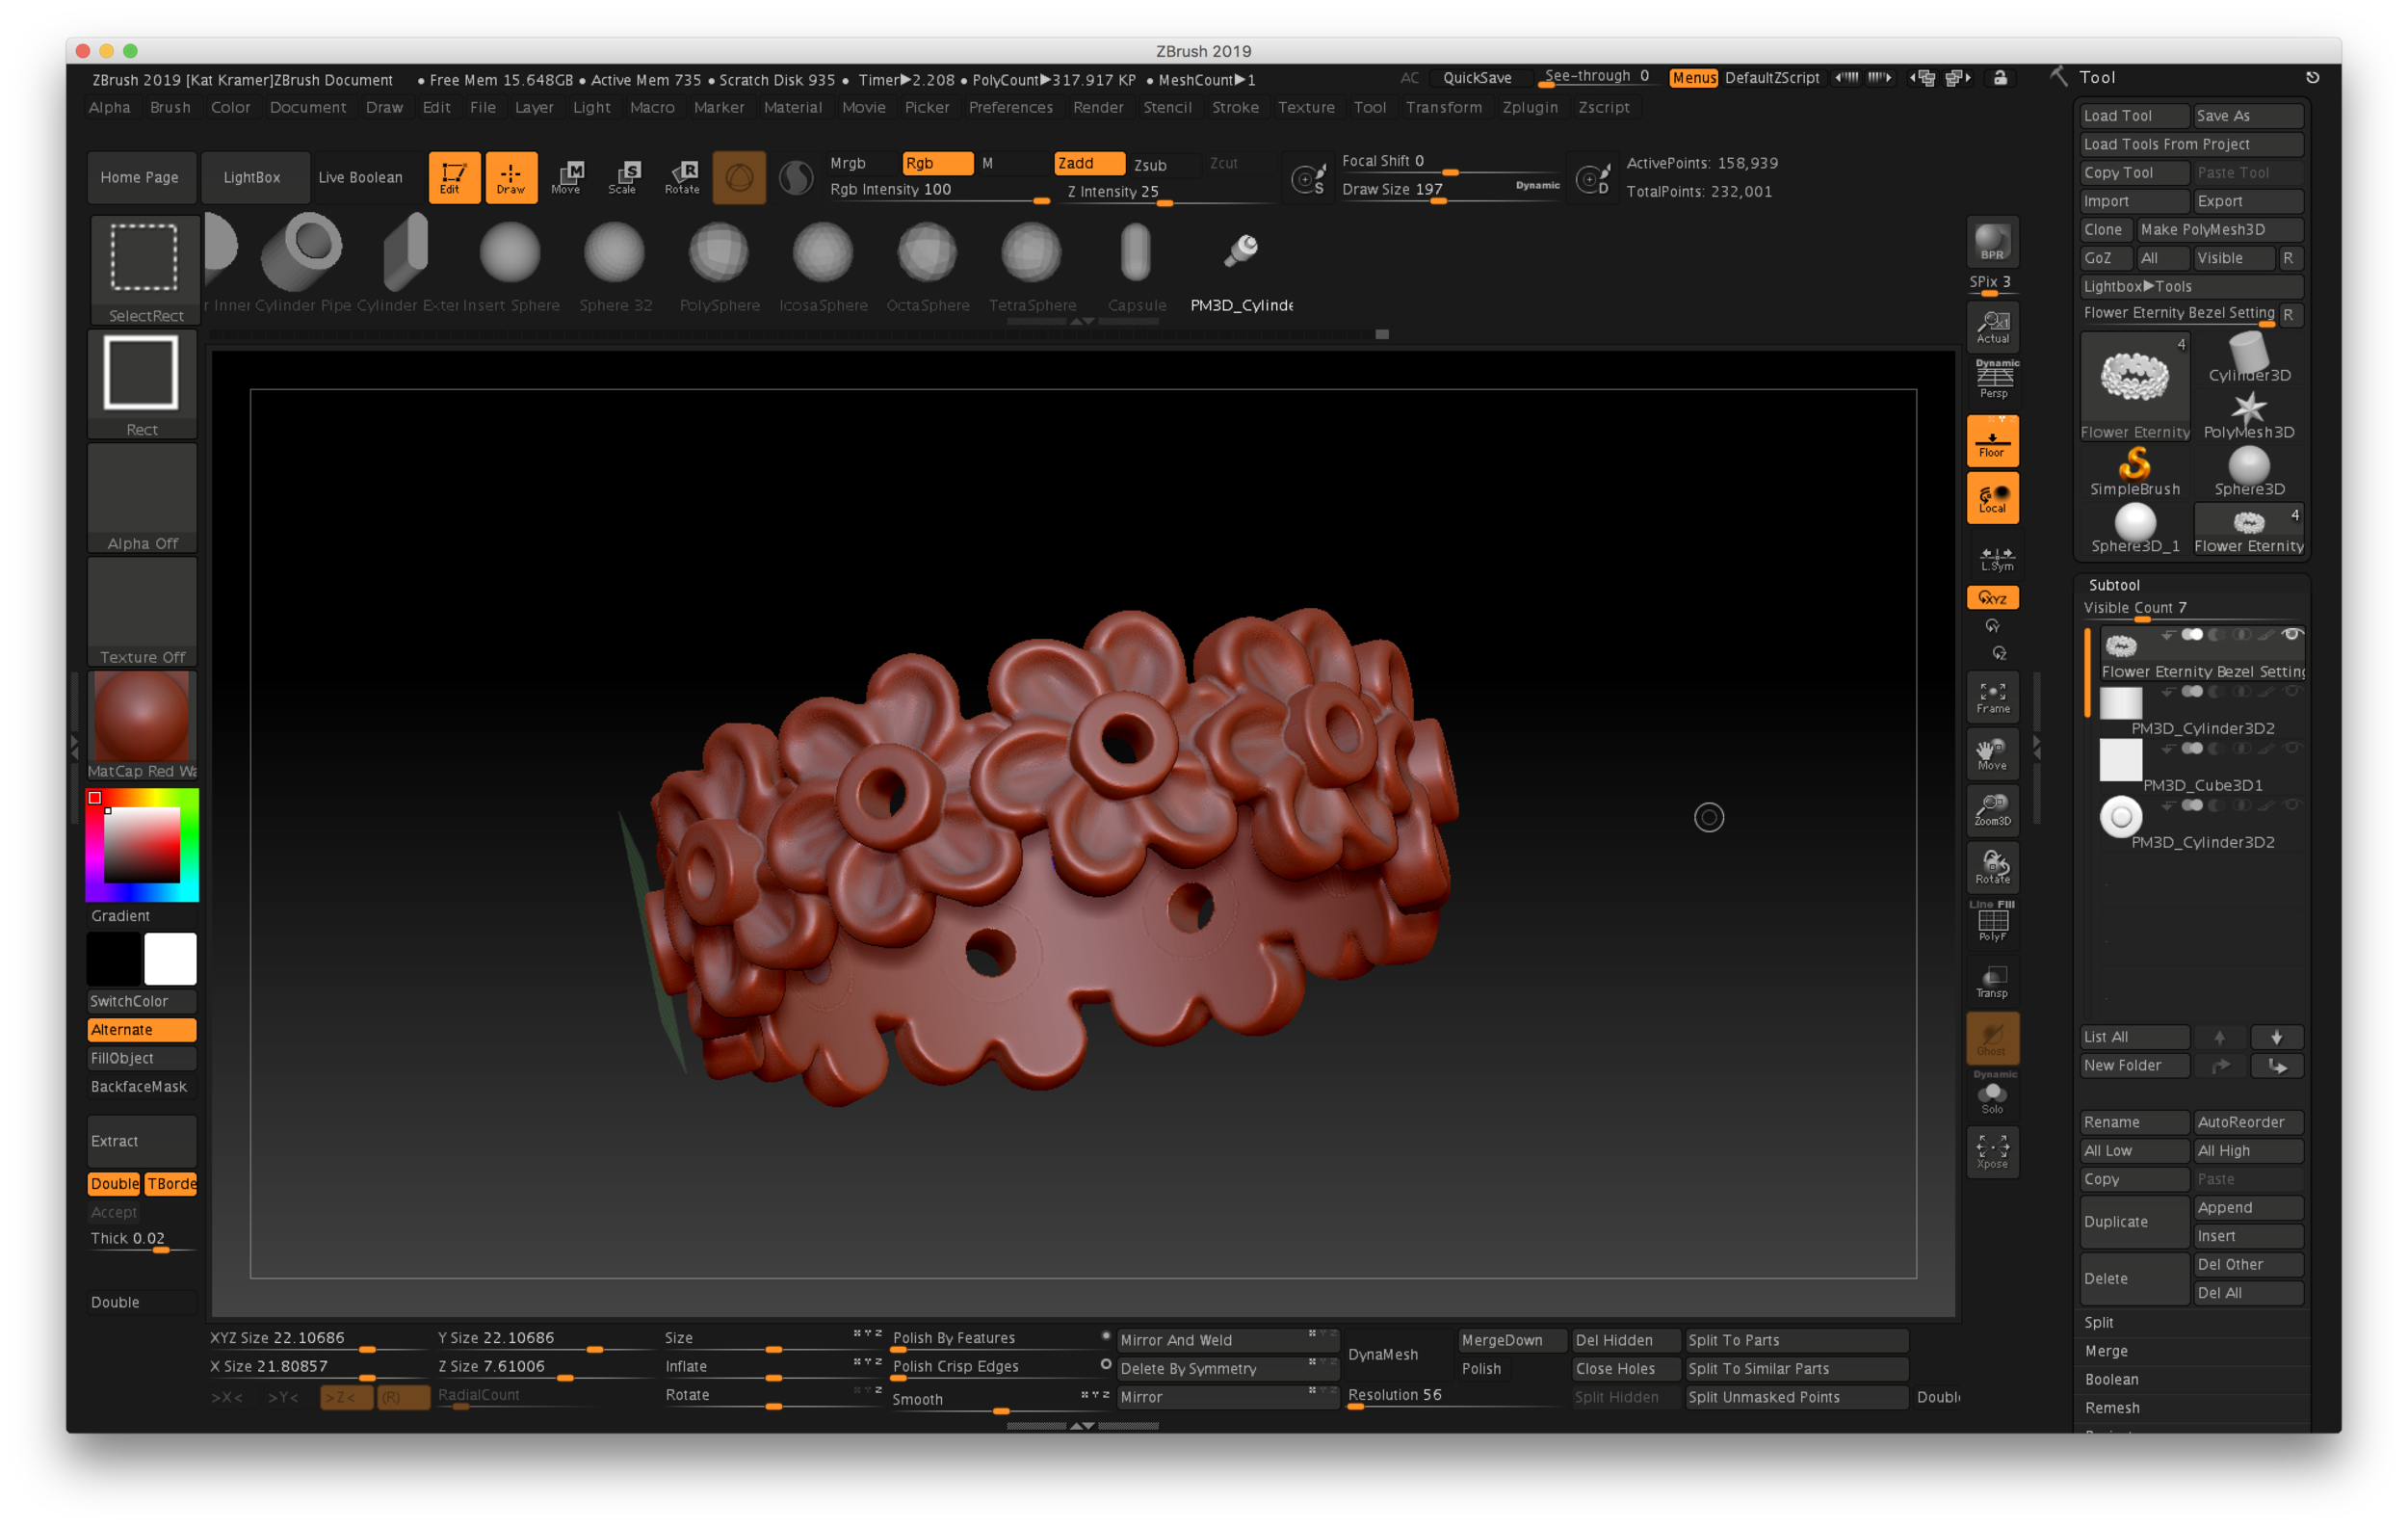
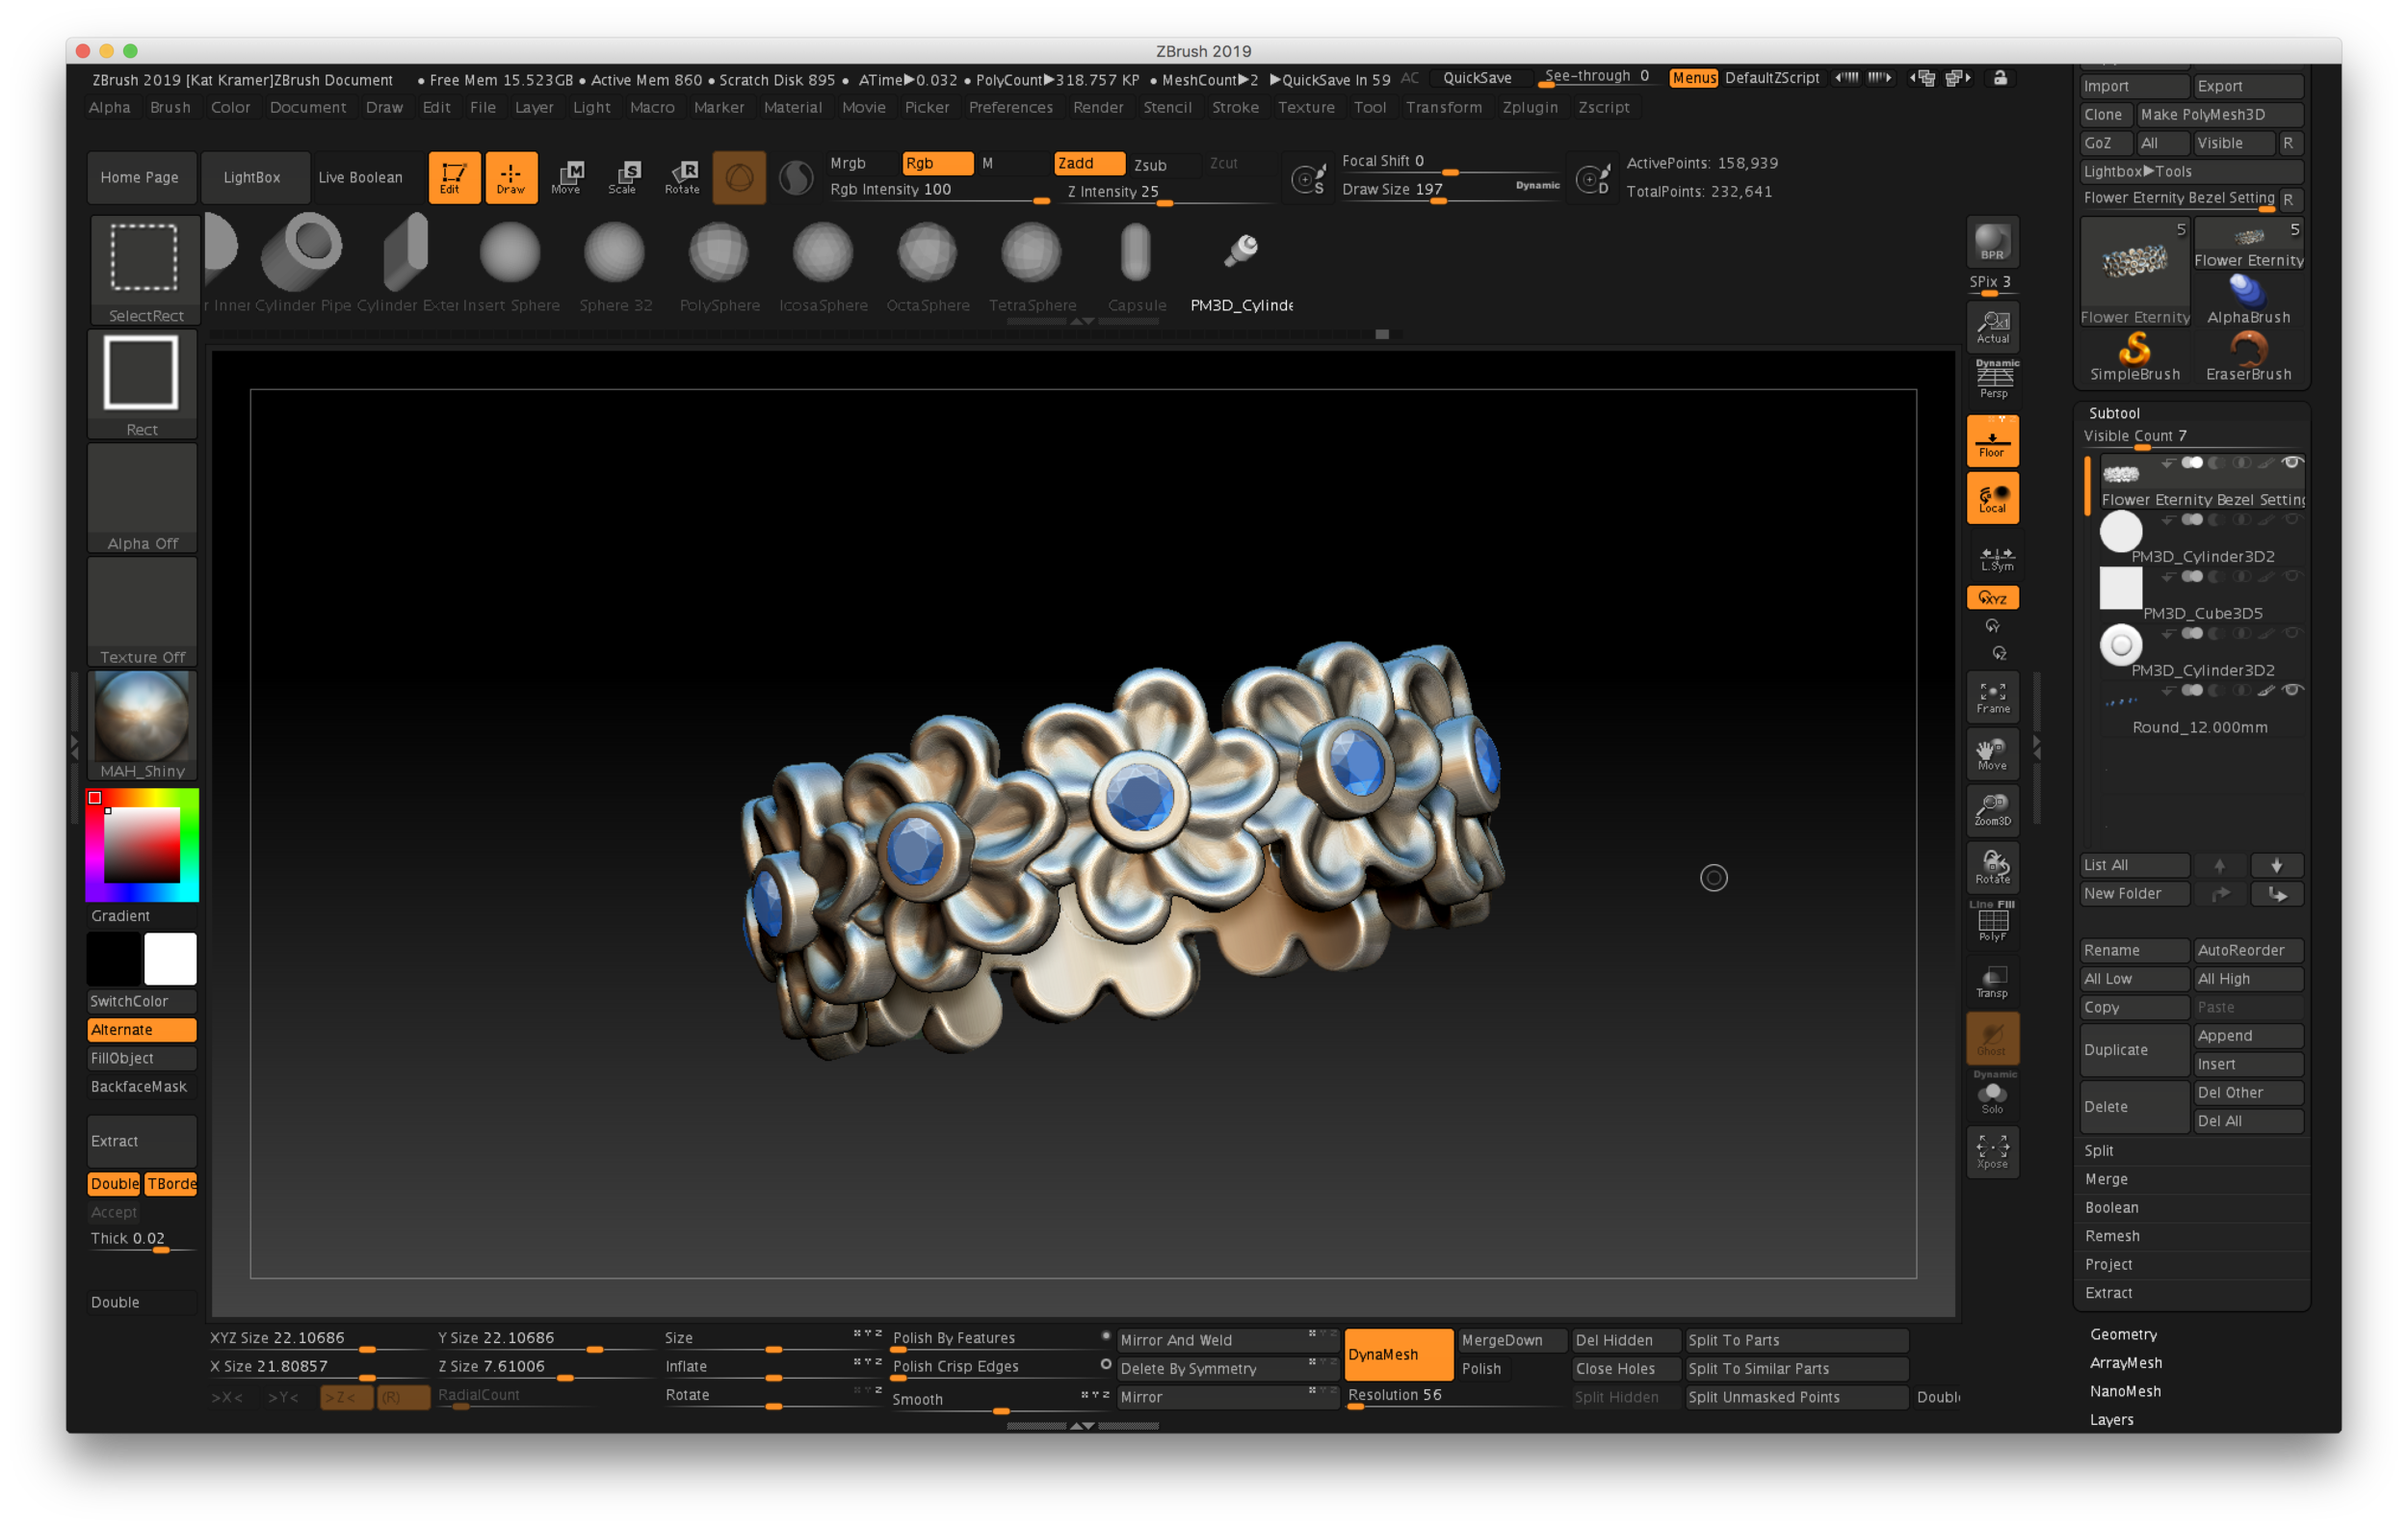
After creating the ring and resizing it to the desired thickness and ring size, I used Decimation Master to lower the overall file size and simplify the mesh. My ring is around a women’s size 8 US.
Make sure that the model you want to export is all in one Subtool—in my model, I had both the bezels and the flower band which needed to be permanently merged. I used Merge Down and re-Dynamesh to an appropriate resolution, which for full-sized rings in the method I use is a resolution of around 56-80. Then I went to the Plugins menu, and located Decimation Master. I always make a mental note of the ActivePoints above the canvas. Mine started out around 780,000 points.
This process has two steps…because you’re only exporting one Subtool, you only need to use Pre-process Current. That step will take a little bit of time, depending on the size of your model and number of ActivePoints. Once you’re done, the ActivePoint count will not change.
Special note about those ActivePoints: I tend to work with models that are a million points or lower…some artists have high-end hardware and love to work in the 12-20 million point range, but since I primarily work on a MacBook, and I hate waiting for my computer to process things, I learned how to work in lower resolutions.
The second step is to Decimate Current, and this is when you will see a change in the ActivePoints. Once the operation was complete on my model, the ActivePoint count dropped down to 158,000, which is a smaller, more efficient file. It’s easily uploaded to Shapeways by using the Export command in the Tool palette.
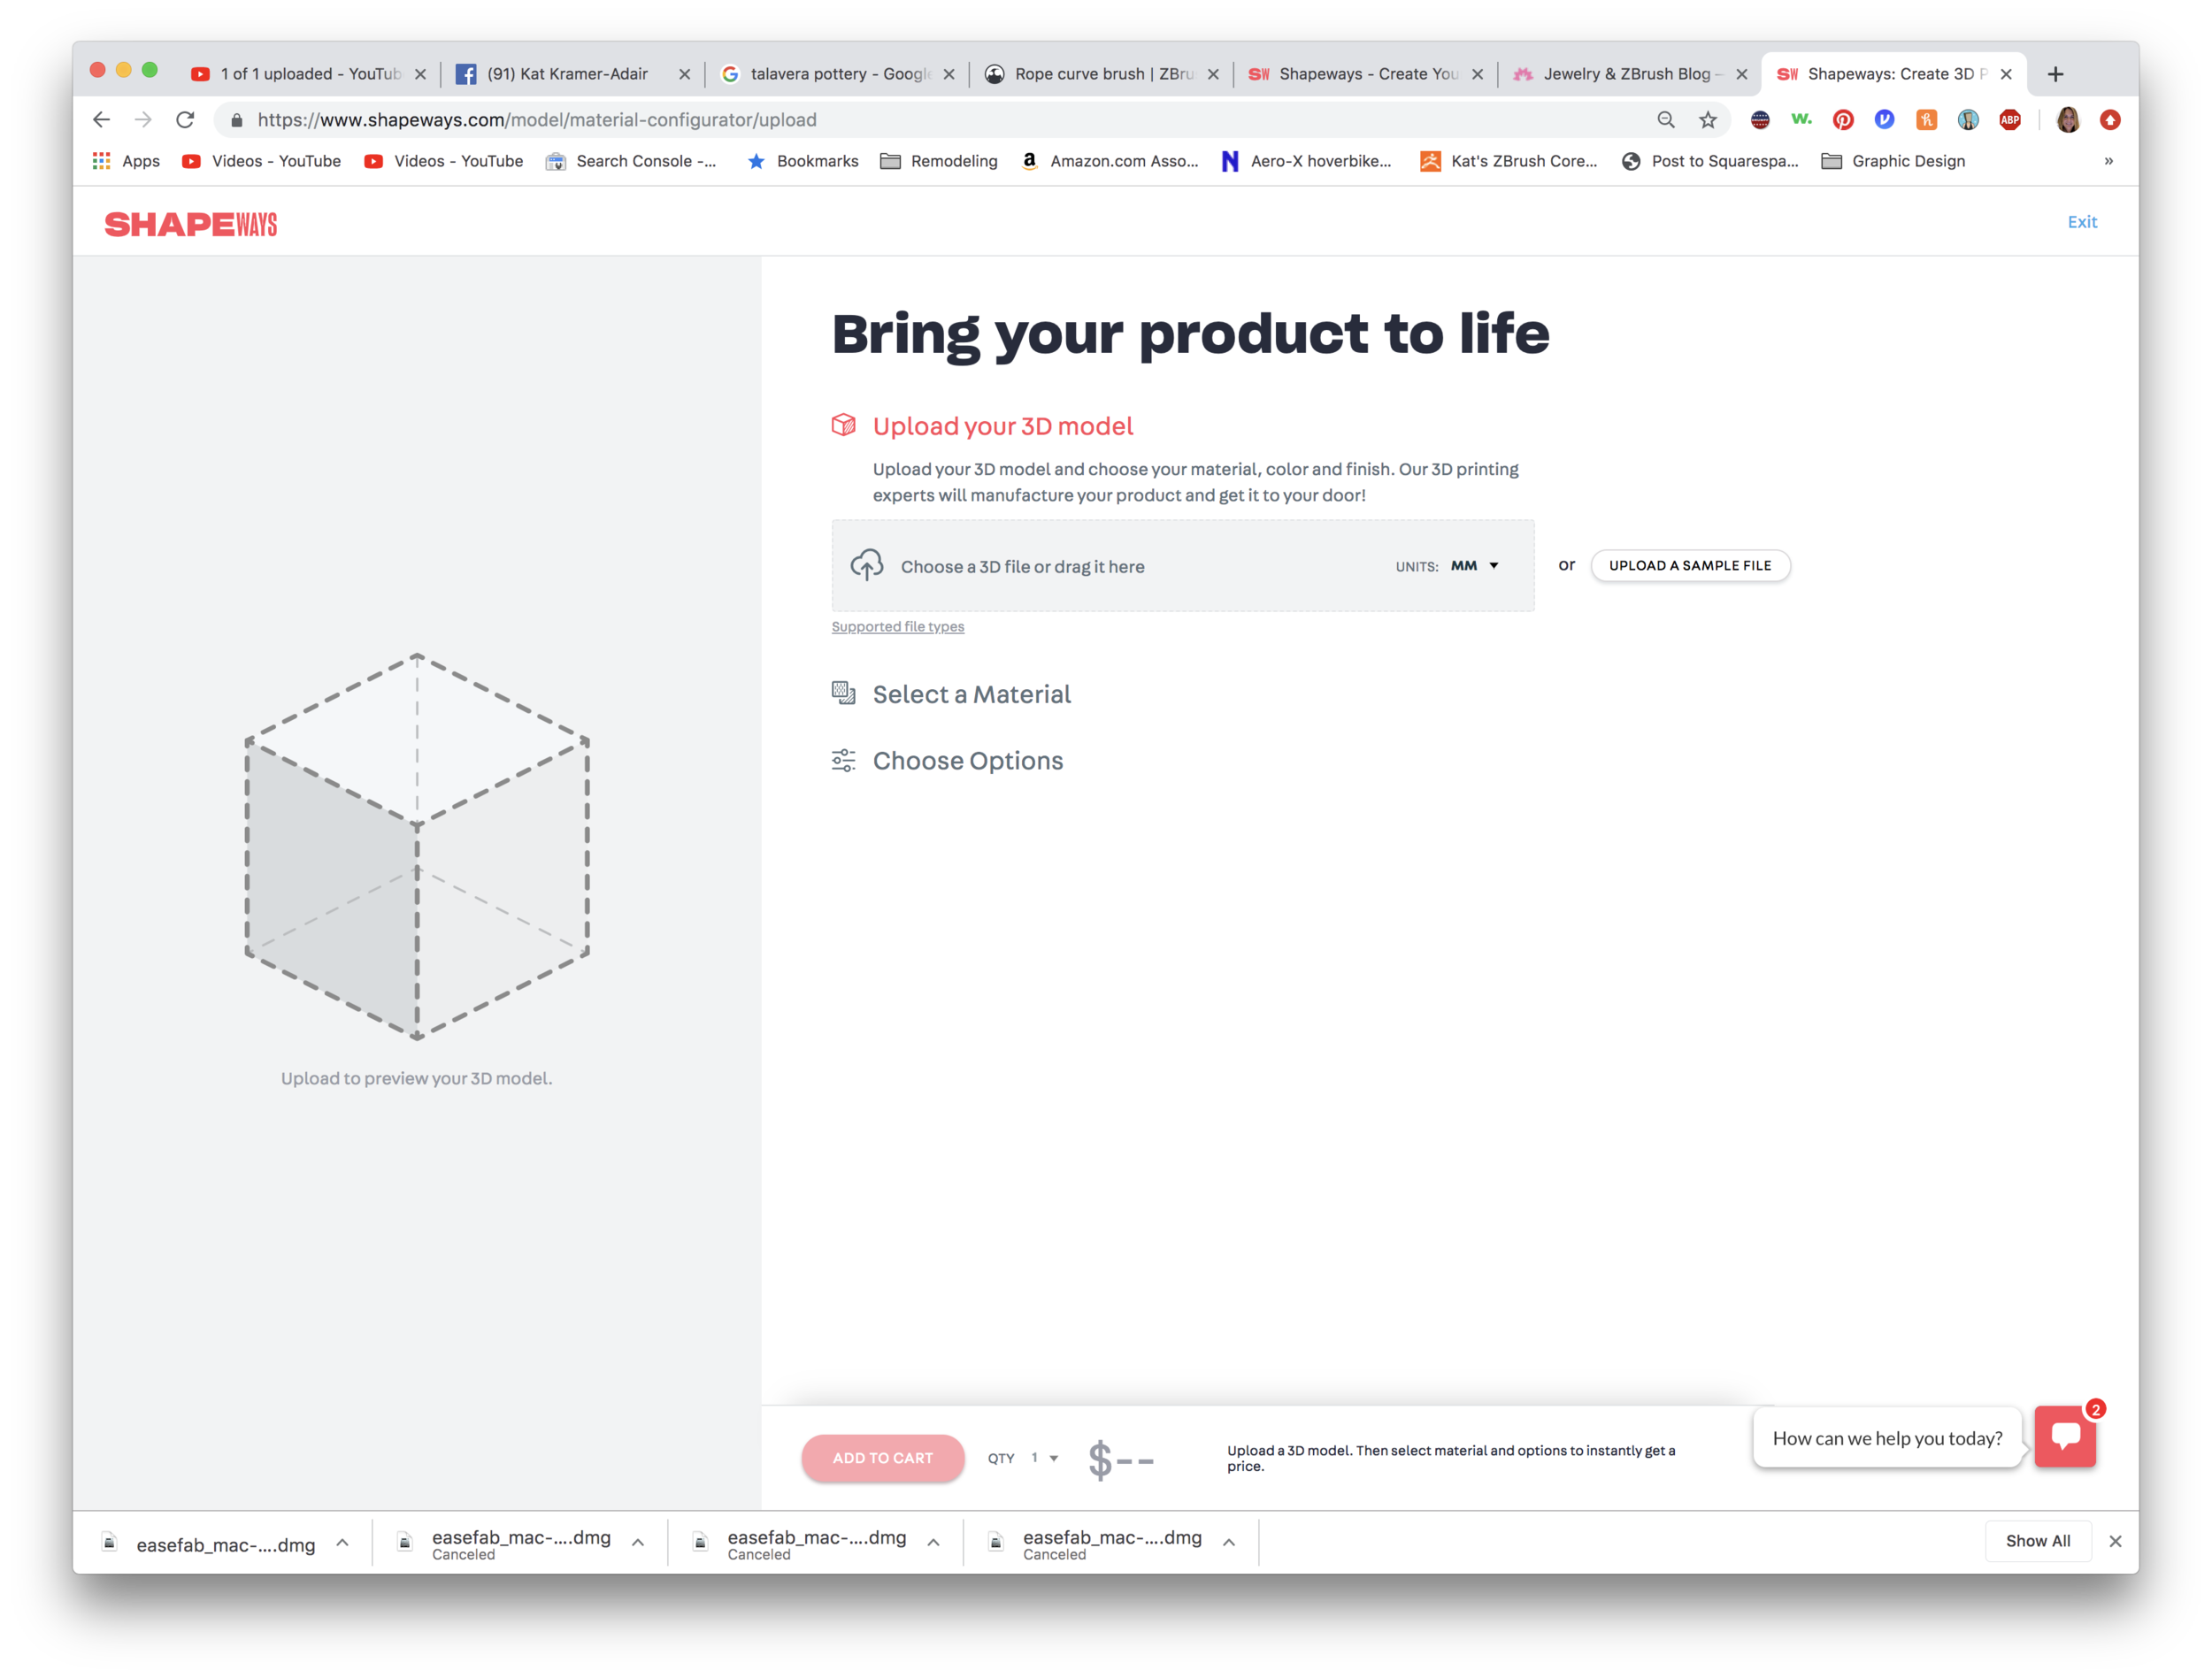
It looks like Shapeways has recently changed their landing page, so you can quickly upload a model and select a metal preference. You can also choose the type of finishing—rough, polished, or finely polished. There is an upcharge for those extras, though.
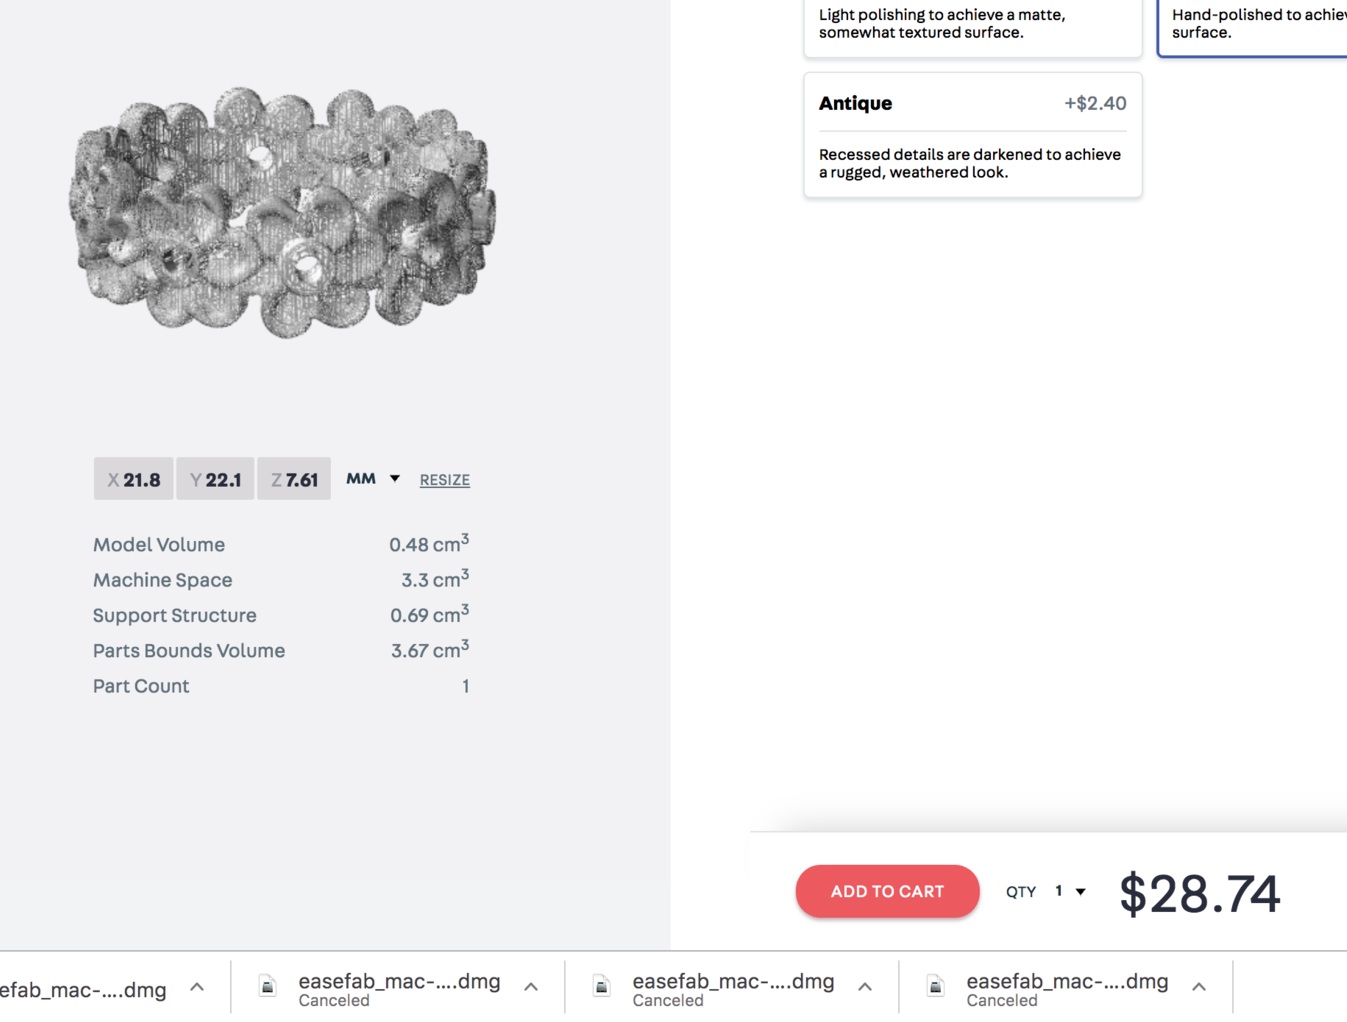
So the answer to the question if I were printing this design would be about $24-35 to print in sterling silver. Although I love wearing this ring so much I’d happily shell out $283 for a gold version!

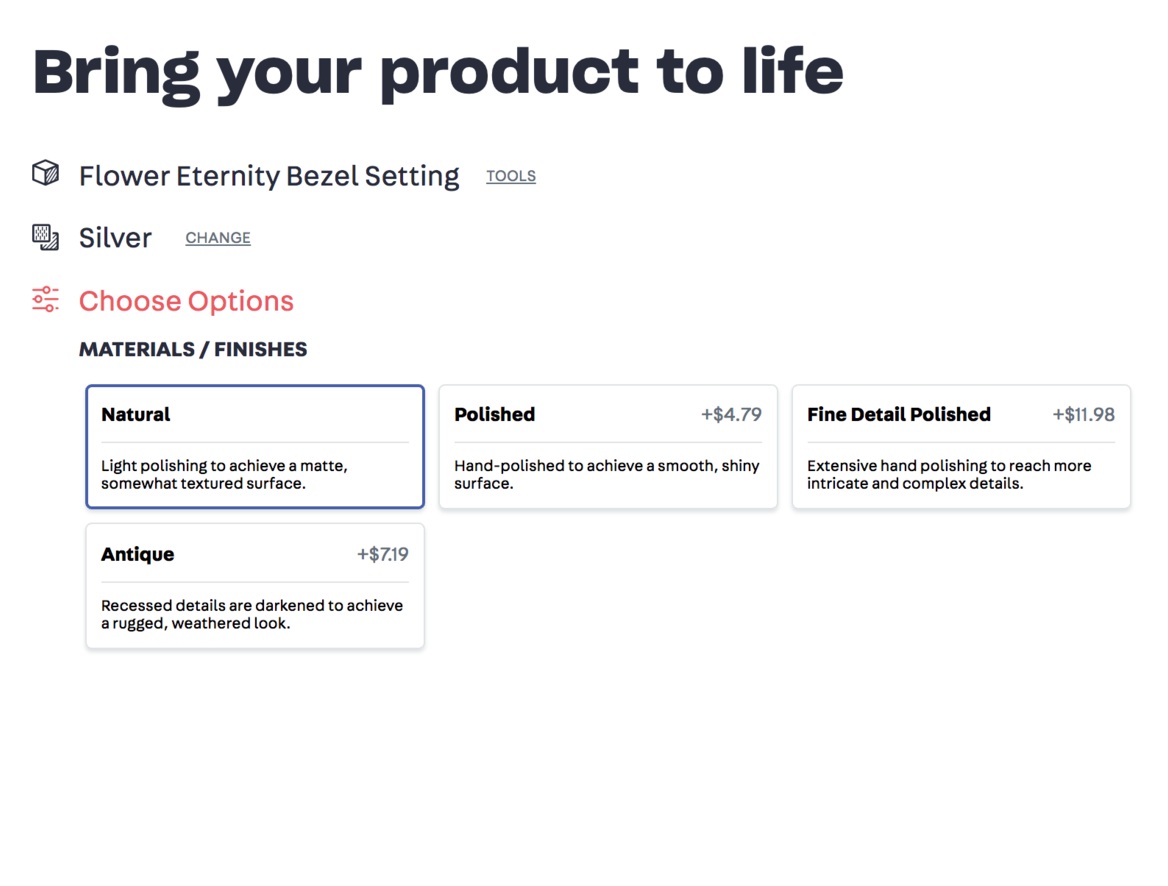
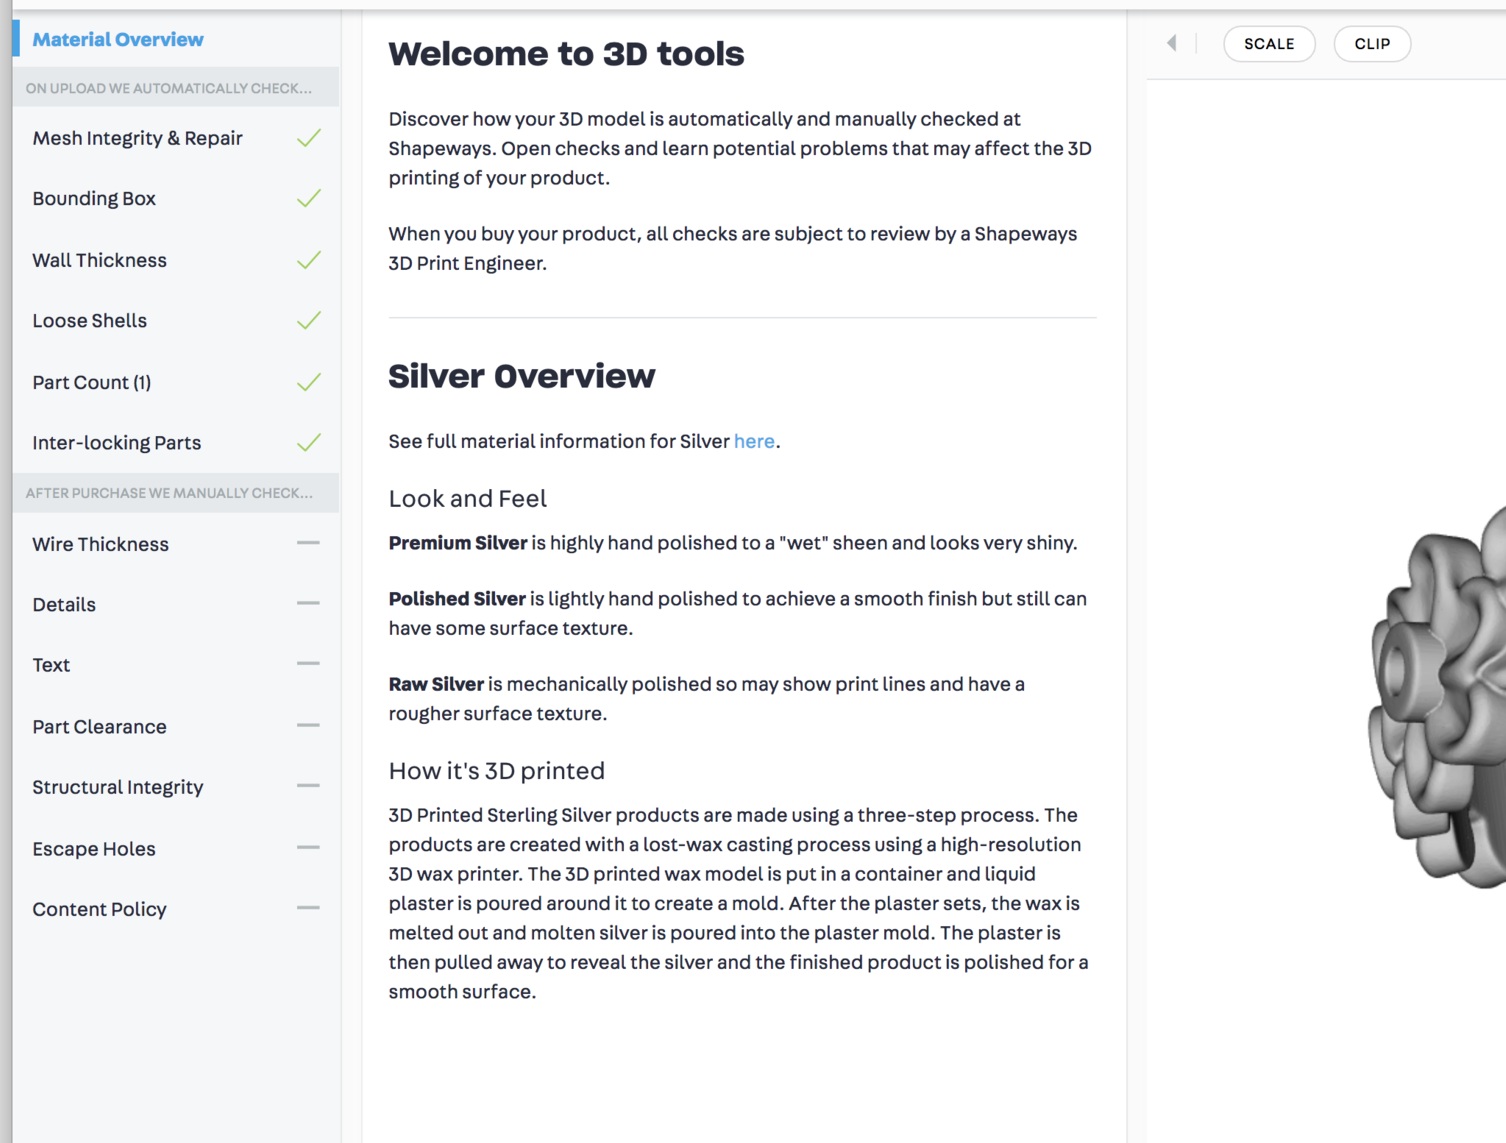
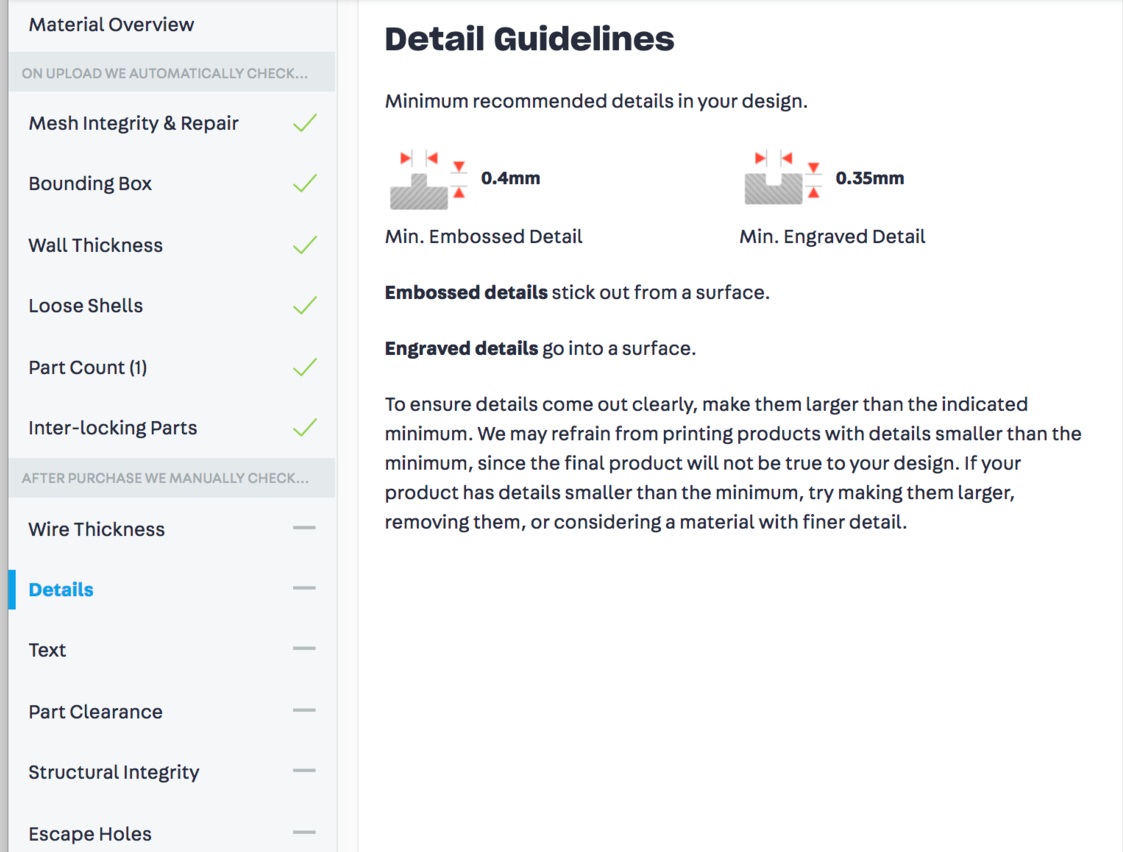
Also, there is another tool available. See below where it says TOOLS next to the title “Flower Eternity Bezel Setting?” If you click on that you’re directed to a 3D Tools page that will evaluate your model, and give information about the materials and printing.
Check out the images below, or you can click here to see the model for yourself!
ZBrush illustrations and beading tutorials...
Today a thought passed through my mind…since the majority of visitors to my site are looking for Huichol beading tutorials, is there an easier way to create them?
Last night I was playing around with a new feature in ZBrush 2019, the software I use for jewelry design (mostly cast pieces), and realized that I could apply the new “NPR (non-photorealistic) Filters” to the 3D renderings that make them look hand-drawn! What if I created my beading tutorials in ZBrush, then rendered the images, or even put little movies on my site that allowed people to see beading diagrams more clearly?
Voila! I did a quick model this morning, and sure enough, it works.
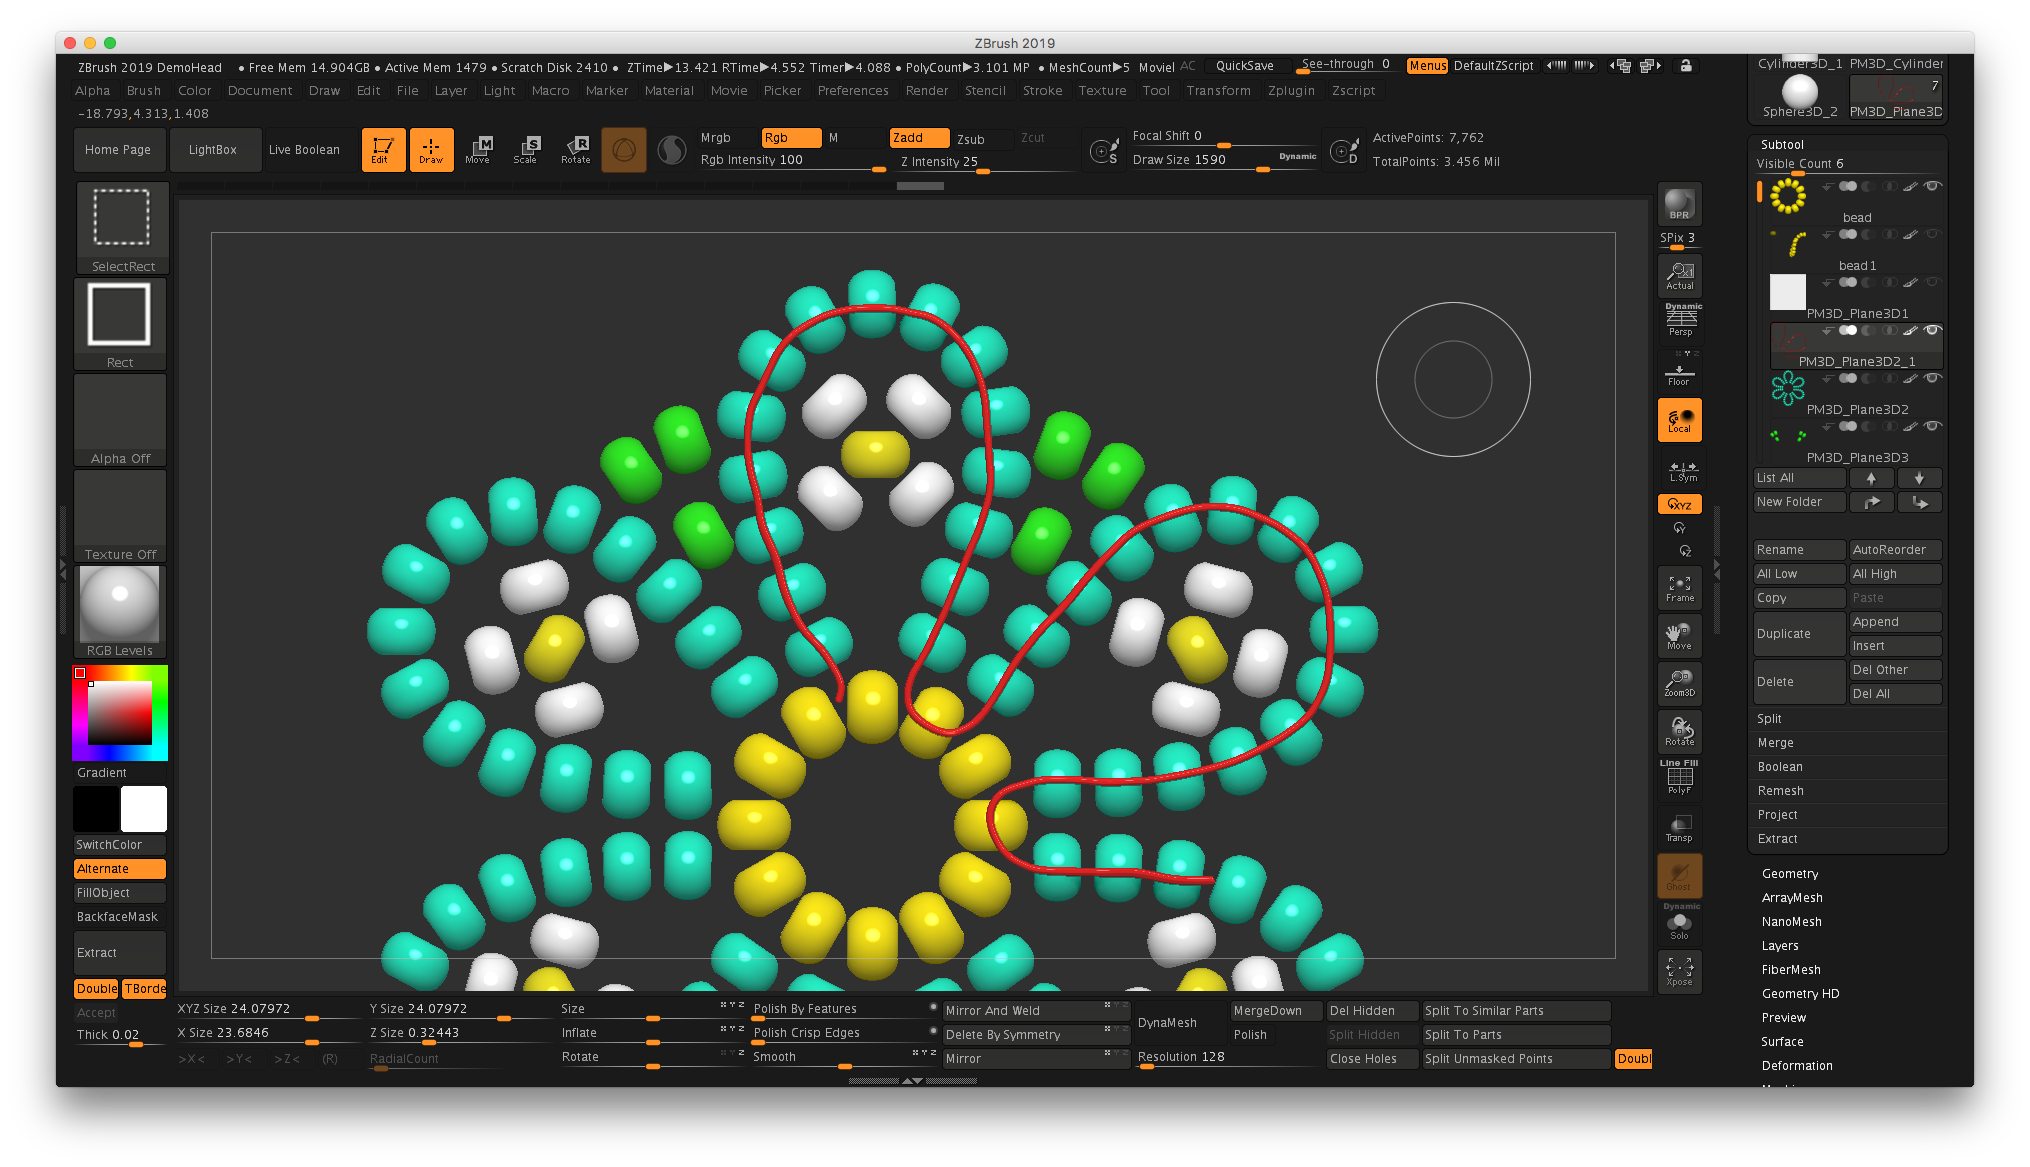
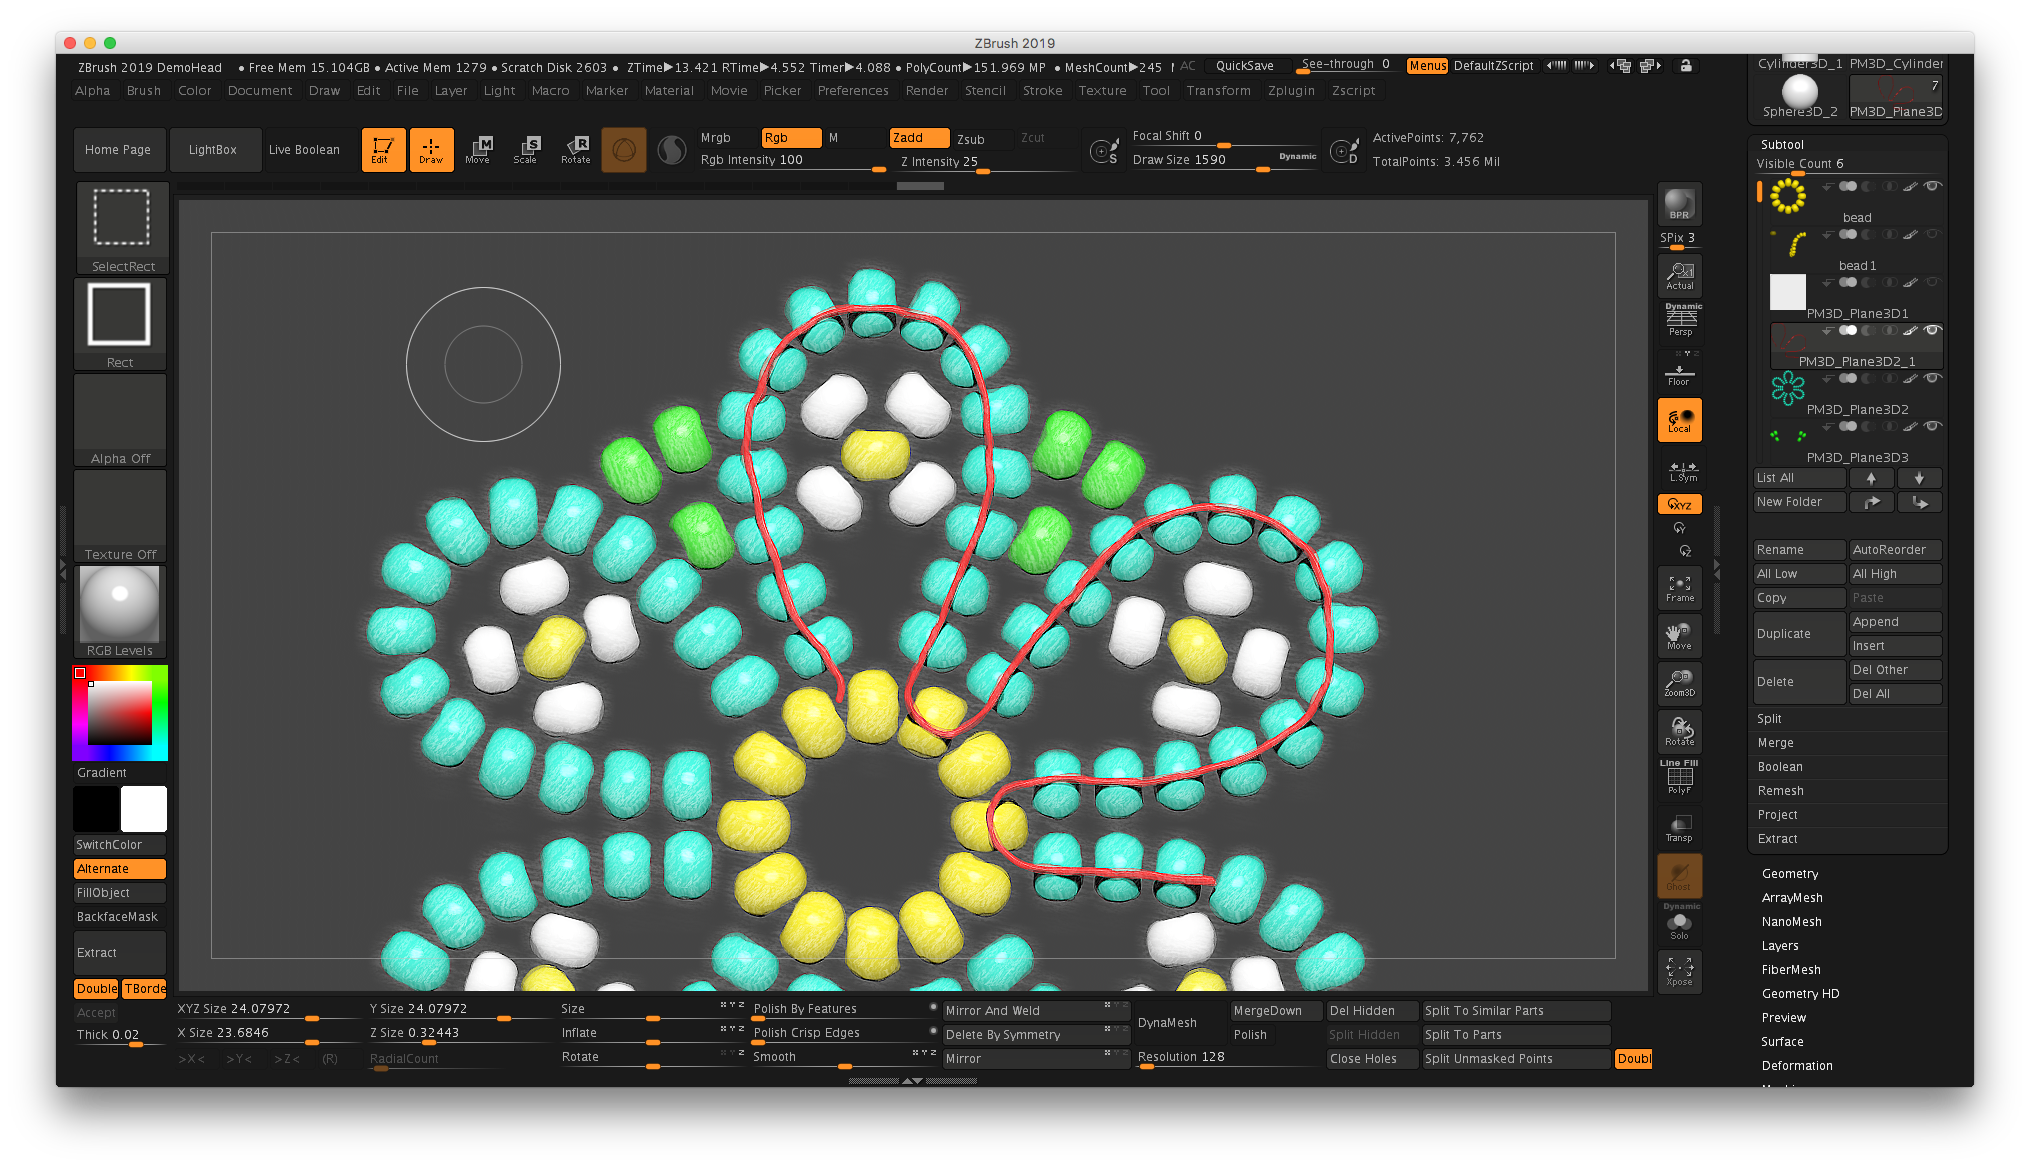
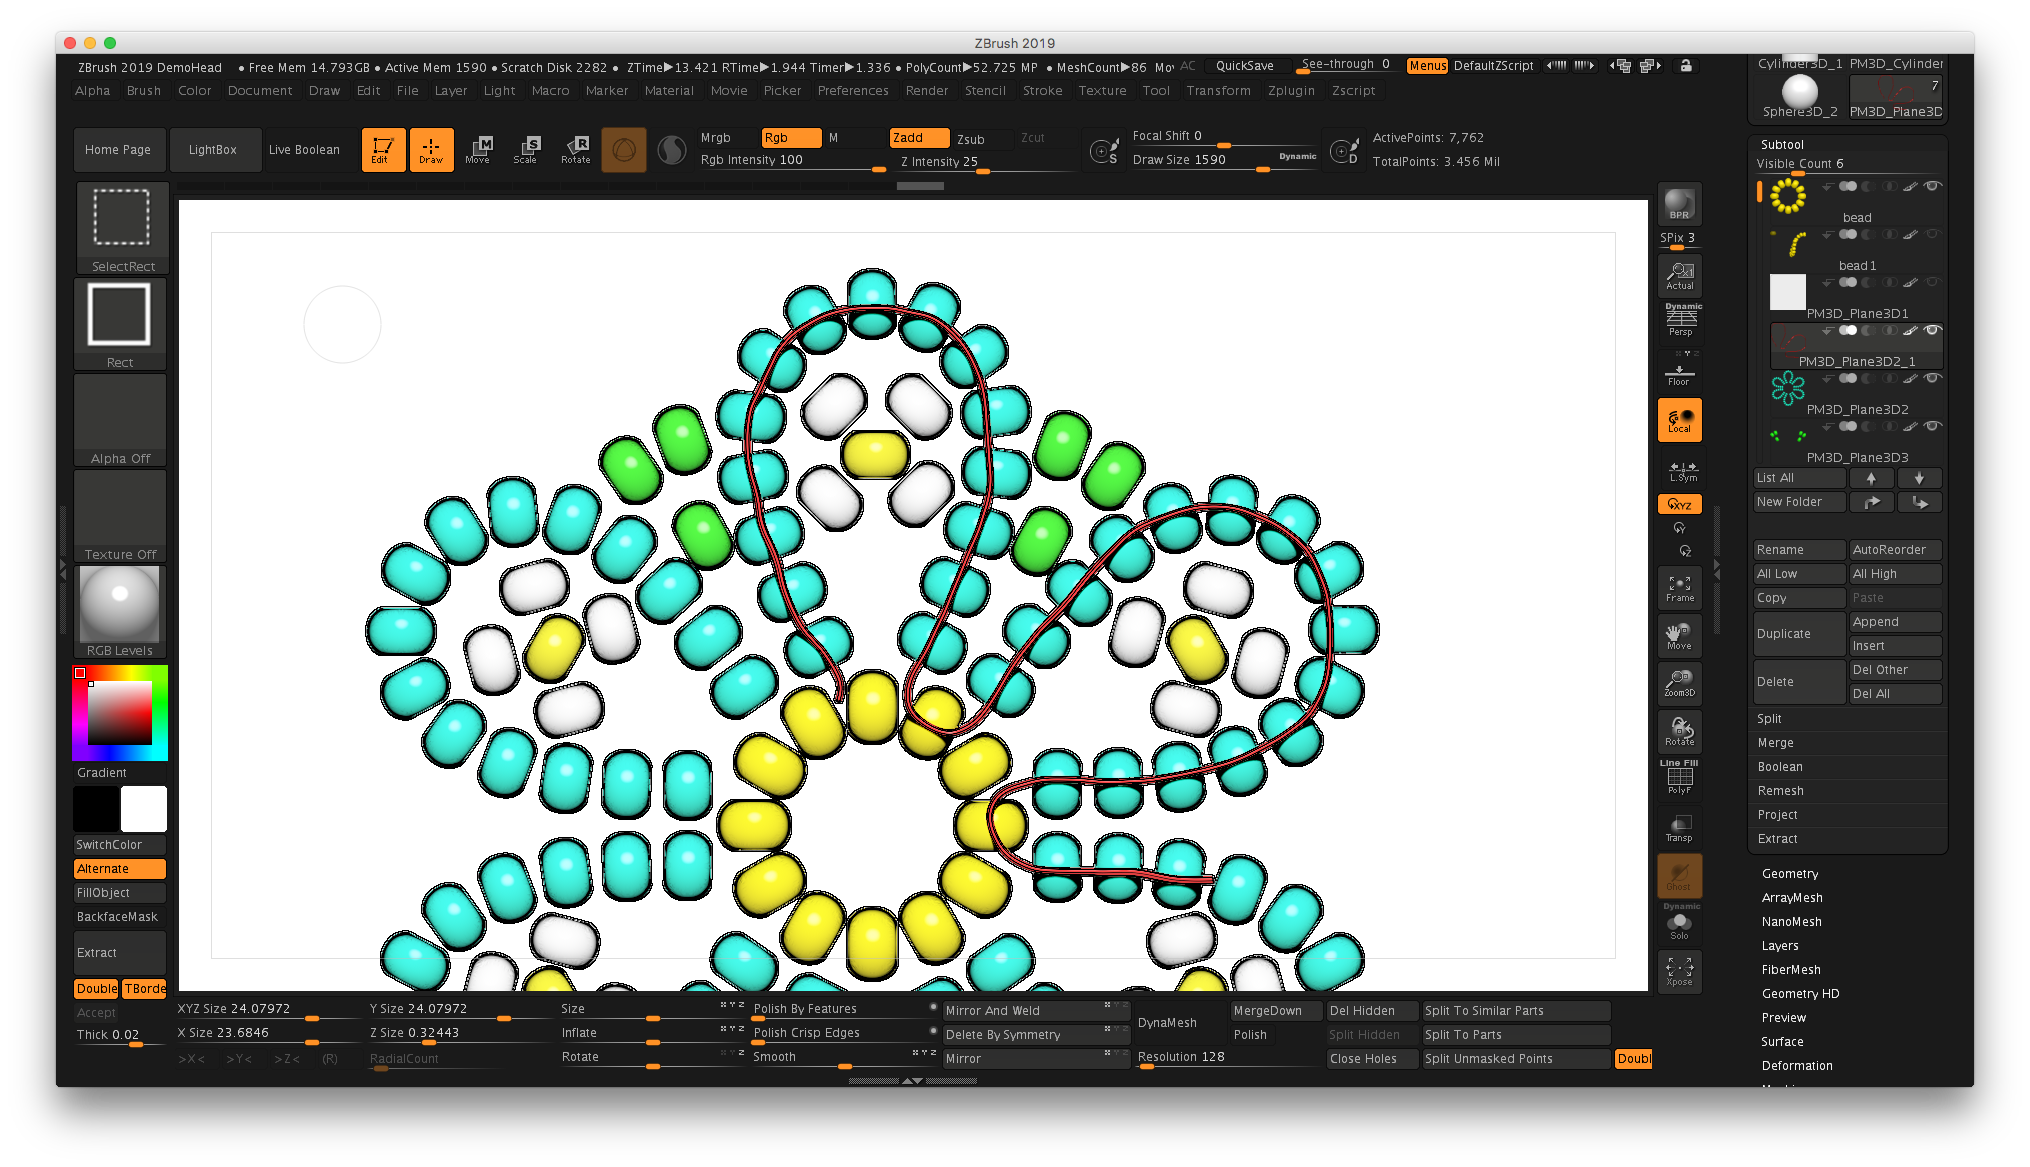

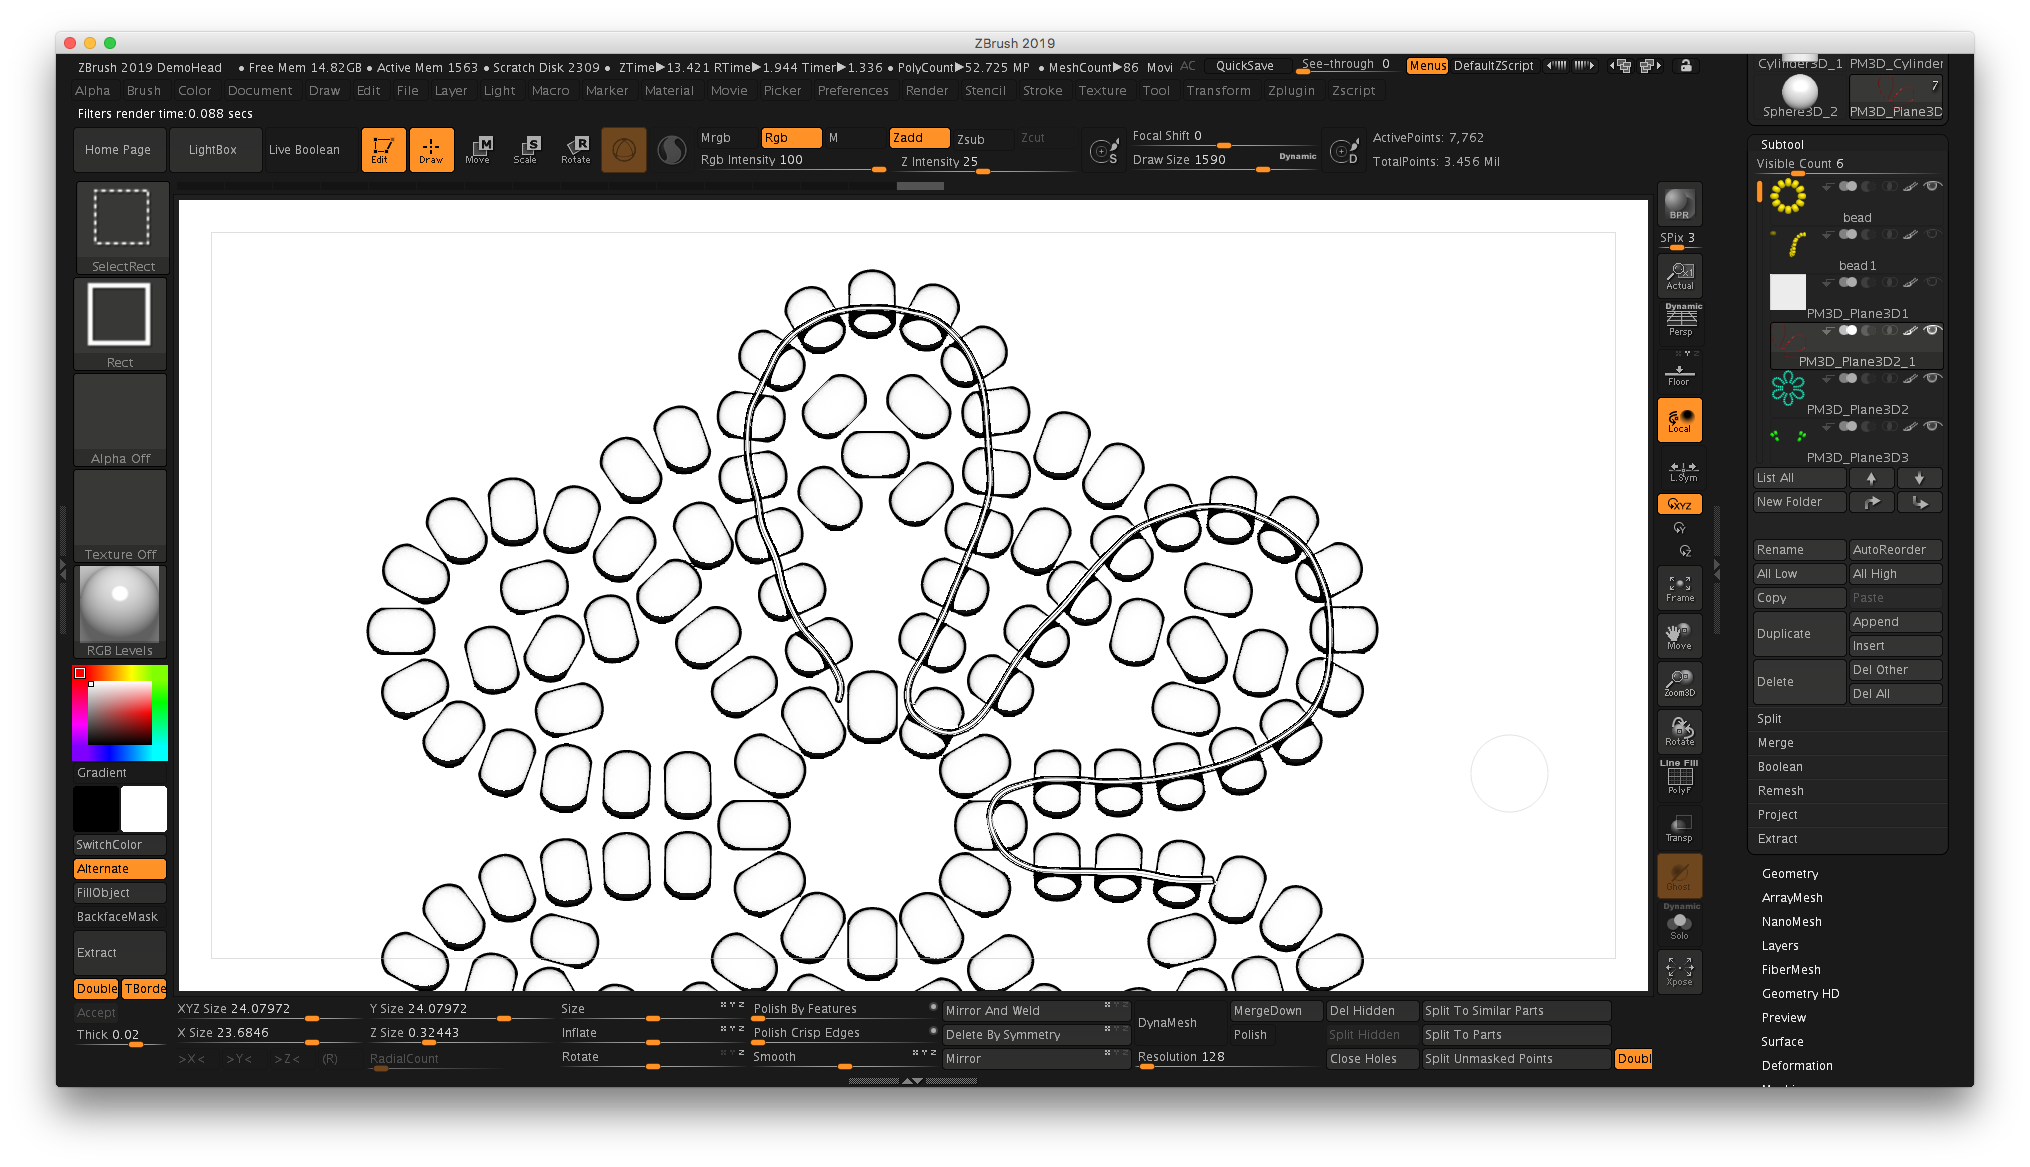
The cool thing is it can also produce a black and white drawing that could be printed so folks could color their own designs, either in a tap-to-color coloring book program on the iPad such as Recolor, or with traditional markers or colored pencils.
Anyway, this should make documentation a LOT easier. Stay tuned!
nelson treehouse charm experiment in zbrush
Oh, these are the kinds of things that I do when I’ve been watching too much HGTV and Animal Planet!
I’ve long been a fan of the show Treehouse Masters and a really fascinating guy named Pete Nelson who—with a crew of extremely talented carpenters—build the most amazing treehouses. Not treehouses like the kind you had as a kid, but true works of art that just happen to be up in the air.
So tonight while watching I started thinking about my dream job building treehouses with Pete Nelson. Since they’re in Washington State, I’m guessing that dream will probably never happen.
But I could still make a treehouse charm! Inspired by Pete’s wonderful Fall City treehouse, I created a little charm in ZBrush. I haven’t really paid attention to the castability…this was more of an exercise.
It involved a lot of subtools, and a custom chain. The main treehouse was created out of a Cube3D primitive, trimmed using the Clipping function. The deck was extracted from another cube, drawn freehand with a lasso mask.
I’ve kept all of these subtools separate…for example, I may resize the trees to make the volume of the two trees on the left more closely match the tree on the right so it would sit correctly.
Still not sure how I would sprue this puppy for casting, but it may make its way to my printer in the next few weeks.
And who knows? Tonight’s episode featured Pete and the guys here in Texas building a treehouse near the Frio River. I’d even volunteer for free if he ever needed help here in the Lone Star State. I have tools and a tent and a ukulele!
Pete, call me!

A proof-of-concept charm based on Pete Nelson’s Fall City treehouse
a whale of a tale...and merry christmas!
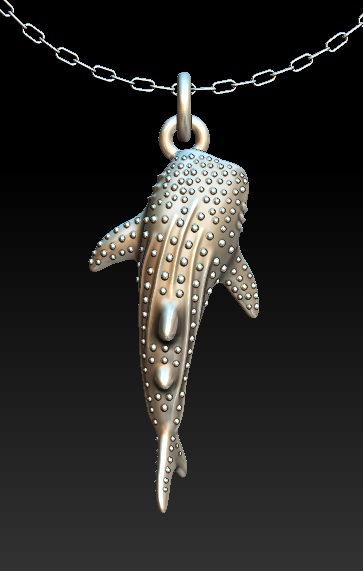
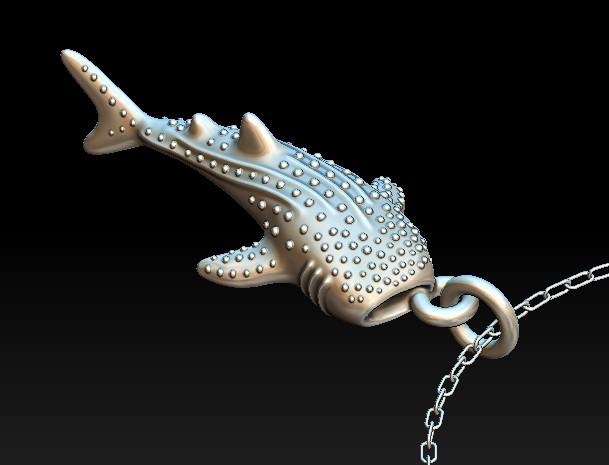
Whale shark charm in ZBrush
Well, here we are again, and I took a couple days’ break to unwind from the remodel of my parents’ house. Mind you, I’m having a lot of fun working with an awesome group of guys to rebuild the SEVEN decks at this house, but we’ve got the main deck done and we’re working on the railings. A bit more work on the inside, and we’ll be ready to put it on the market. It’s been a long journey—over two years to clear out the house and do a major remodel.
Anyway, tonight I took a moment to record more ZBrush videos, and then my mind started to wander as I looked for more objects to model into jewelry. I absolutely love scuba diving, and swimming with a whale shark is definitely on my bucket list. I’d found my next model.
I started out with a sphere primitive and used the “Snake Hook” brush in ZBrush (shortcut “BSH”) to sculpt the form. I then used “Dam Standard” to create the ridges down the back, and the “IMM Primitive” brush with a sphere to add the spots. I will apply a patina, then the raised spheres should polish out and give the effect of light round dots. Or they might look like tiny polka-dots…sometimes when designing a small charm, you lose sight of what the larger model on the screen may translate into once it’s printed.
So it’s 1:14 a.m. the morning after Christmas, and I just wrapped up. I’m heading to bed. But I just wanted to share this awesome little guy I sculpted this evening. When I finally get back to my studio and start 3D printing and casting again, he’ll definitely be in the next batch.
And then I’ll have to go find a real one to go swimming with.