and now for something completely different...rendering??

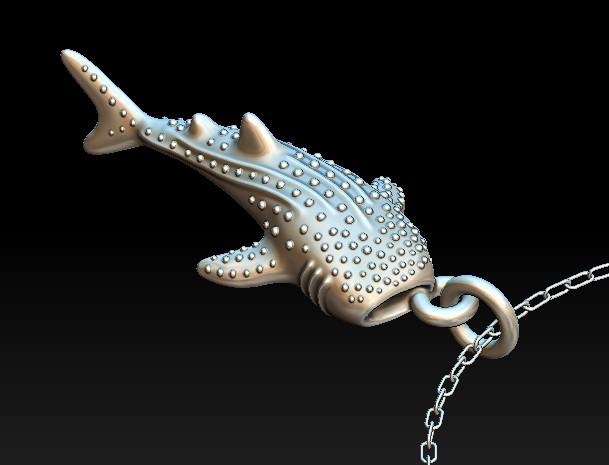
So earlier this week I made the mistake of downloading the trial of something called Keyshot. Here’s the deal…when you model something in ZBrush, or any basic CAD program, it doesn’t look like a photo. If you watch those home shows on HGTV, they’ll show a CAD drawing of the home, but it’s not until later that they show the fancy, more-realistic view. That’s an extra step that can take a lot of time and some expensive hardware and software. And that’s how movie studios get realistic animated creates…they’re all RENDERED, adding some photo-realism.

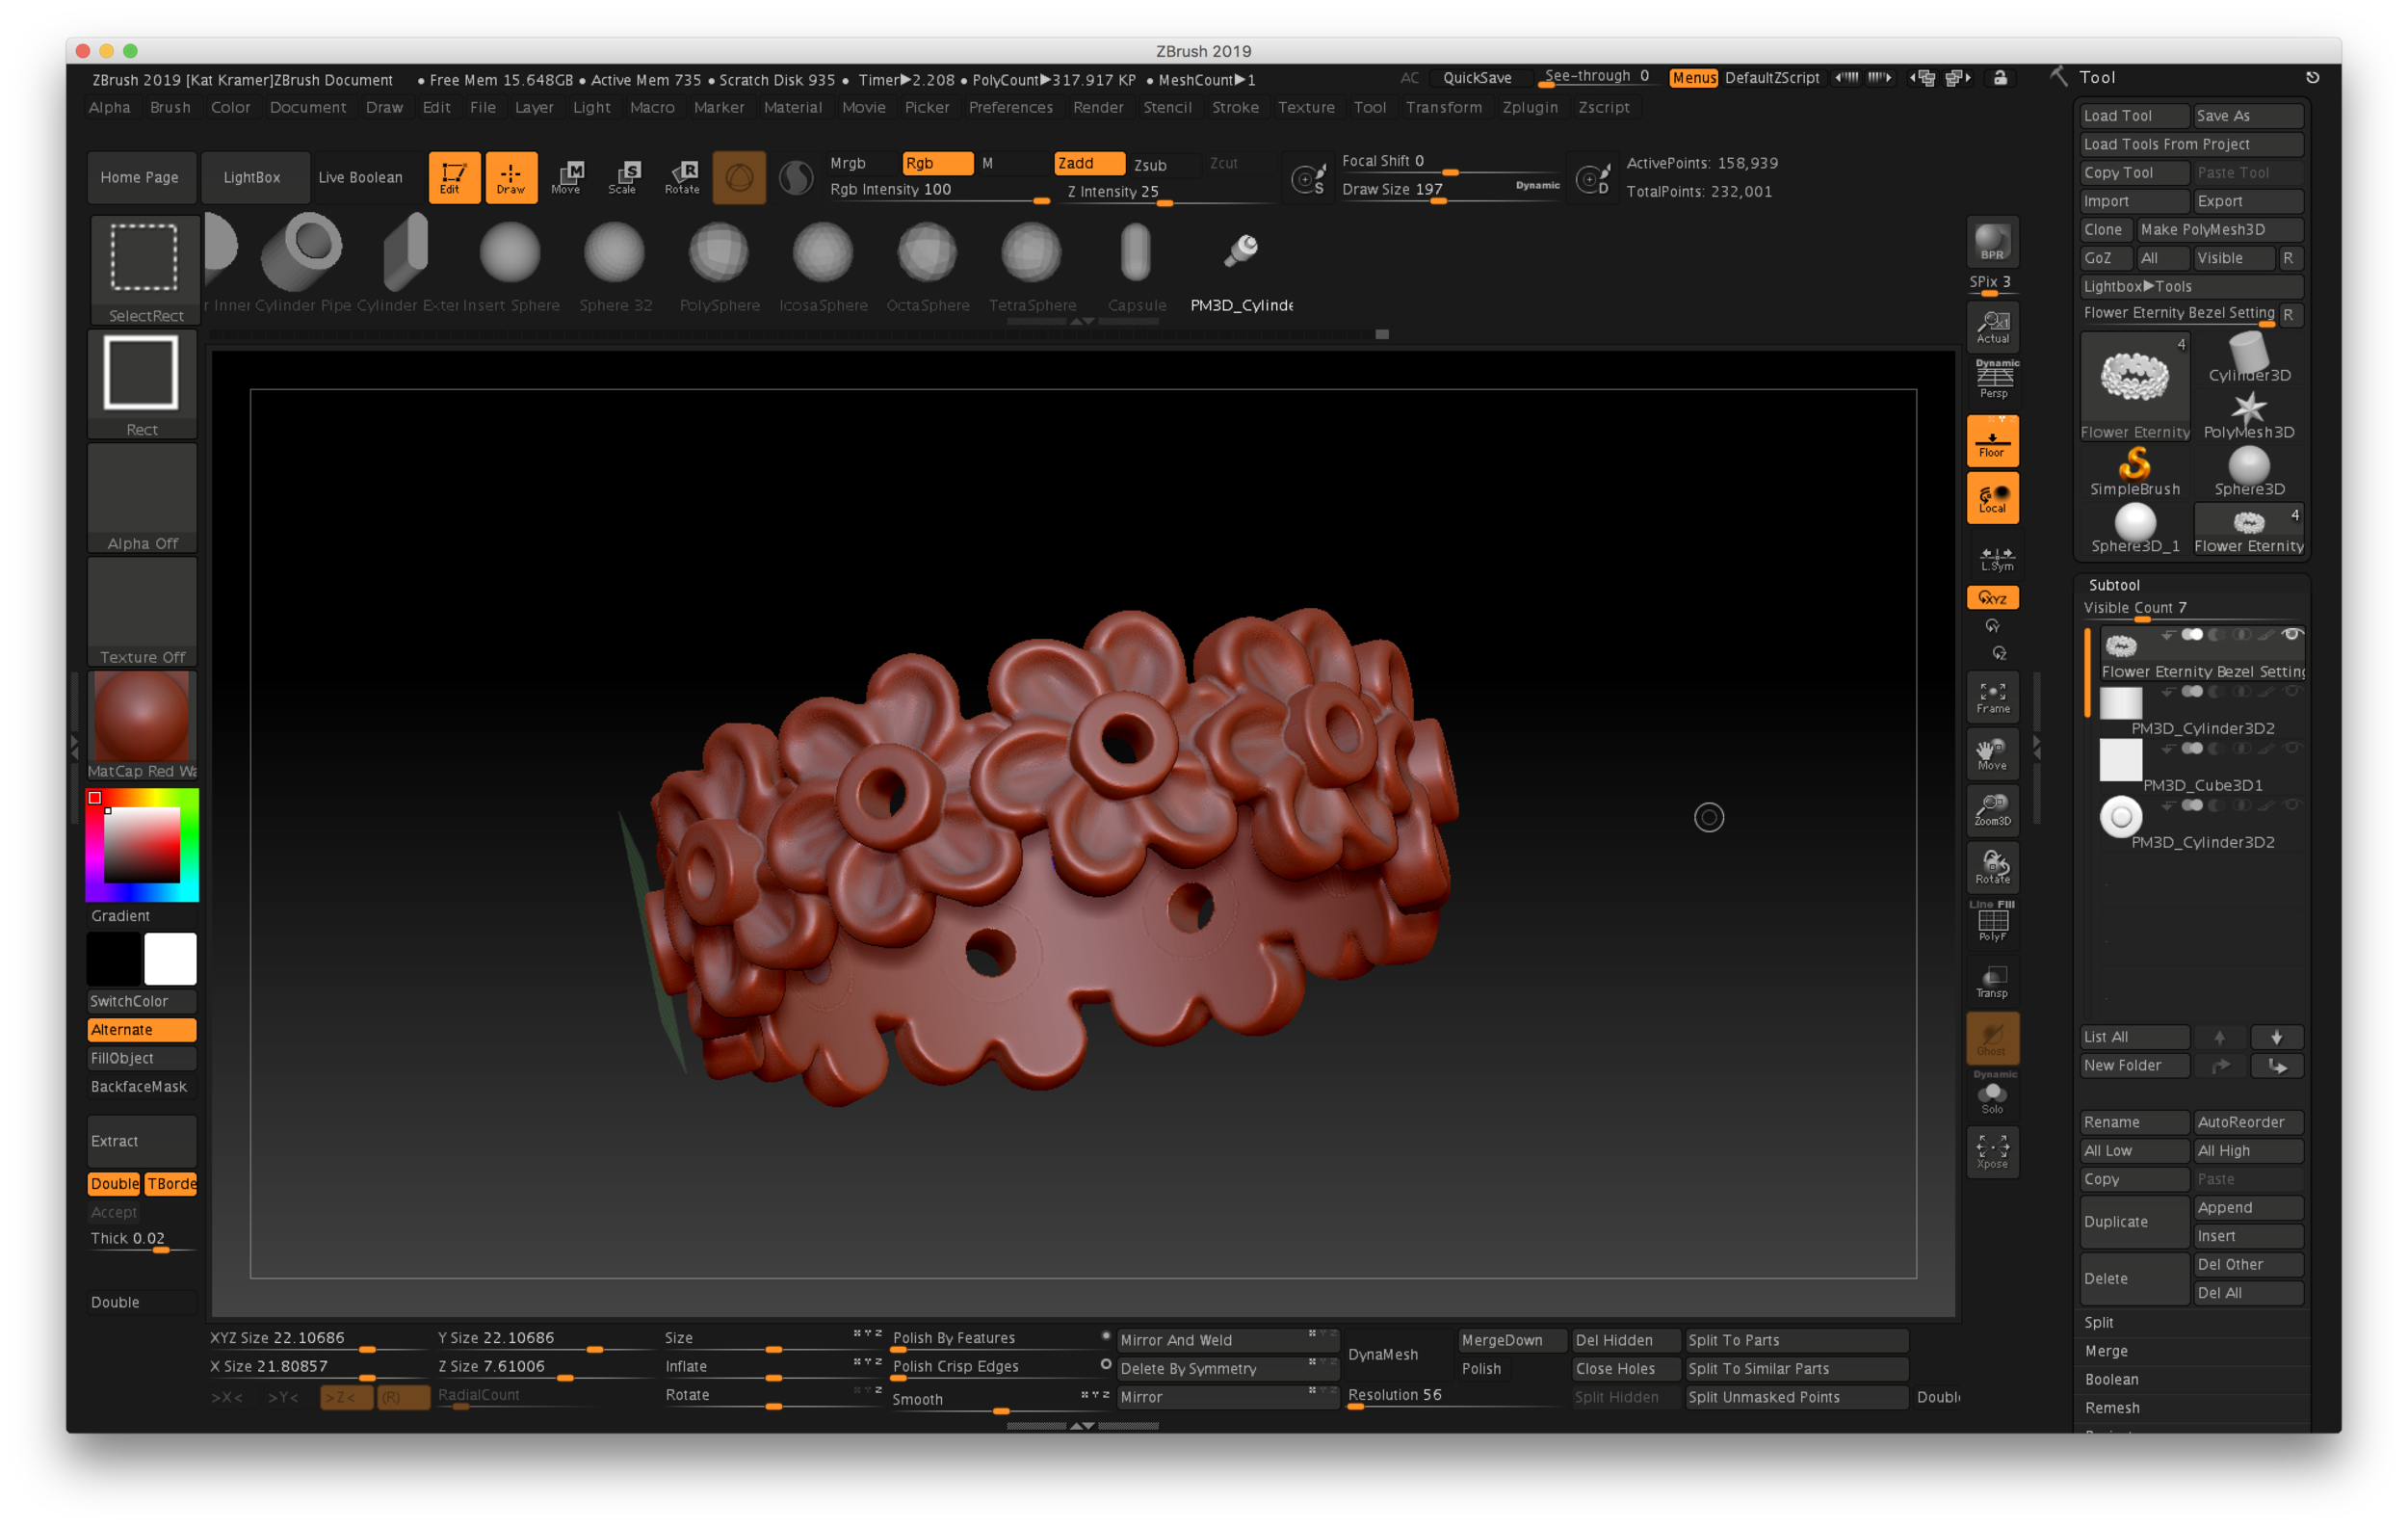
(click to enlarge) Using Nanomesh in ZBrush as a test to make a pavé ring…

I had heard that ZBrush has a partner in crime when it comes to making that photorealistic stuff…but I also heard it was almost $1800! For “real” jewelers who sell expensive jewelry, they probably don’t bat an eye at that price. But for someone making casual lifestyle jewelry, that’s almost as much as a 3D printer.

I knew the need was there, though, so I started researching while working on my ZBrush course. I tried Blender, which is free, but OMG…it made my head hurt. Maybe Keyshot was more user-friendly? (Hint: It’s almost a religious debate among CAD folks…) Might as well know something about it. That was a mistake…I’m hooked. Do I really ever have to physically make jewelry again? This CAD thing is SO MUCH CLEANER! I’ll just look at my stuff on the screen and imagine I made it. But I guess that’s cheating future archeologists!

kat-adair-kramer-zbrush-jewelry-keyshot

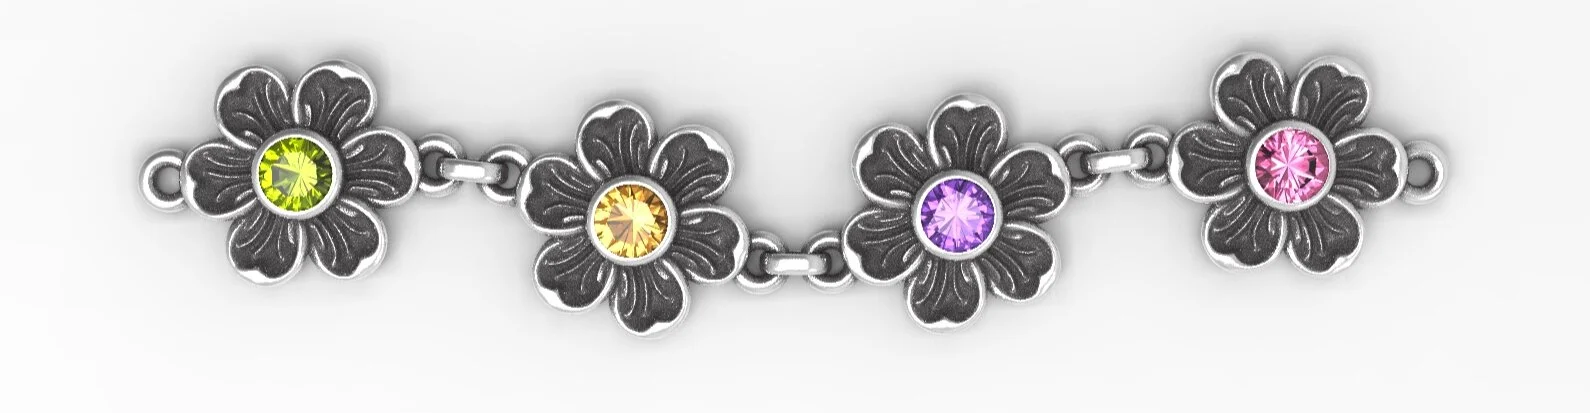
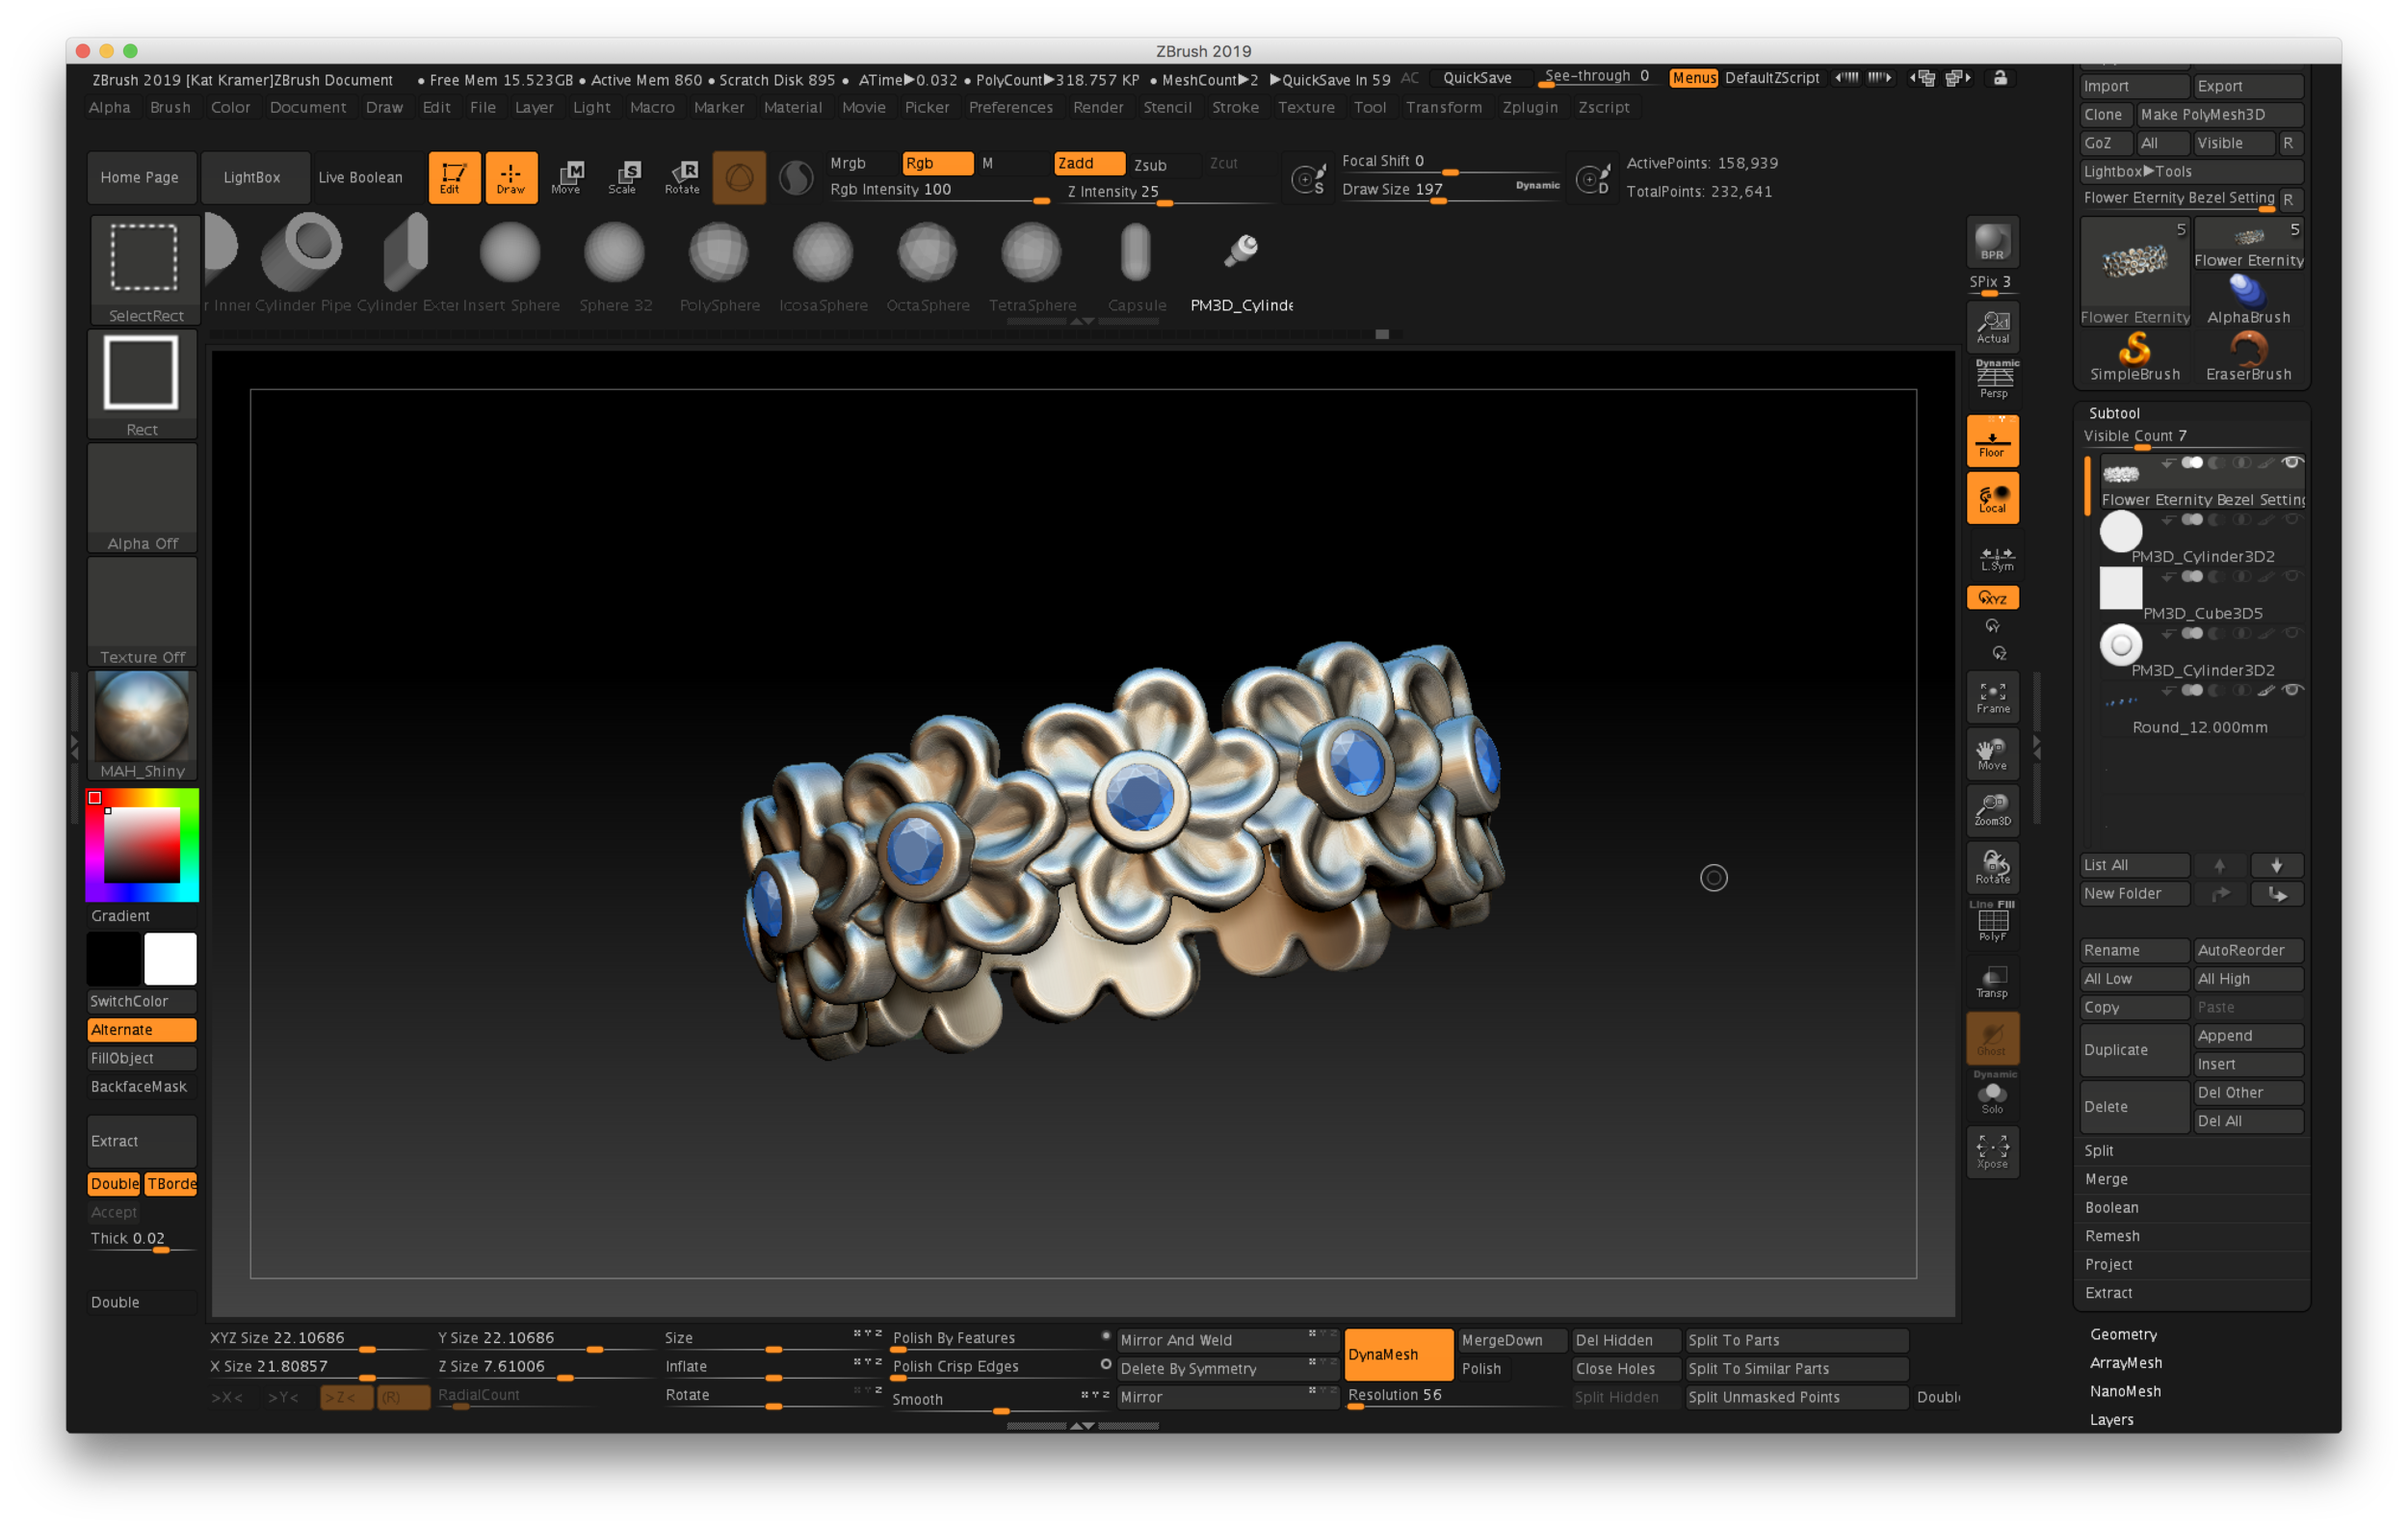
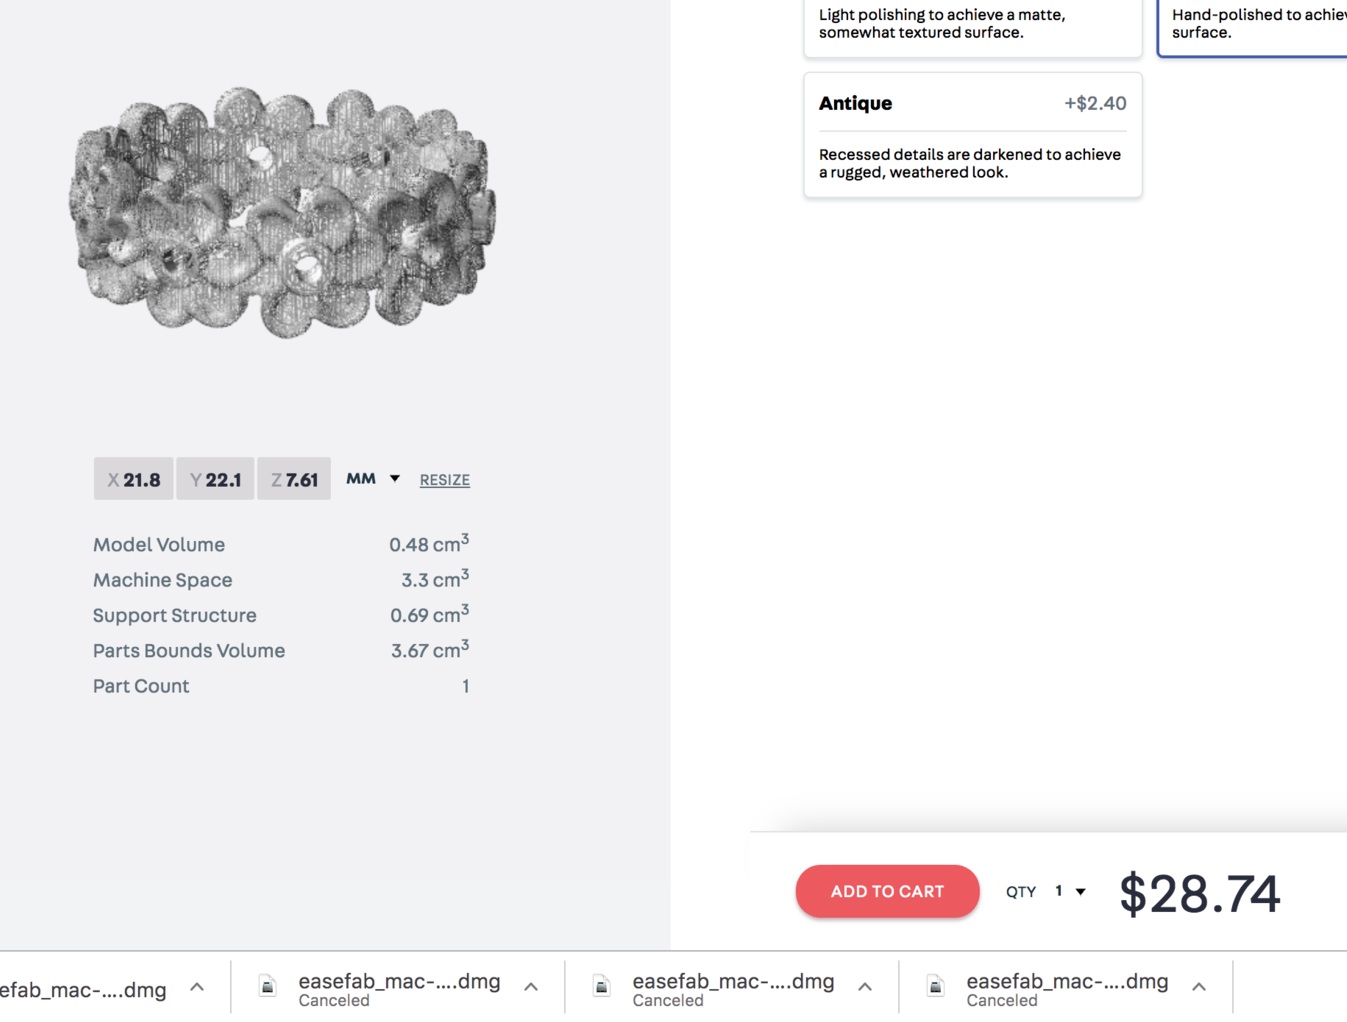
So here’s the interesting part. That cute little start to a bracelet above? It’s not real. I modeled it in ZBrush and rendered it in Keyshot. It does not exist in a physical form. How will we know what to believe anymore??

Anyway, I realized that I got the price wrong, and that there is a version specifically for users of ZBrush that’s $200, then there’s something called the ZBrush to Keyshot Bridge that costs another $149. At least I’m hoping that’s what it costs. I MUST have this. Forget designer shoes!

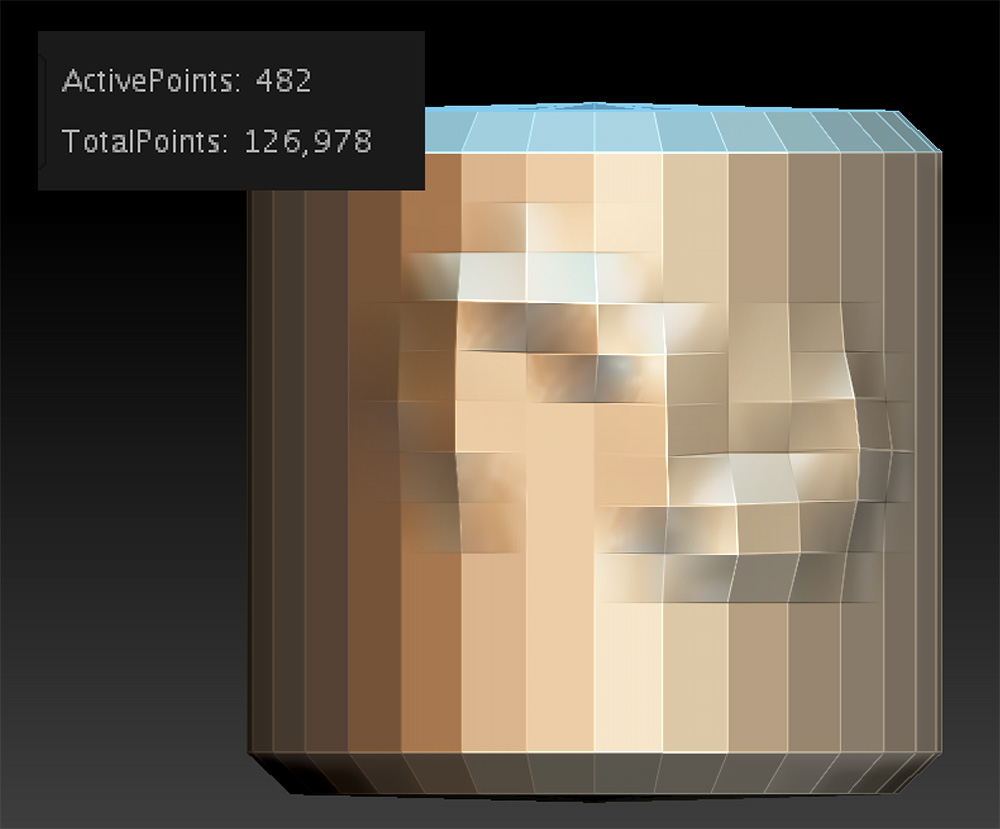
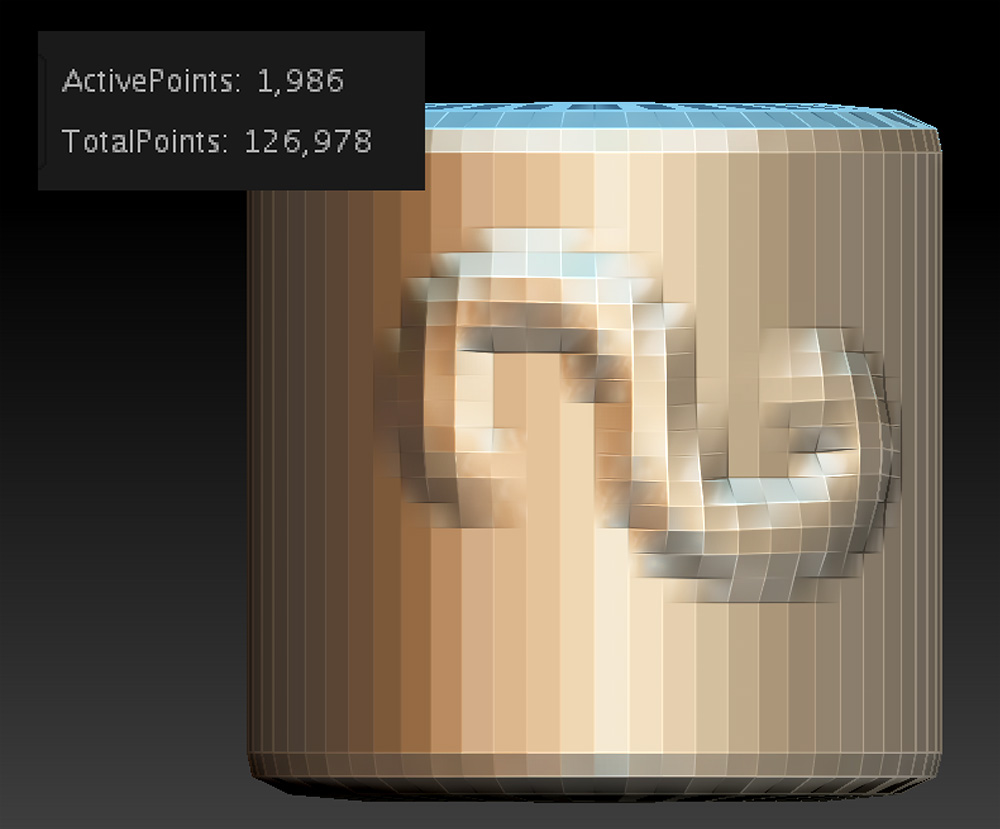
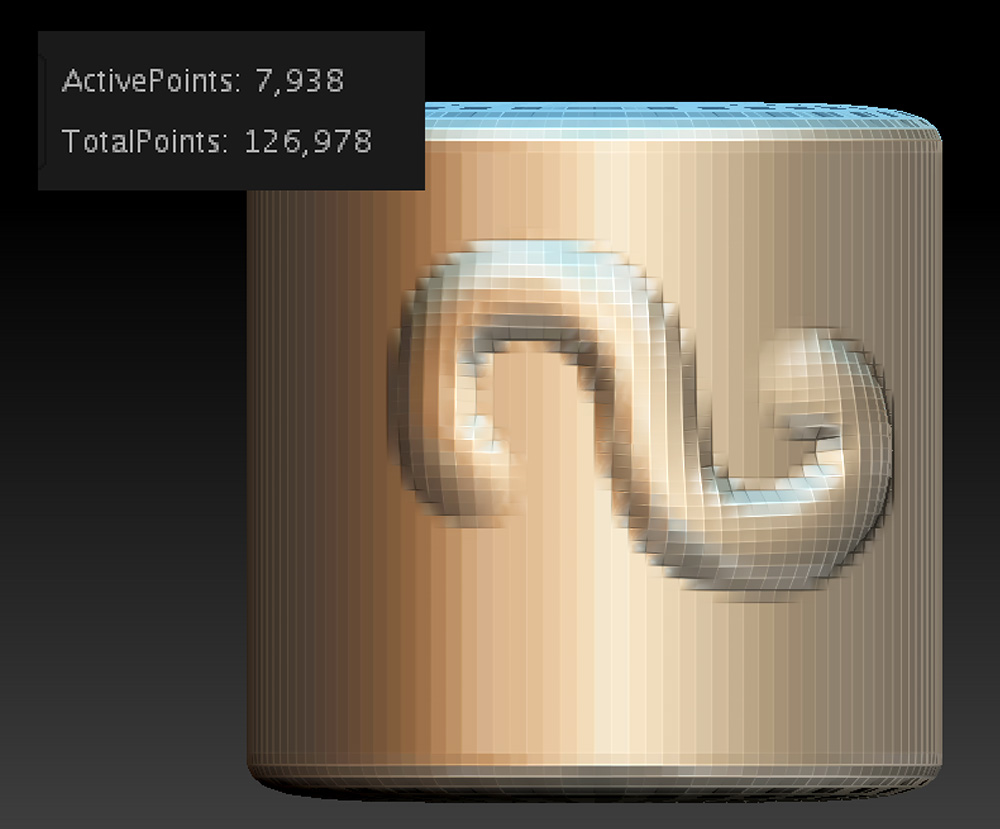
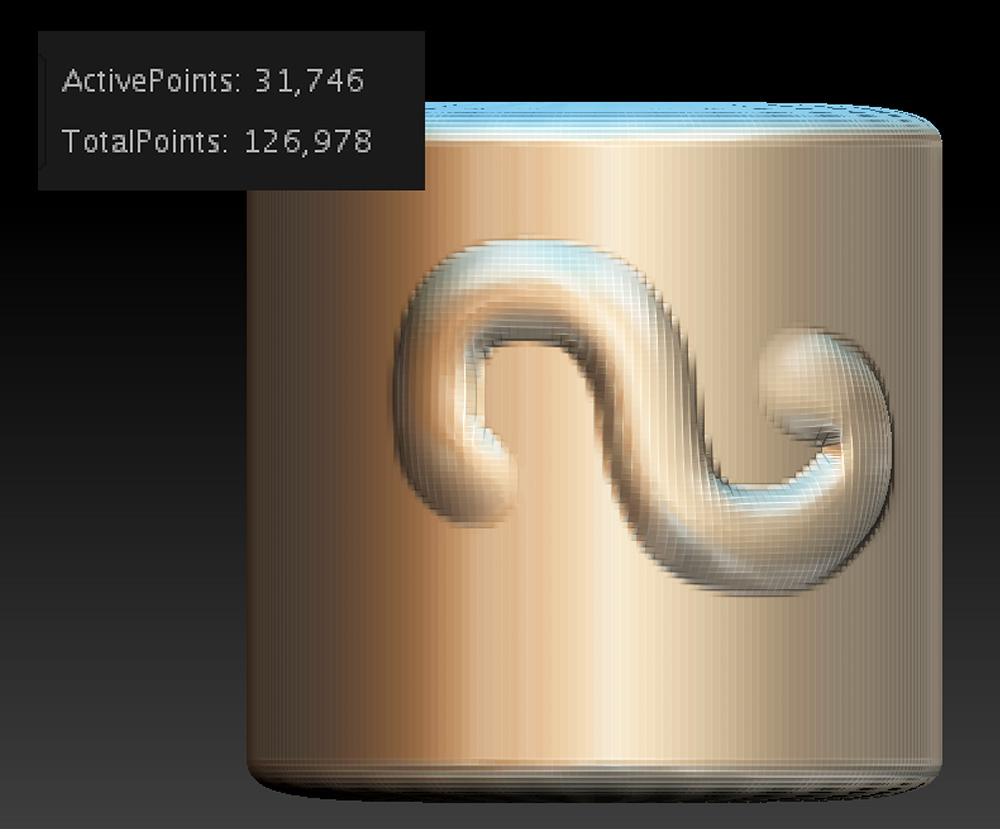
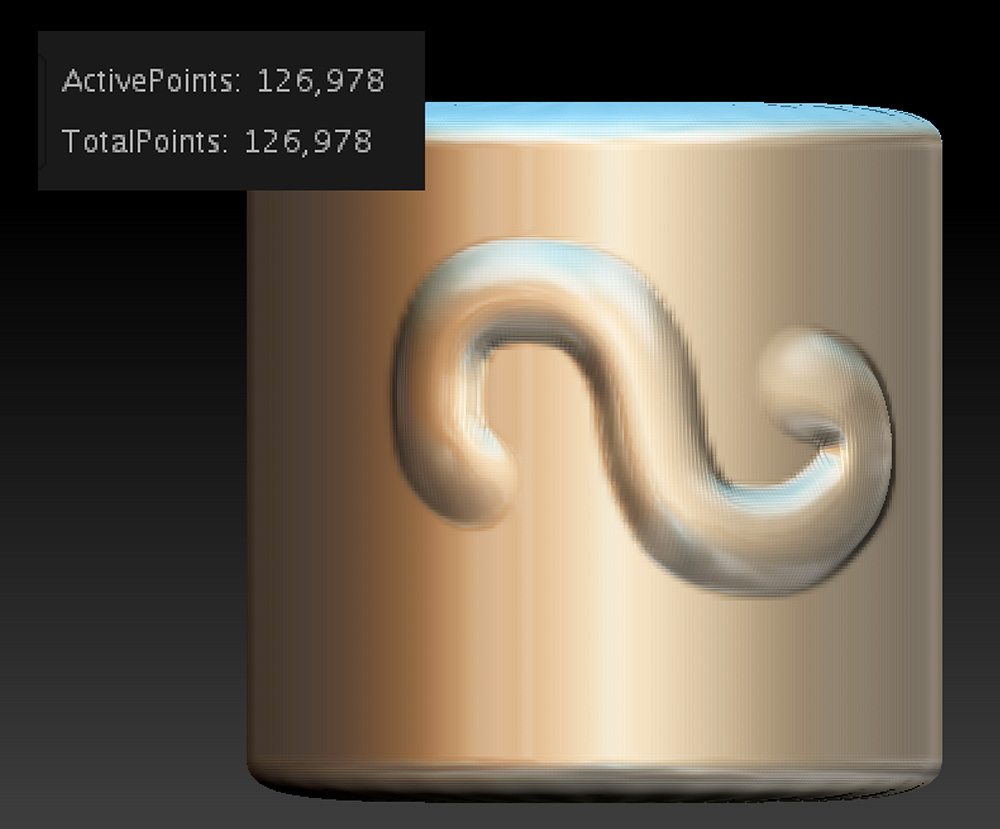
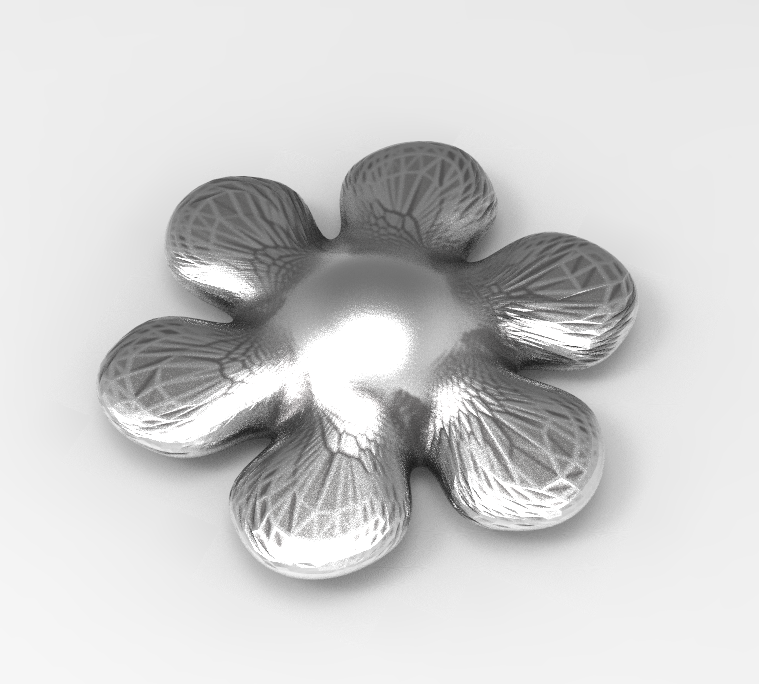
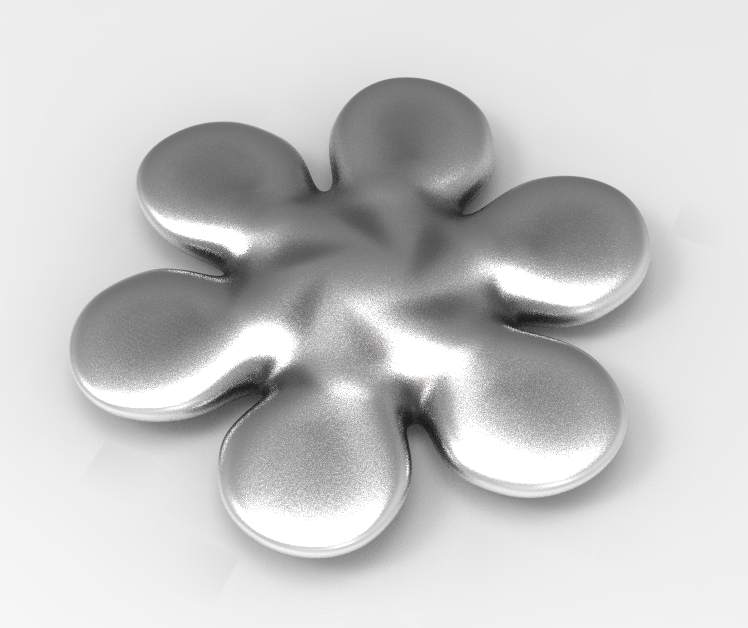
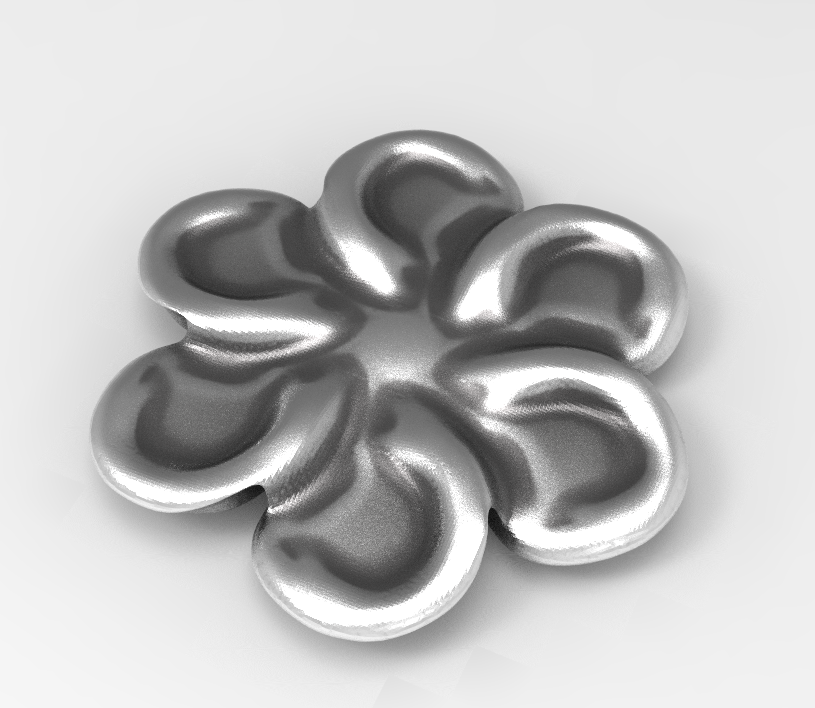
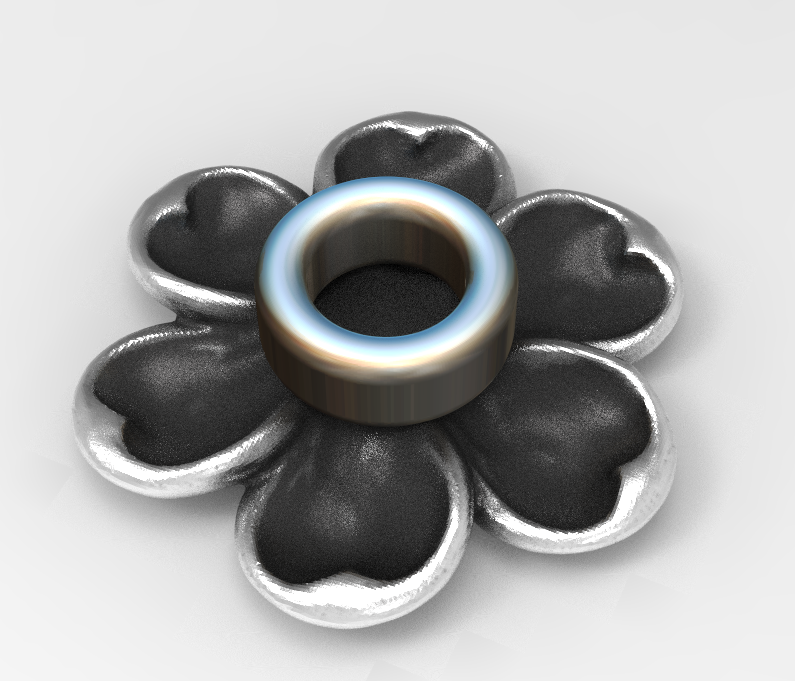
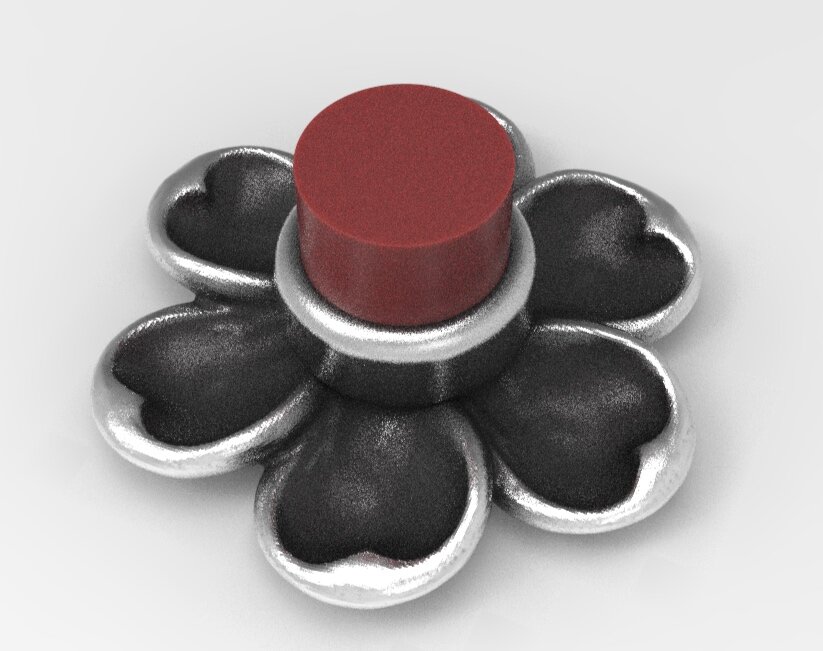
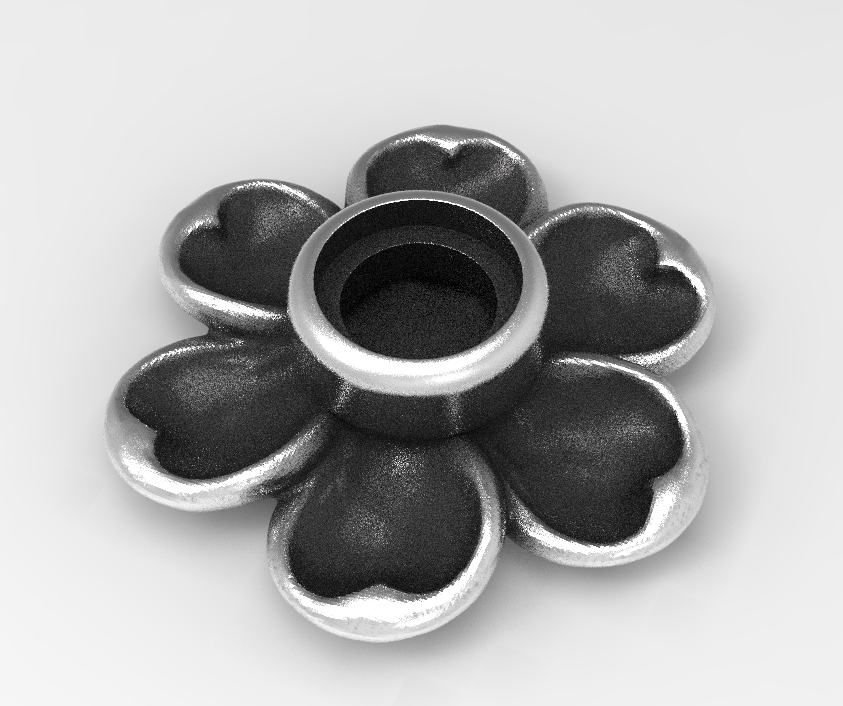
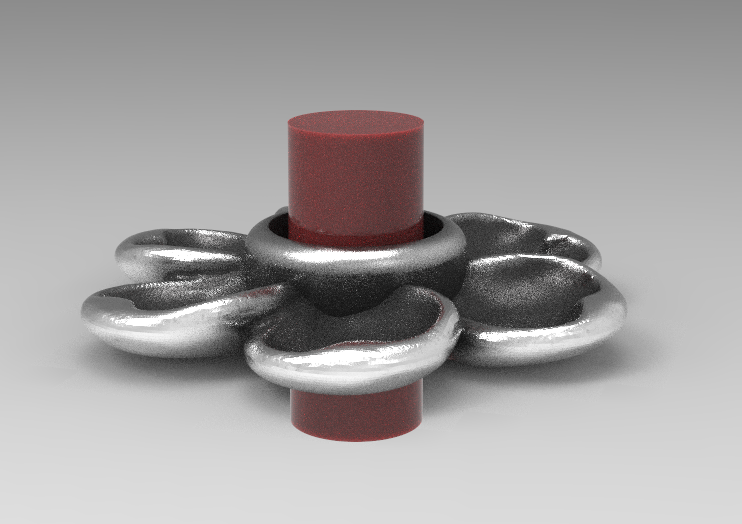
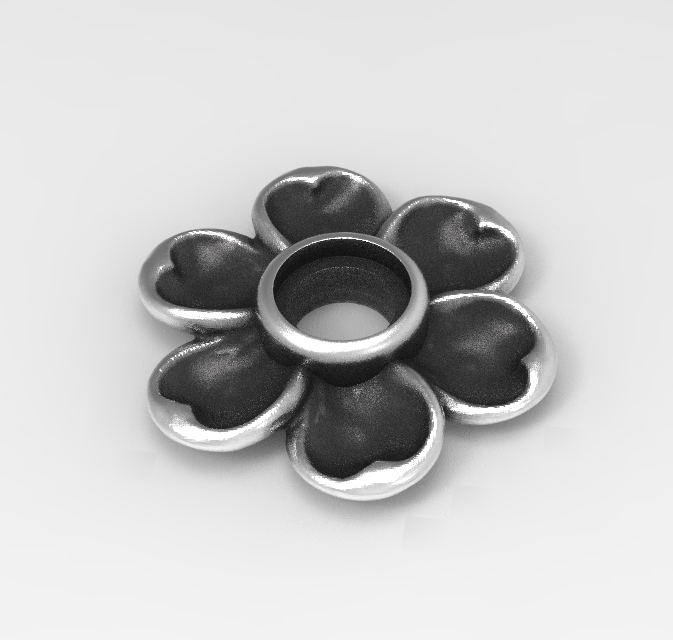
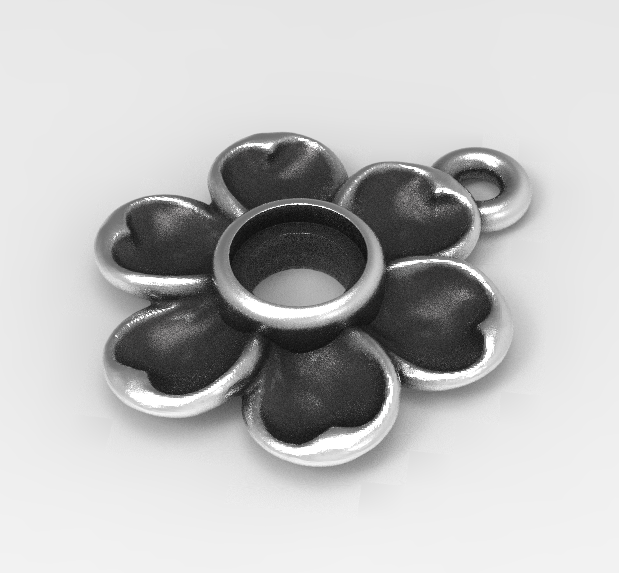
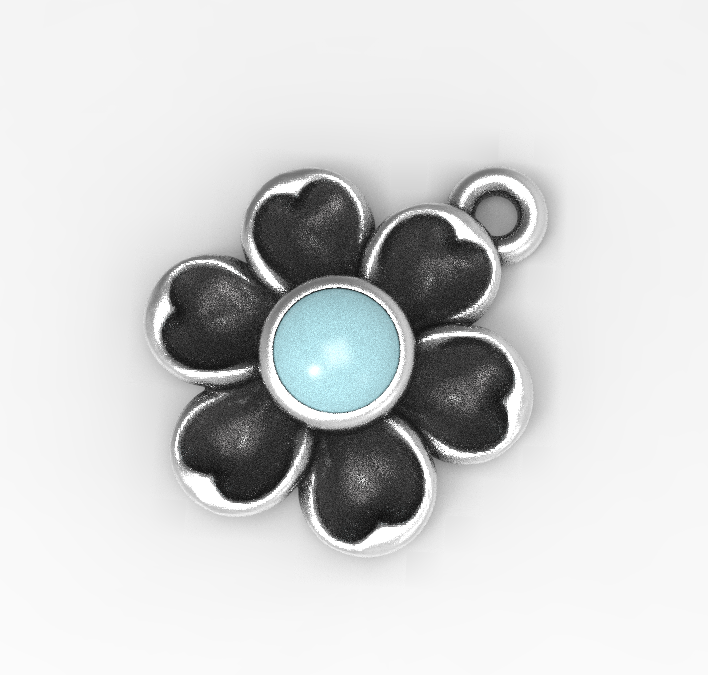
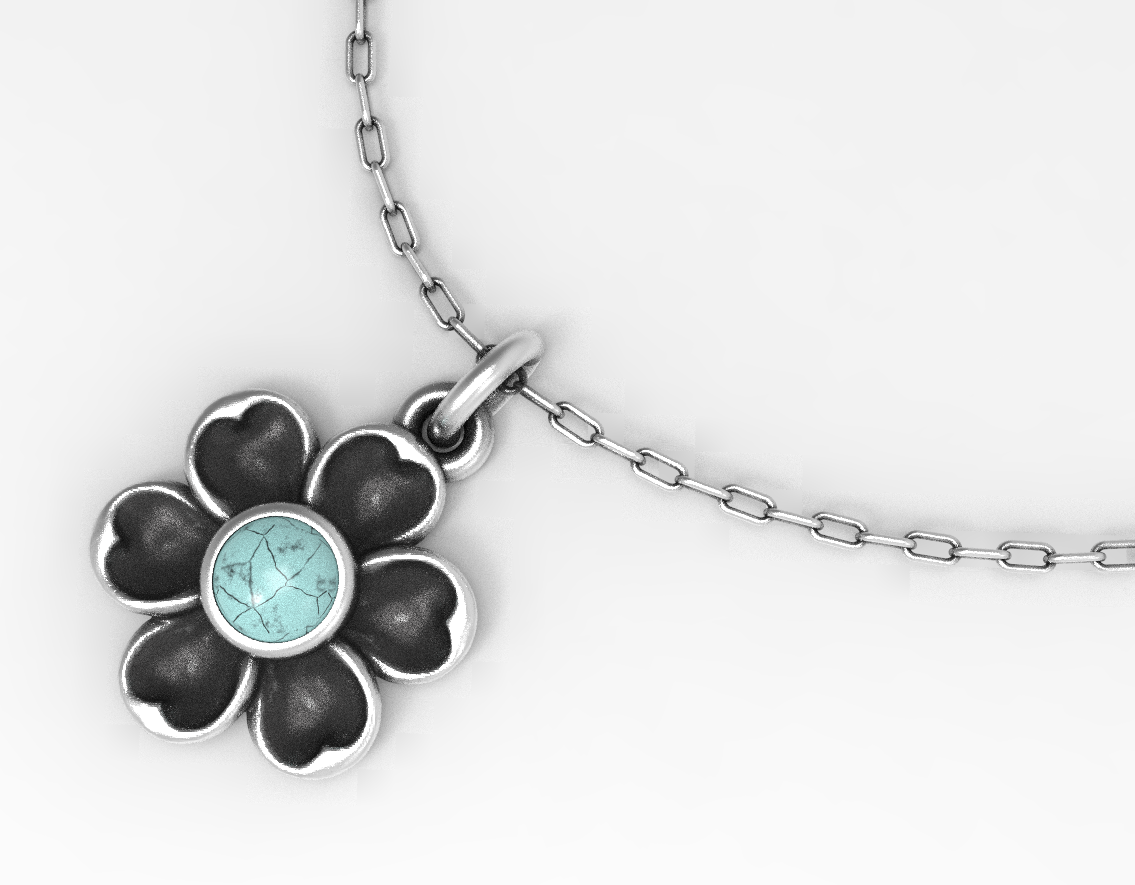
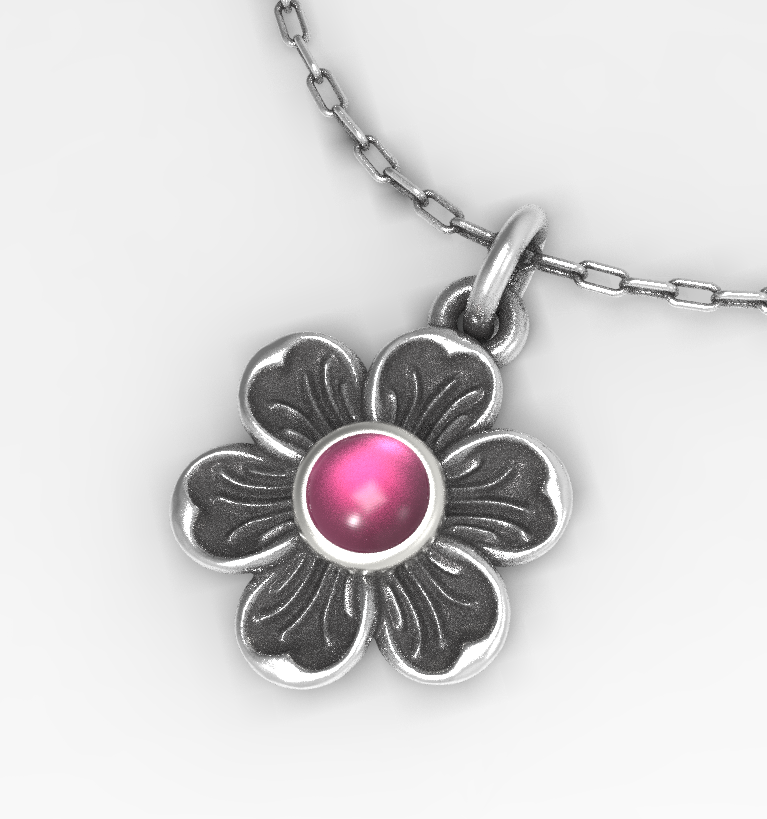
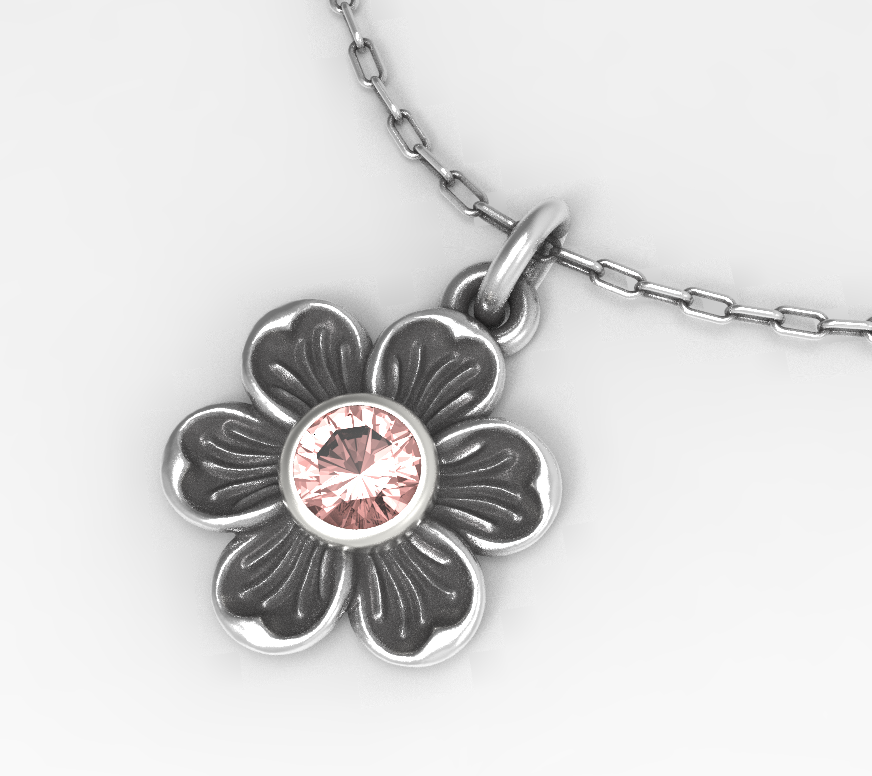
And it’s super late…like 2:47 a.m. on a Saturday, but I couldn’t stop rendering things…anything I could get my hands on. So I thought you might enjoy seeing the process of making a flower charm. It will be in my upcoming ZBrush course.

Anyway, I’m signing off. Time to actually go to bed.

cost of printing @ Shapeways

I had a really great question from a viewer on my YouTube channel yesterday on the flower eternity band tutorial—how much would it cost to have the ring printed and cast? There are several factors that can affect the overall cost, like the thickness of the band and the type of metal. I wear a similar band to this one, and mine is 1.5mm in thickness and it has never bent out of shape.

I’d only sent models out to Shapeways very early in my ZBrush exploration, and even then I’d only had waxes made. So I had no idea what the answer to this question was…so I created a new ring and got it ready for Shapeways. Mind you, there are other great services out there, but Shapeways has a large variety of materials available.

I decided to add a bezel setting to mine with a hole that’s smaller than the stone. I’ll use setting burs and a hammer handset on my Foredom to bezel set the stones. Creating a bezel with a smaller hole gives me flexibility on my stone size. Here are a couple photos of the model in ZBrush:

After creating the ring and resizing it to the desired thickness and ring size, I used Decimation Master to lower the overall file size and simplify the mesh. My ring is around a women’s size 8 US.

Make sure that the model you want to export is all in one Subtool—in my model, I had both the bezels and the flower band which needed to be permanently merged. I used Merge Down and re-Dynamesh to an appropriate resolution, which for full-sized rings in the method I use is a resolution of around 56-80. Then I went to the Plugins menu, and located Decimation Master. I always make a mental note of the ActivePoints above the canvas. Mine started out around 780,000 points.

This process has two steps…because you’re only exporting one Subtool, you only need to use Pre-process Current. That step will take a little bit of time, depending on the size of your model and number of ActivePoints. Once you’re done, the ActivePoint count will not change.

Special note about those ActivePoints: I tend to work with models that are a million points or lower…some artists have high-end hardware and love to work in the 12-20 million point range, but since I primarily work on a MacBook, and I hate waiting for my computer to process things, I learned how to work in lower resolutions.

The second step is to Decimate Current, and this is when you will see a change in the ActivePoints. Once the operation was complete on my model, the ActivePoint count dropped down to 158,000, which is a smaller, more efficient file. It’s easily uploaded to Shapeways by using the Export command in the Tool palette.

It looks like Shapeways has recently changed their landing page, so you can quickly upload a model and select a metal preference. You can also choose the type of finishing—rough, polished, or finely polished. There is an upcharge for those extras, though.

So the answer to the question if I were printing this design would be about $24-35 to print in sterling silver. Although I love wearing this ring so much I’d happily shell out $283 for a gold version!

Also, there is another tool available. See below where it says TOOLS next to the title “Flower Eternity Bezel Setting?” If you click on that you’re directed to a 3D Tools page that will evaluate your model, and give information about the materials and printing.

Check out the images below, or you can click here to see the model for yourself!

a whale of a tale...and merry christmas!

Whale shark charm in ZBrush

Whale shark charm in ZBrush

Well, here we are again, and I took a couple days’ break to unwind from the remodel of my parents’ house. Mind you, I’m having a lot of fun working with an awesome group of guys to rebuild the SEVEN decks at this house, but we’ve got the main deck done and we’re working on the railings. A bit more work on the inside, and we’ll be ready to put it on the market. It’s been a long journey—over two years to clear out the house and do a major remodel.

Anyway, tonight I took a moment to record more ZBrush videos, and then my mind started to wander as I looked for more objects to model into jewelry. I absolutely love scuba diving, and swimming with a whale shark is definitely on my bucket list. I’d found my next model.

I started out with a sphere primitive and used the “Snake Hook” brush in ZBrush (shortcut “BSH”) to sculpt the form. I then used “Dam Standard” to create the ridges down the back, and the “IMM Primitive” brush with a sphere to add the spots. I will apply a patina, then the raised spheres should polish out and give the effect of light round dots. Or they might look like tiny polka-dots…sometimes when designing a small charm, you lose sight of what the larger model on the screen may translate into once it’s printed.

So it’s 1:14 a.m. the morning after Christmas, and I just wrapped up. I’m heading to bed. But I just wanted to share this awesome little guy I sculpted this evening. When I finally get back to my studio and start 3D printing and casting again, he’ll definitely be in the next batch.

And then I’ll have to go find a real one to go swimming with.

whale-shark-charm-pendant-necklace-kat-adair.jpg


physical size, resolution, and file size

I've been out of touch for a little bit as I took on a pretty big project that's completely unrelated to jewelry. If you read my bio, you might have seen that I have a background in construction (of all things!). I've been in the middle of a major remodel of my parents' house, getting it ready to go on the market. If you can imagine, popcorn ceiling removal, paint, a new multi-level deck, and a total re-do of four bathrooms, including moving walls. If you've ever watched that show Fixer Upper, it's kinda like that...except for unlike the show, it doesn't happen over the course of an hour.

size matters

Screen Shot 2018-07-21 at 8.01.48 PM.png
xyz-size-zbrush.png

Yup, size can be a big issue when working with ZBrush. While I don't have a formal answer why, I'm guessing that it's because the program was designed to make things that were abstract—things that lived in a virtual world. So for that reason, size is relative in ZBrush, and measured in plain ol' units. Here you can see the Size sub-palette under the Geometry palette on the right-side of the interface.

The pendant on the stage (only the pendant, not the chain), is a minuscule amount smaller than 25.4 units. Well, if you count this as 25.4 millimeters, this equals one inch across. You can also see the Z Size is 1.61 units, so approximately 1.61 mm thick, which is a nice thickness for a pendant. And likewise, the height is 16.7 mm.

When I first started working with ZBrush, I saw a tutorial that suggested calibrating something called the Transpose Line tool. I struggled with this, and every time I thought I had the size correct, something would change and everything would be off. I couldn't reliably gauge bezel cups or stone settings...or even thicknesses. This also became an issue with the amount that a design or text was raised off or inset into the surface. So finding a way to make this work was really important.

Someone also asked me on YouTube if I used a plugin called "ScaleMaster." The answer is no. I have also tried RingMaster, another plugin, which is nice, but I also had some problems with that. However, I DO use RingMaster to insert gemstones because the models contain minimal polygons, meaning they don't slow ZBrush down.

getting started with a correctly sized model

simplebrush-zbrush.png

So here's the process I use:

  1. From the right-hand side of the stage, click on the yellow "S" that represents the SimpleBrush tool.

  2. Choose the Cylinder3D from the list.

  3. Click and drag a cylinder on the stage. It doesn't matter how large you make it...it comes into ZBrush at an XYZSize of "2" units.

  4. Immediately press the "T" key to switch to the Edit mode.

  5. Press the Make PolyMesh3D button toward the top under the Tool palette.

  6. Look under the Geometry palette on the right-hand side of the window for the Size sub-palette.

  7. Enter "10" in the XYZSize box and hit return to accept the new size.

  8. The primitive is probably taking up the whole window, so click somewhere on the stage to deselect the number in the XYZSize.

  9. Now press the "F" key to fill the stage with the current object.

And there you have an object on the stage.  It's pretty faceted, and not smooth, but we'll deal with that next.

smoothing the primitive

I have a special technique that I've developed to get a smooth object as soon as possible in the workflow. In the beginning, I thought simply performing a DynaMesh operation would smooth it, and I went back and forth between DynaMesh and Polish Features, but with results that weren't efficient or acceptable. So here's how I smooth things out.

  1. Look for a button labeled Divide from the Geometry palette.

  2. Make sure that the Smt button is turned on (this will smooth your primitive).

  3. Click the Divide button twice.

  4. Look above the Divide button for another button labeled Del Lower. This will delete the two lower-resolution subdivisions that you just created.

That should give you a nice, smooth primitive. 

So what happened? Each time that you use the Divide command, ZBrush takes each rectangular polygon and divides it into four polygons. Then when you divide again, it divides each one of those resulting polygons into four more polygons. If you have the Smt button activated, it takes the opportunity to smooth out your model.

You can see the underlying geometry of your model by using the Draw PolyFrame (Shift - F) button to the right of the stage, toward the bottom of the vertical row of buttons.

Subdivisions are wonderful if you're roughing out a shape, then switching back and forth between lower resolution subdivisions and higher resolution subdivisions. Adding material with a brush like the ClayBuildup brush works faster when working with a low resolution. But finer details are better applied with the higher resolution. I'll address this in a tutorial later.

Take a look at the example below...look at the pixillation of the cylinder and the number of ActivePoints. Each time that the cylinder is divided, it QUADRUPLES the number of ActivePoints. This has implications with regard to file size...our strategy is to get a smooth resolution while still keeping the file size down. 

So keep this in mind, and I'll write a little more later...then we'll talk about how working in actual size relates to your DynaMesh resolution. and how you can work more efficiently and on lower-end hardware.

Heck, I can even run ZBrush on my 2012 MacBook Pro! And you know what that means? I can sit in a café in the Caribbean and design jewelry. SWEET!

an experimental earring from a kaleidoscope program

mandala-3.jpg

I'm just putting this experimental earring up here because I think it turned out pretty cool! Created in the new ZBrush Core.

I used a kaleidoscope drawing program that I found on the internet to make the basic design, used the Gaussian Blur tool in Photoshop to blur the jagged edges, then Unsharp Mask to bring it back into focus. The design was then brought into ZBrush as an alpha mask, turned into a polygroup, isolated, then extracted. The resulting mesh was then Dynameshed so it could be sculpted, then divided (using Subdivisions and the Divide function) to give a finer mesh for sculpting.

UPDATE: I’m now using iOrnament on the iPad with the Apple Pencil as a design tool for repeating patterns and mandalas. It eliminates the problem of having to blur the image and sharpen…just use AirDrop and send it over to your computer!

BIG DISCLAIMER: I wouldn't say that this is my best design work, but it was more of an experiment...so carry on.

Rendered image from ZBrush

I used the Helix tool in ZBrush to create the coil on the drop, added some jump rings, then brought in a Cube primitive and Dynameshed it so I could draw a mask and create the darker supports that would recess into the background after a patina was applied. The original supports were straight. The curls add a nice touch that mirrors the swirls on the main design.

By the way...using the MRGB function in ZBrush, you can "paint" different areas to mimic the patination applied during finishing. Just choose a material, and change the color to a darker gray. This behaves a little differently than using the "dirty" silver MatCap material, and results in a more dramatic presentation of the finished piece.

UPDATE: When this earring was printed and cast, it was too thick and too heavy. Thanks to the technology, I was able to shrink the thickness, enhance the scrolls, and reprint. The great thing about having a printer on your workbench is being able to make adjustments and test techniques. 

The models with supports added, ready to print. This version was too thick and too heavy.