I like designing fabricated or cast jewelry with custom glass cabochons, which can be done pretty easily in ZBrush.
After creating your pendant through whatever means you’d like…sculpting, hard surface modeling, the easiest method is to create a separate subtool that represents the stone. It can also be done with a separate polygroup, but my preference is the separate stone which can be duplicated and different cabs tested.
In the image above, the first piece features a cabochon created from a pâte de verre (glass paste) test tile from the fabulous Alicia Lomne’s class I took last October. The second example is a slab of fused glass that I created a few years back that I cut into cabochons, and the final one is a piece of Fordite. Never heard of Fordite? It’s a manmade “stone” from the drippings of automotive paint from factories, and it is sparkly and beeeautiful! You can actually tell the “vintage” by the colors of paint in the layers; for example, a piece of Fordite from the 1970s will look totally different than a chunk from the early 2000s.
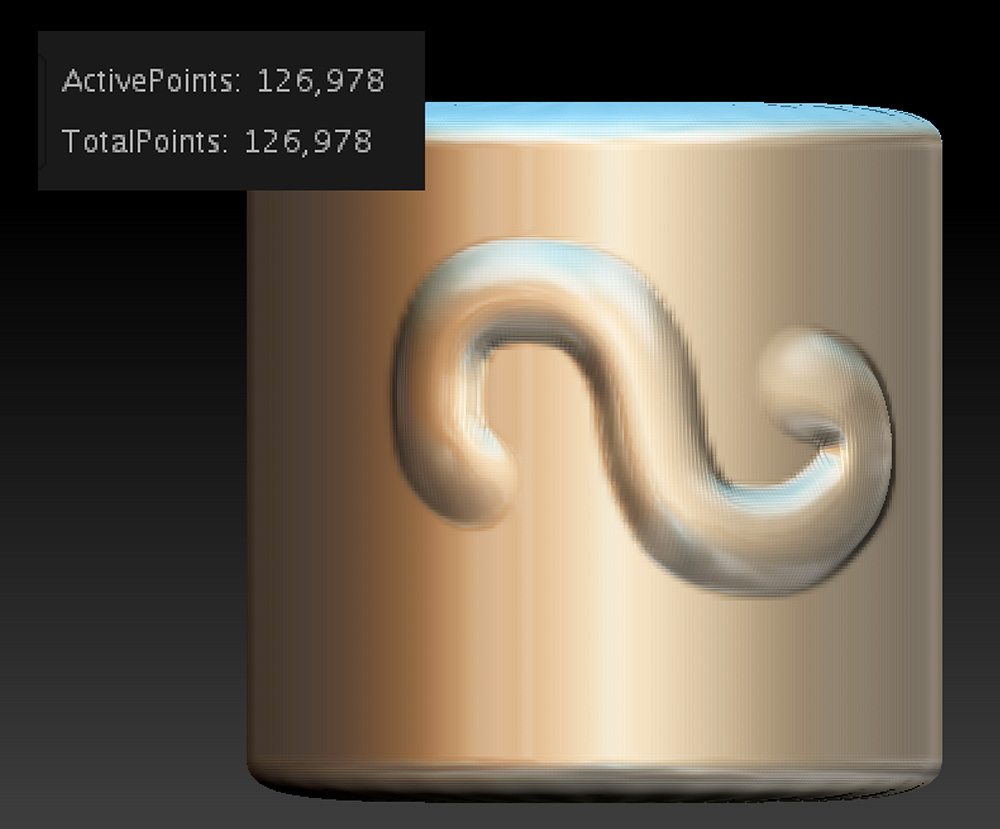
Anyway, your setting for your stone can be as simple as a bezel from one of my bezel tutorials, and create the matching cabochon. I’ll make a video tutorial here shortly to make the pendant above, which was made using the Project Primitive tool, which can be found above the Gizmo 3D in the Move mode.

Moving on…the key here is to apply a material to all subtools before you begin. While in the Draw mode, choose the M button to the left of ZAdd. This enables your material channel. Next, choose MAHmc_Shiny from the Materials picker on the left, then from the Color menu, choose FillObject. If you’ve loaded my custom interface, there is a button on the left under the color pickers for this function.
Now go to the cabochon subtool, and pick a material such as SketchShaded3, then click the FillObject button again. This will assign the material to the cab before we load the texture, giving you a clean slate.

Now, switch to the Rgb channel. Go to the Texture picker on the left side of the canvas. Choose Import at the bottom, and load your texture.
Choose a brush that you don’t use often—I use the Clay brush since I usually use ClayBuildup if I’m sculpting.
Switch FocalShift to -100, which will prevent the texture from being blended around the edges.
Choose DragRect from the Stroke menu, which will allow you to click on the model and drag to resize the texture.
Make sure that the desired texture is loaded under the Texture selector.
Click on the cab and drag to apply the texture. You can resize and rotate as needed.
To view your piece in all its glory, Choose Best from the Render menu. If you’d like to save the image, go to the Document menu and choose Export.
If you’d like to try different cabochon styles, duplicate the cab under the Subtool palette. Use visibility to turn the different cabs on and off, then export each one.
ZBrush pendant with labradorite cabochon; stone image applied as texture
If you’re a graphic designer and want to place your pendant on an alternate background like the image above, you’ll use a “mask” to block out the background in ZBrush. To create a mask, use the BPR render button on the upper right-hand corner of the canvas, then go to the Render menu, look for BPR RenderPass, and look for BPR Mask…click the button and name the file “[whatevername}_mask.psd. Immediately after generating the mast, make sure it’s set for a “Best” render under the Render menu, then export the image again. If you’re unfamiliar with how to use a mask in Photoshop, do a quick search online for “Using alpha channels in Photoshop.” This will allow you to have a version of your ZBrush jewelry without a background, ready to insert into a custom background.
I’ll get a video up shortly that has this technique, but hopefully this will point you in the right direction for adding cool textures! Try it with veined turquoise or a Mexican Agate, just for fun…

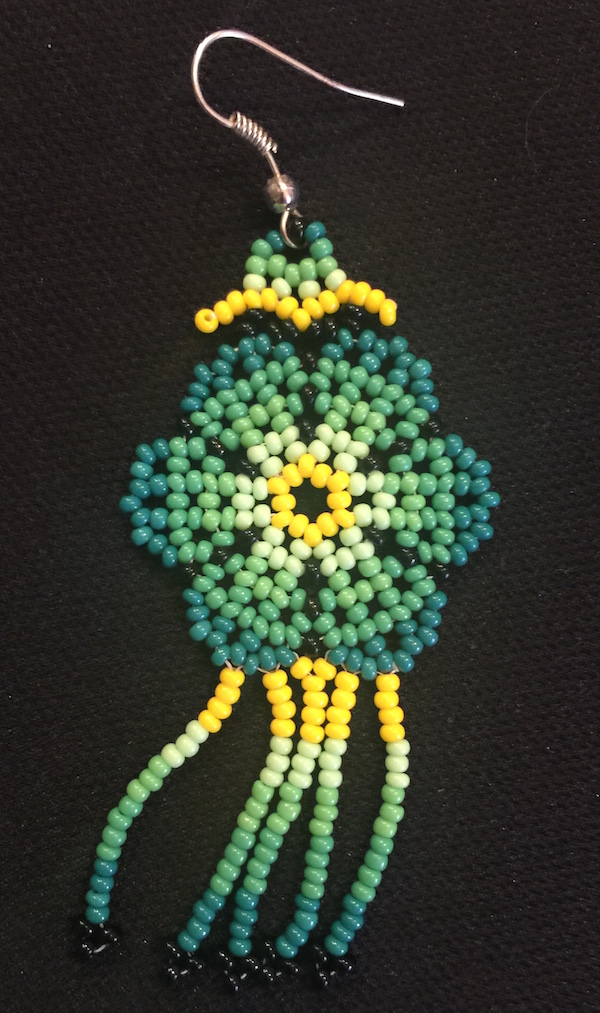
Same texture applied in a different orientation on a pair of earrings
(2) Ocean Jasper cab image from eBay seller waly-beads.
(3) Crazy Lace Agate image from Silverhawk’s Designer Gemstones.
(5) Ocean Jasper from MagicStones on Etsy