ZBrush illustrations and beading tutorials...

Today a thought passed through my mind…since the majority of visitors to my site are looking for Huichol beading tutorials, is there an easier way to create them?

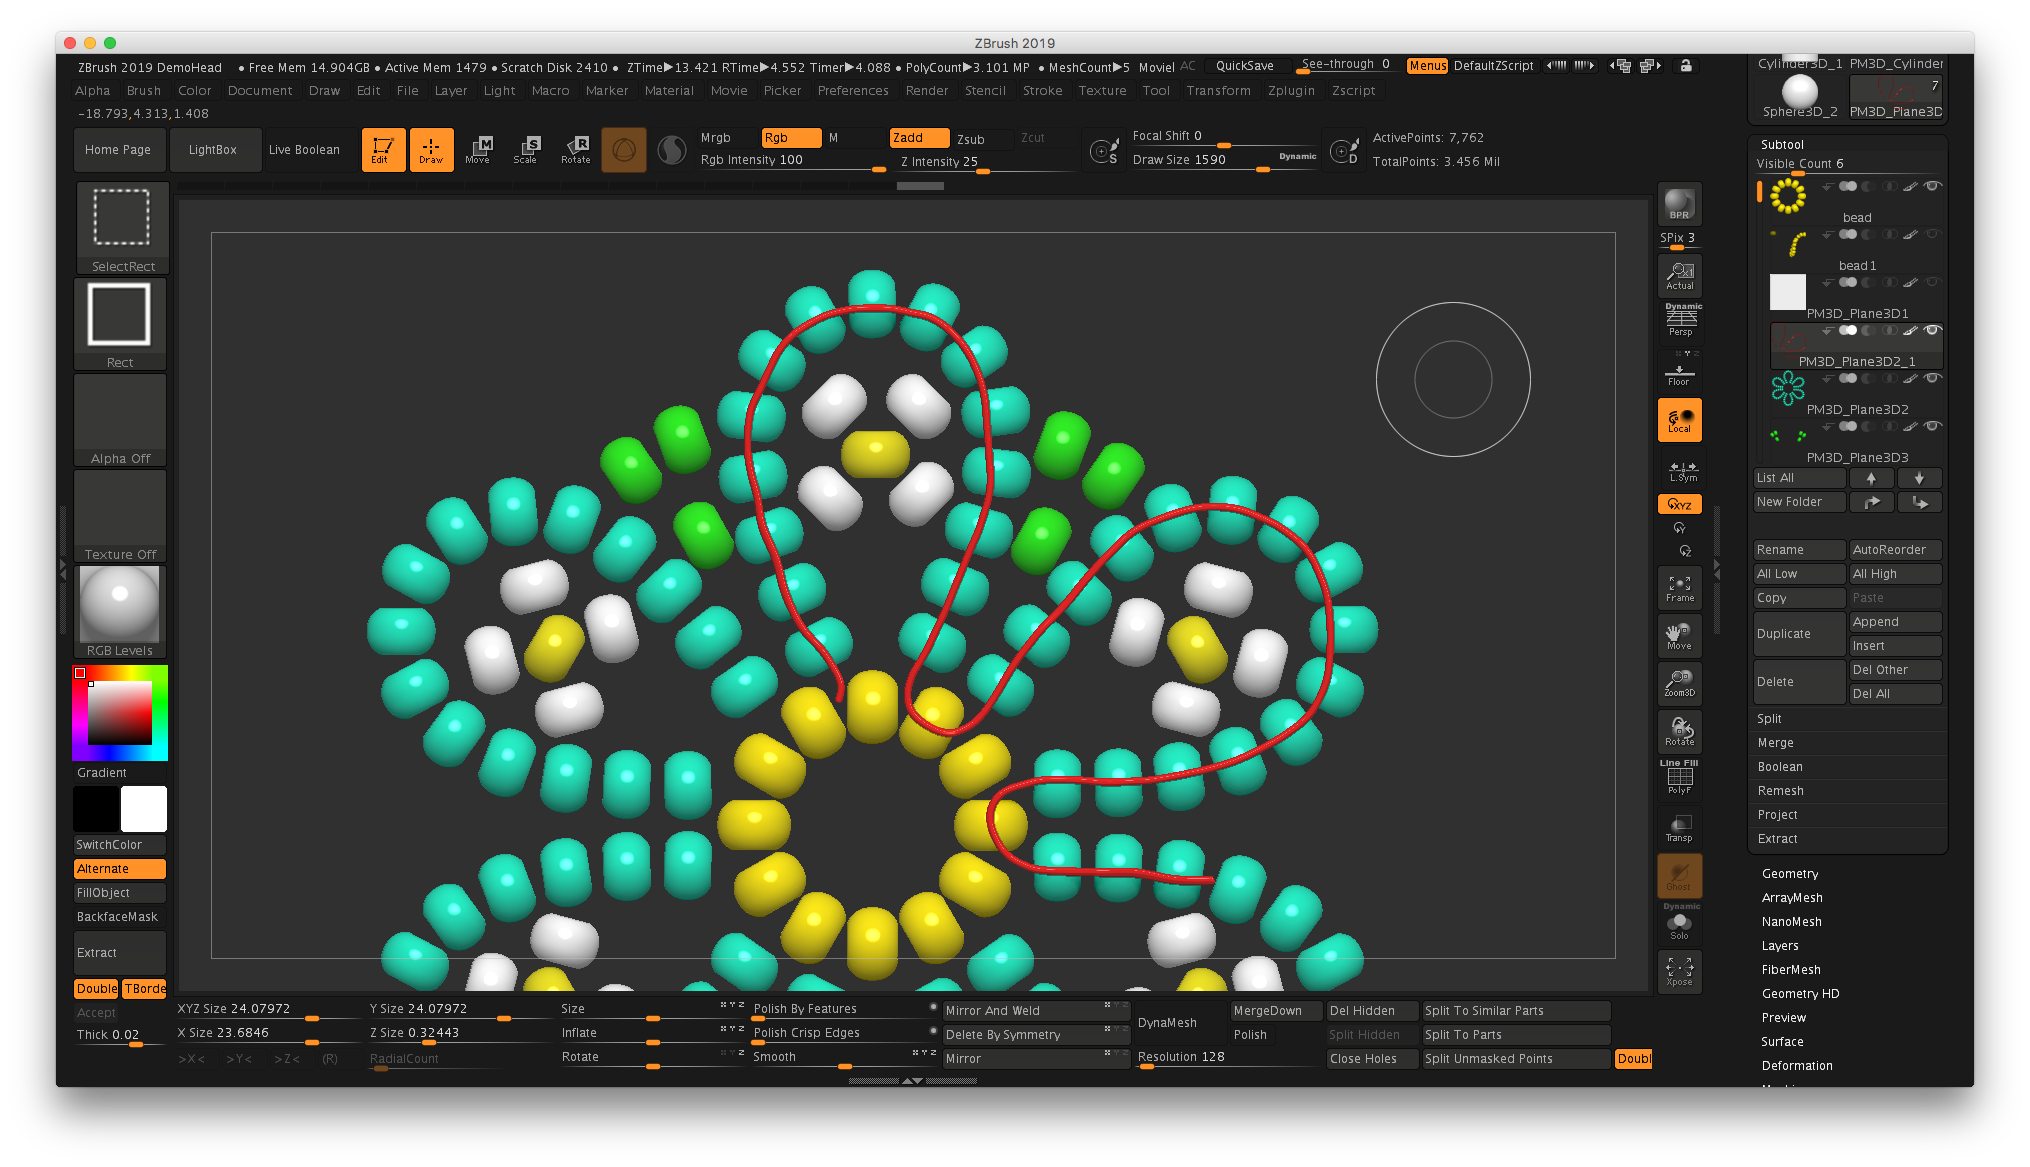
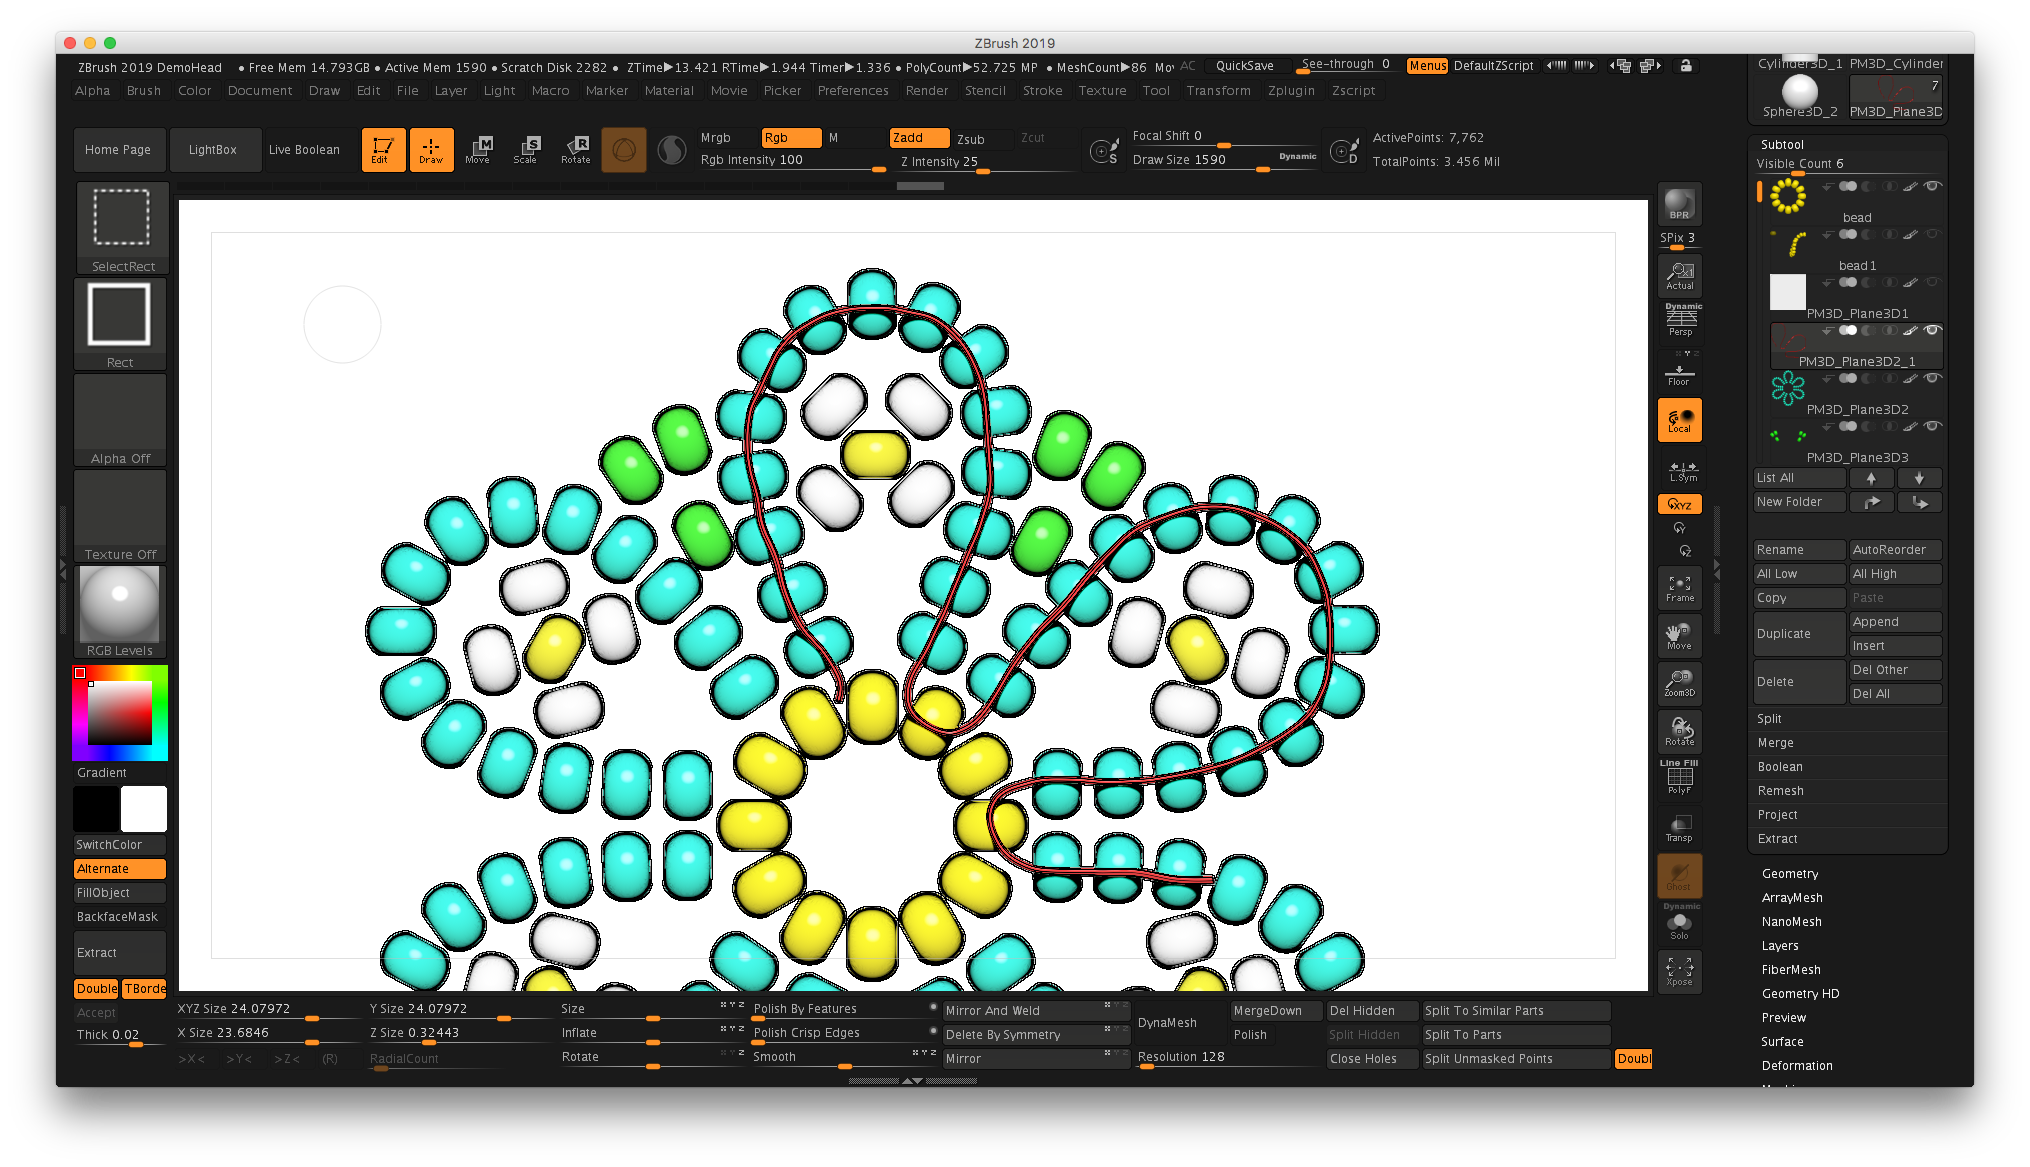
Last night I was playing around with a new feature in ZBrush 2019, the software I use for jewelry design (mostly cast pieces), and realized that I could apply the new “NPR (non-photorealistic) Filters” to the 3D renderings that make them look hand-drawn! What if I created my beading tutorials in ZBrush, then rendered the images, or even put little movies on my site that allowed people to see beading diagrams more clearly?

Voila! I did a quick model this morning, and sure enough, it works.


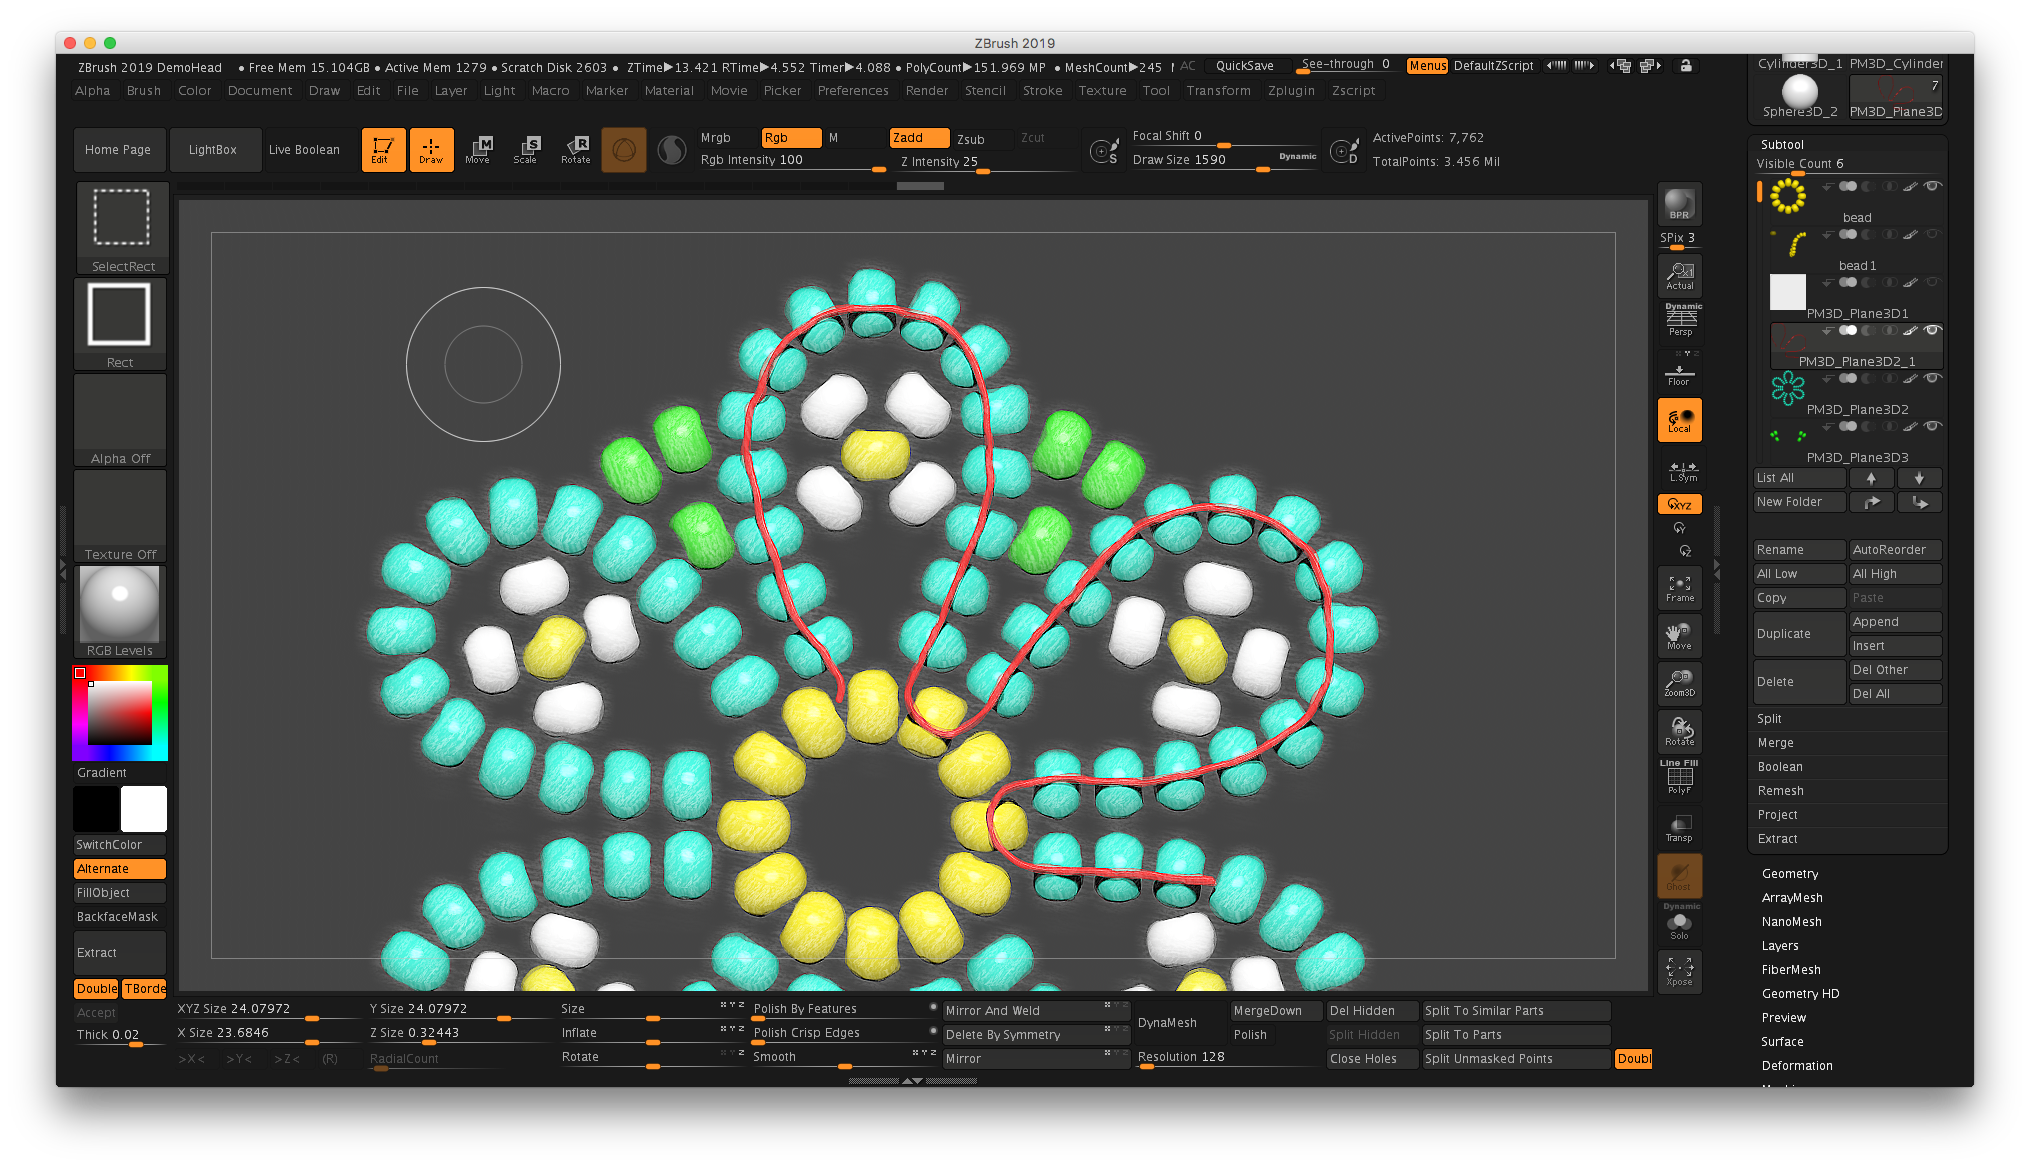
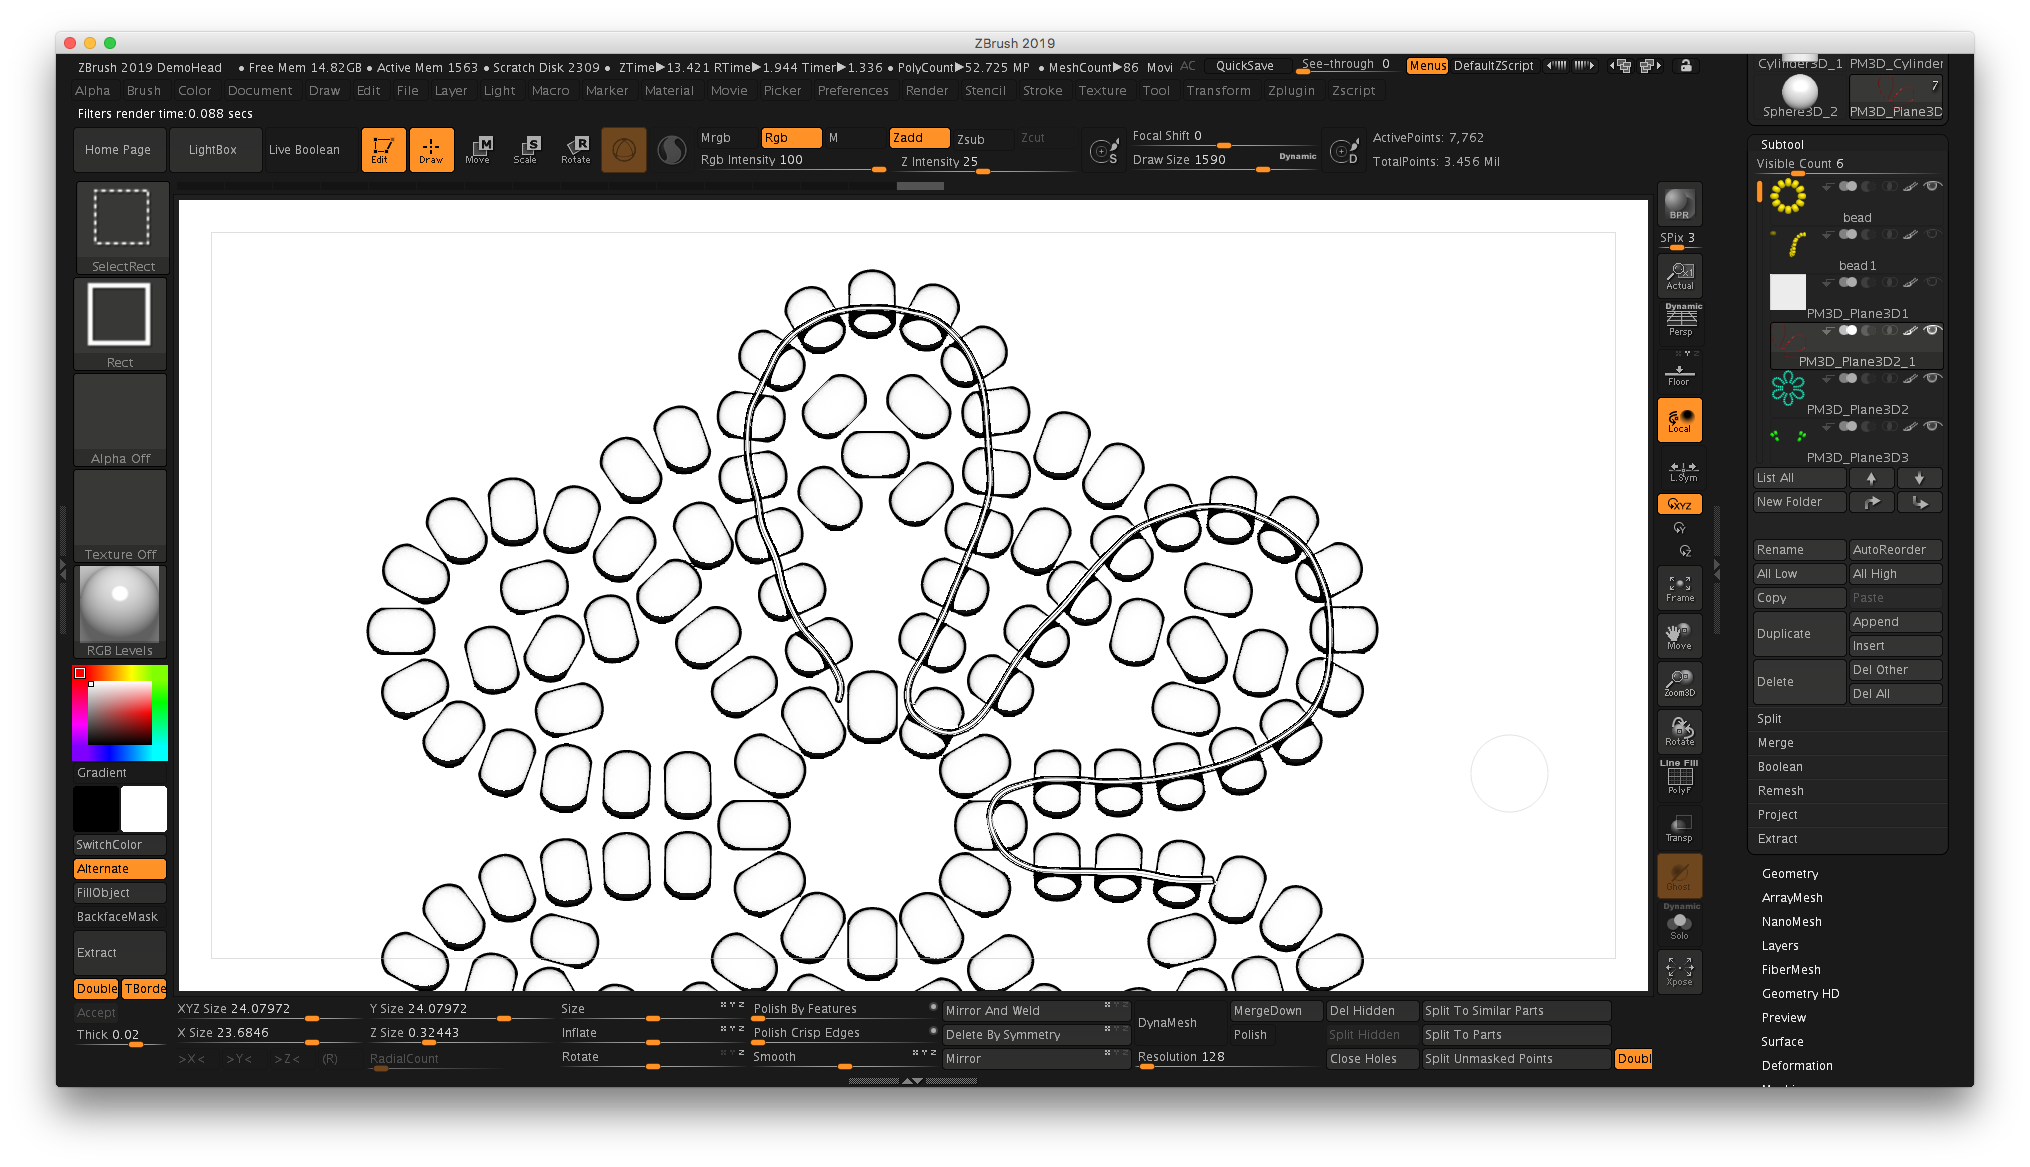
The cool thing is it can also produce a black and white drawing that could be printed so folks could color their own designs, either in a tap-to-color coloring book program on the iPad such as Recolor, or with traditional markers or colored pencils.

Anyway, this should make documentation a LOT easier. Stay tuned!

nelson treehouse charm experiment in zbrush

Oh, these are the kinds of things that I do when I’ve been watching too much HGTV and Animal Planet!

I’ve long been a fan of the show Treehouse Masters and a really fascinating guy named Pete Nelson who—with a crew of extremely talented carpenters—build the most amazing treehouses. Not treehouses like the kind you had as a kid, but true works of art that just happen to be up in the air.

So tonight while watching I started thinking about my dream job building treehouses with Pete Nelson. Since they’re in Washington State, I’m guessing that dream will probably never happen.

But I could still make a treehouse charm! Inspired by Pete’s wonderful Fall City treehouse, I created a little charm in ZBrush. I haven’t really paid attention to the castability…this was more of an exercise.

It involved a lot of subtools, and a custom chain. The main treehouse was created out of a Cube3D primitive, trimmed using the Clipping function. The deck was extracted from another cube, drawn freehand with a lasso mask.

I’ve kept all of these subtools separate…for example, I may resize the trees to make the volume of the two trees on the left more closely match the tree on the right so it would sit correctly.

Still not sure how I would sprue this puppy for casting, but it may make its way to my printer in the next few weeks.

And who knows? Tonight’s episode featured Pete and the guys here in Texas building a treehouse near the Frio River. I’d even volunteer for free if he ever needed help here in the Lone Star State. I have tools and a tent and a ukulele!

Pete, call me!

A proof-of-concept charm based on Pete Nelson’s Fall City treehouse

A proof-of-concept charm based on Pete Nelson’s Fall City treehouse

a whale of a tale...and merry christmas!

Whale shark charm in ZBrush

Whale shark charm in ZBrush

Well, here we are again, and I took a couple days’ break to unwind from the remodel of my parents’ house. Mind you, I’m having a lot of fun working with an awesome group of guys to rebuild the SEVEN decks at this house, but we’ve got the main deck done and we’re working on the railings. A bit more work on the inside, and we’ll be ready to put it on the market. It’s been a long journey—over two years to clear out the house and do a major remodel.

Anyway, tonight I took a moment to record more ZBrush videos, and then my mind started to wander as I looked for more objects to model into jewelry. I absolutely love scuba diving, and swimming with a whale shark is definitely on my bucket list. I’d found my next model.

I started out with a sphere primitive and used the “Snake Hook” brush in ZBrush (shortcut “BSH”) to sculpt the form. I then used “Dam Standard” to create the ridges down the back, and the “IMM Primitive” brush with a sphere to add the spots. I will apply a patina, then the raised spheres should polish out and give the effect of light round dots. Or they might look like tiny polka-dots…sometimes when designing a small charm, you lose sight of what the larger model on the screen may translate into once it’s printed.

So it’s 1:14 a.m. the morning after Christmas, and I just wrapped up. I’m heading to bed. But I just wanted to share this awesome little guy I sculpted this evening. When I finally get back to my studio and start 3D printing and casting again, he’ll definitely be in the next batch.

And then I’ll have to go find a real one to go swimming with.

whale-shark-charm-pendant-necklace-kat-adair.jpg


the rubber chicken pendant

I haven’t blogged in awhile because I’ve been remodeling my parents’ house. But while preparing a portfolio piece for a jewelry company, I made a series of sheets that show the design process of some of my more recent work.

Click to download the PDF of this file.

Click to download the PDF of this file.

So how did I make this little guy? I started with a DynaMesh Sphere from the Lightbox, then turned off Perspective. I used the Gizmo 3D in the Move mode to stretch the sphere into an egg shape.

Switch to the Draw mode. Using a mask where the neck should go (Cmd on Mac, Ctrl on PC), I reversed the mask (Cmd/Mac, Ctrl/PC and click on background) and used the Gizmo 3D “ball” in the Move mode to pull the neck out. Since your primitive is already a DynaMesh, after each major change, re-DynaMesh to refresh the mesh. If you want to see what’s happening, on the right side of the main canvas look for the PolyF button with a grid on it.

Using the same method, turn on Symmetry under the Transform menu, then you can mask off both legs at once in the Draw mode, then switch to the Move mode and use the Gizmo to pull the legs down.

Try using the Snakehook tool to pull out things like the toes on the feet…play around with the size. The shortcut for Snakehook is B-S-H on your keyboard.

Switch to the Clay Buildup tool for sculpting details…a good tip is to turn your intensity down to 5 so it doesn’t apply much material, which is easier to smooth with the shift key. The keyboard shortcut for Clay Building is B-C-B.

The arms were masked off, mask reversed, then pulled out to each side. Try using symmetry to do this, but you will need to move the Gizmo to the general vicinity of one of the arms…when you pull out to the side, it will “raise” both arms at once. To move the Gizmo, hold down Option/Mac or Alt/PC and drag the Gizmo over the masked area for one of the arms, release the key, then use your mouse to pull the horizontal arrow away from the body. Clear the mask and fine-tune with sculpting. To re-center, click on the third icon above the Gizmo to find unmasked center.

Another trick? After masking, you can hold down the Cmd/Mac or Ctrl/PC and click ON the model to soften/blur the edge of the mask. This will provide nice, rounded arms.

And finally, the t-shirt was applied to the chicken using a mask and the Mask Pen. Try switching the stroke to Lasso if you’d like. Sharpen the mask by clicking on the model while holding Cmd-Option/Mac or Ctrl-Alt/PC. Then use the Extract command from bottom of the SubTool palette.

I’ll do a tutorial on this one soon, but hopefully this will get you started!