choosing a printer

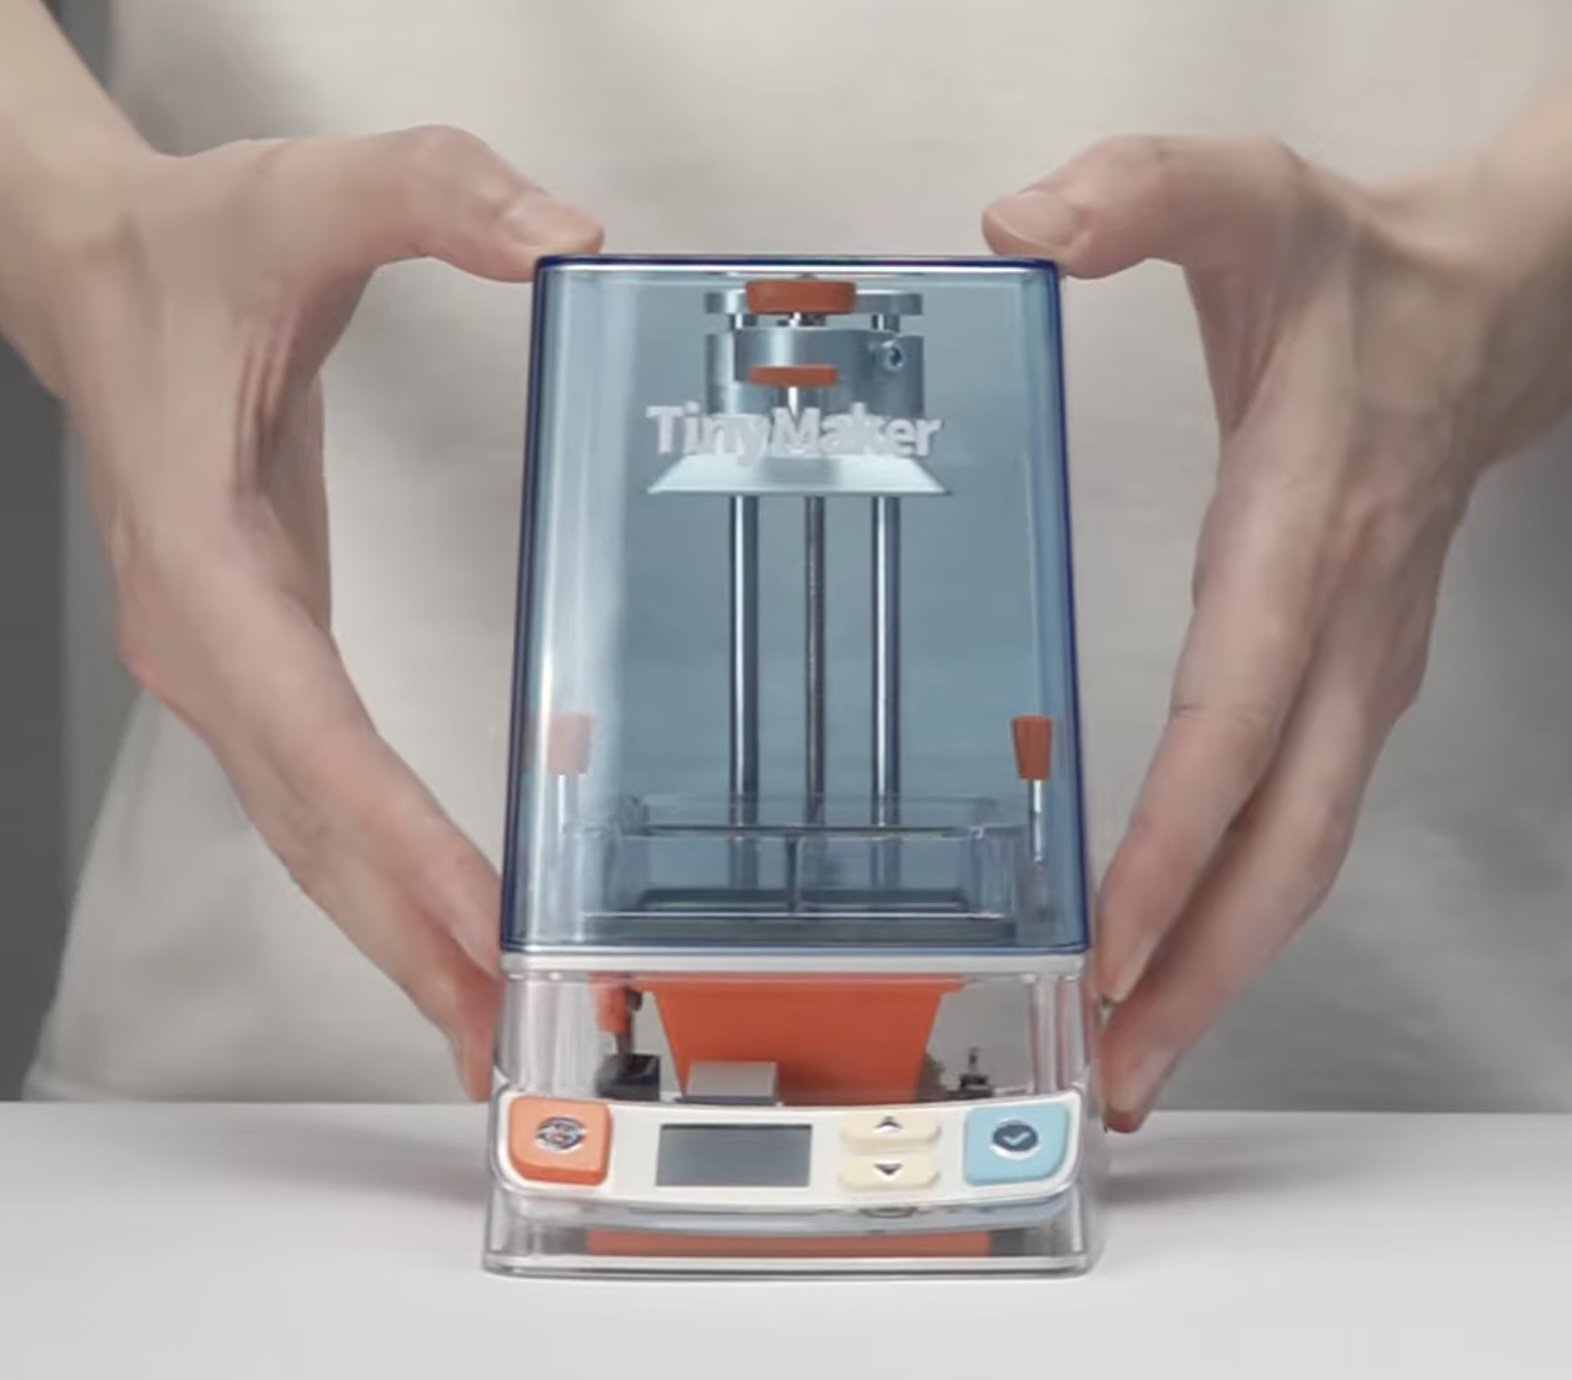
So here we go! A friend today said “Kat, you may have a problem.” Okay, so I bought my sixth 3D printer a week or so ago, because I found a really cute resin printer on Indiegogo called the TinyMaker that was too cool to pass up. I mean, doesn’t everyone take a 3D printer on vacation? So this is resin printer number three, and I’m on filament printer number three as well. What’s the difference?

filament printers

If you’re a glass artist or make pottery, this is what I recommend. Filament looks like a roll of plastic Weedeater twine…it’s pretty inexpensive, it’s easy to print.

There are many different types of filament:

  • PLA (basic, matte, silk, transparent, glow in the dark, glitter)

  • ABS (heat resistant)

  • PETG (food safe)

  • Wood (stainable!)

  • Carbon fiber (strong, reinforced)

  • Castable filaments (burns out in a kiln)

  • TPU (flexible, like those “jelly” shoes from the 1980s)

And there are MANY more out there. There are also companies like TimePlast that make soap filaments so you could print your own custom soaps, or even “fish bait.” Check out their page. Bizarre.

The easiest to print is PLA, and I’d recommend basic or matte as a place to start.

resin printers

Now, I don’t recommend resin printers for glass artists, but I use these for creating smooth, high-resolution models for casting jewelry. The print beds are usually fairly small when compared to filament printers, so we’ll stick to filament printers for now. My current resin printer is an Elegoo Saturn 4 Ultra. I can use castable resin for lost wax casting of jewelry, or print cheaper resins and make silicone molds for wax injection.

I love my first resin printer, a Formlabs Form 2 printer, but unfortunately their new business model involves charging customers who need to use other specialty resins. The Form 4 printer is $3,499 last time I checked, but then they charge $875 for a “license” to use other castable resins. So I bought the Elegoo.

what brand of printer do I recommend?

Bambu H2D with HT (high temp) and AMS 2 (color changer) units

There are many, many companies making 3D printers, so there are a lot to choose from. My first was an Ender 3 Pro, a printer from Creality which was maybe a little over $250. My second was a printer I backed on Kickstarter, the AnkerMake…made by the same company that makes power banks that you find on Amazon, maybe $599? I’ve also used another rock-solid printer called a Prusa MK4, which is what you’ll find at Pilchuck Glass School and Pittsburgh Glass Center.

But my third printer—the one I use now—is a Bambu H2D. And as much as I LOVE this printer, it’s overkill for what most of you might be doing, with bit of a higher price. Why did I choose it? I’m glad you asked…

features

Here’s what I was looking for after working with other printers:

  • Wireless printing was a MUST. I got tired of running back and forth with a MicroSD card to transfer files. Also, printers with Wifi allow the user to monitor printing progress via streaming video.

  • Auto-leveling bed. “Leveling” is actually a calibration that ensures the nozzle is a consistent height above the bed. The Ender required that I use a piece of paper and some knobs to perform this adjustment each time I printed. Never again! 😕

  • An enclosure. I had difficulties printing higher temperature filaments like ABS with my AnkerMake, so an enclosure helps maintain temperature. It’s also very helpful if you’re in a high-humidity environment, because a lot of filaments are “hygroscopic,” which means moisture in the air can cause printing problems. You can add third-party enclosures to other printers, but I wanted one that was incorporated with a heated chamber.

  • Larger print area. The H2D has a larger print area—about 13”x13”x13”. That’s actually the reason I chose the H2D. The other Bambu printers have a build area that’s about 10”x10”x10”, which is still a really nice size.

  • Color changer. I used to think printing color was a gimmick, but when I bought the H2D I added it on a whim. I have since changed my mind on this, and printing with color is a blast! See the cool Cactus Chess Set from the subscription site ForgeCore below. There were a couple other reasons to have this…the color changer is also a great place to store your most frequently used filaments in a humidity-controlled environment, and there are also special filaments that can be used to support the model while printing that are water soluble. More about that later.

my recommendation for glass folks

So that brings me to my recommendation for my glass friends. And I will preface this section by saying that I am not compensated in any way by Bambu for my recommendations. No affiliate links, nada. I’m just really impressed with my latest purchase.

I would not hesitate to purchase a printer from other mainstream companies like Prusa. I just think that Bambu has done a really awesome job of making a printer that’s easy to use.

Probably a good place to start is budget. I would say if you can swing $600 for a printer, I would take a look at the Bambu P2S, which as of this writing is $549 on Bambu’s site. They have free shipping, and usually when you buy, they will have a discount available on their filaments (40% right now!). If you can swing $749, you can get the P2S with the “AMS 2” color changer unit. This printer is a little faster than my second recommendation, and has a really nice color touchscreen that makes it super easy to use.

My second recommendation would also be a Bambu printer. The Bambu P1S printer alone right now is $369. It has a more basic screen, but is a solid printer. There are two different “AMS” units, which are the color changer units; the AMS 2 actively heats the filaments and maintains low humidity, so I would recommend spending a little bit more for the AMS 2 version. With that extra feature, the price is $539 as of August 2026.

My thinking is that for most people, the color changer is not critical, and it can be added to either printer in the future, so there is an upgrade path.


There are also two other H2 models…the H2C and the H2S. The H2S is a “single nozzle” version of my printer that makes it a bit more affordable, and the H2C has induction heating for faster color nozzle changes with less waste. Both of those have the larger build volume, but I think they’re overkill for what most glass artists might need. The details on the three printers are here.

Feel free to comment below if you have questions…I’m more than happy to share!
3D printing for glass artists

I’ve gotten a lot of questions about 3D printing from fellow glass artists, so I thought I would share some of my thoughts on printers, CAD programs, and filaments. The good news is that there are a lot of options out there that are quite affordable, so even a beginner can get started with a printer without a lot of upfront expense.

You don’t even have to know how to create 3D models…there is a plethora of 3D models out there—some free, some not—that you can simply download. But as glass artists, being creative people, you’ll eventually have ideas that will lead you down the path of making your own.

Let’s break down the process:

  • Obtain or create a model

  • “Slice” the model

  • Print

So what the heck is slicing? It’s preparing the model—cutting it into horizontal layers—in a way that can be sent to the printer. If I have a three-dimensional model, the printer’s nozzle will “draw” each layer. It’s kind of like a tiny glue gun, pushing out plastic through a nozzle onto a print bed. Each layer builds on the previous one. This little animation is a preview of a layer being drawn on a little flower model that I designed in ZBrush.

But once that preparation is complete, you send the file to the printer and the magic begins!

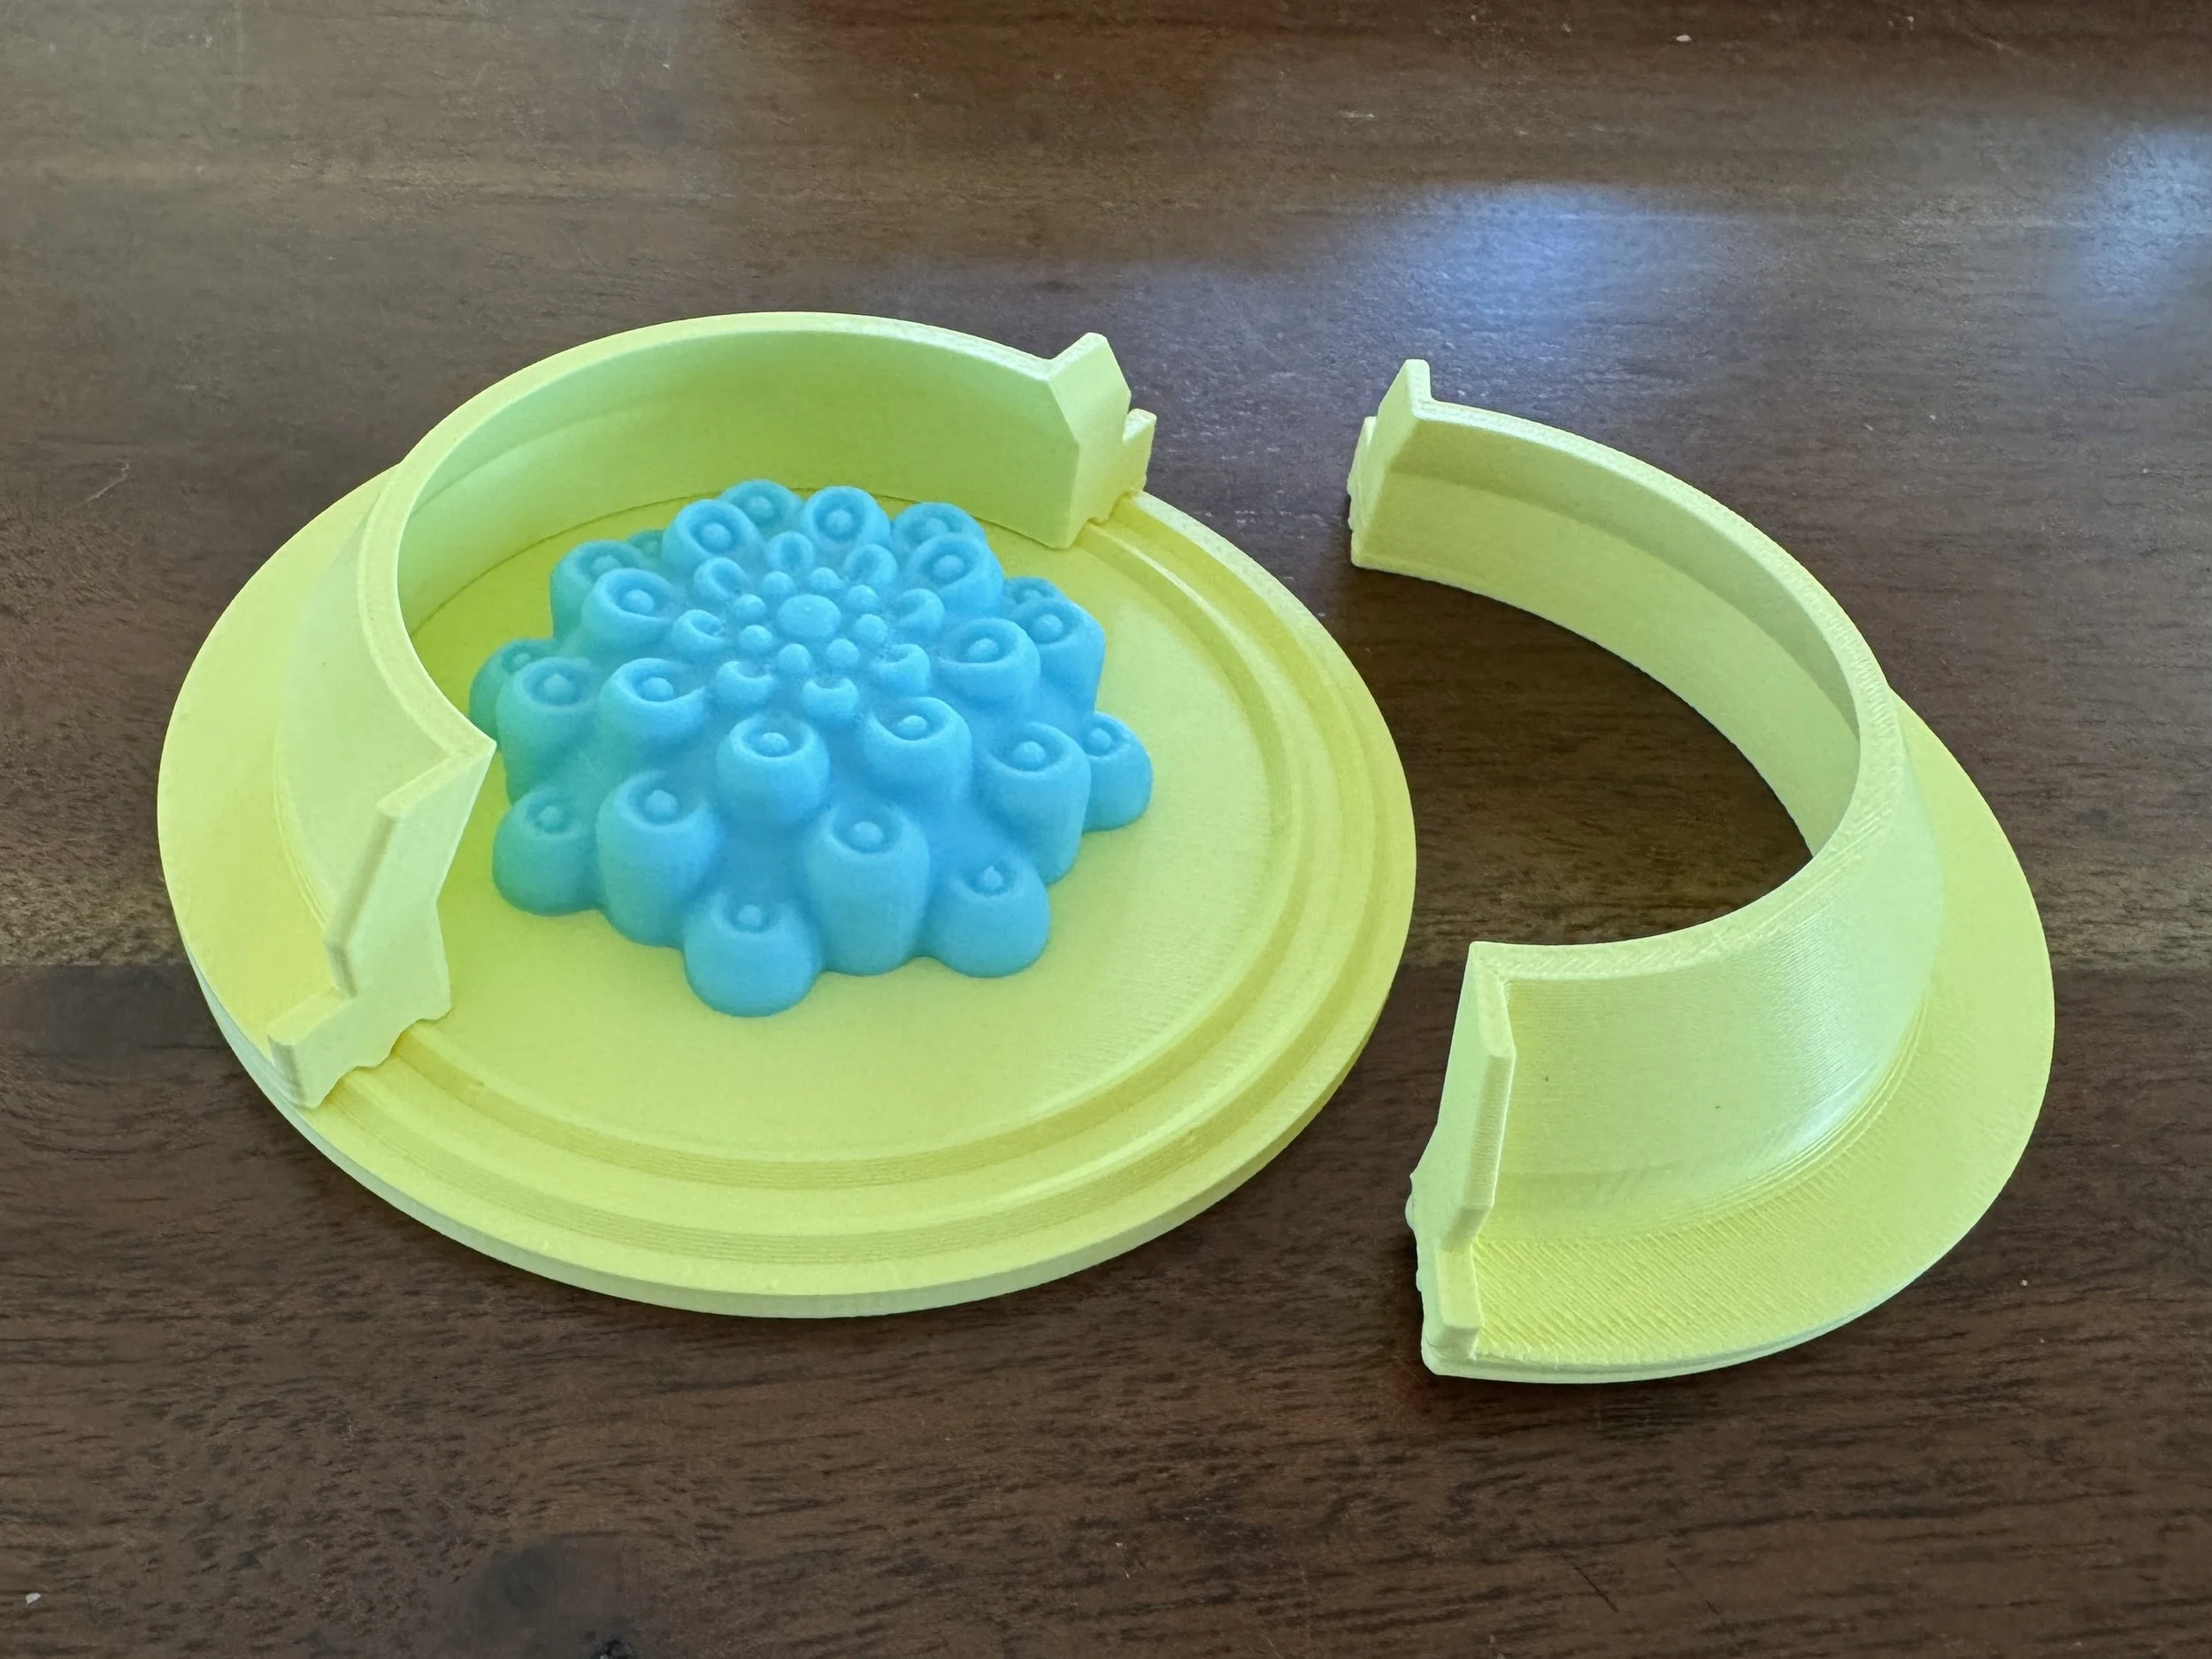
A setup for making a silicone or plaster mold

The mold above was created for making a silicone press mold for clay, but could also be used with refractory plaster/silica for casting in glass. I’m also using these techniques for making slipcast molds for casting glass.

The prints shown here were created with my Bambu H2D filament printer…we’ll talk more about the types of printers in my next post. I’ll talk about why I chose this particular printer, and talk about more affordable options that I recommend.

and now for something completely different...rendering??

So earlier this week I made the mistake of downloading the trial of something called Keyshot. Here’s the deal…when you model something in ZBrush, or any basic CAD program, it doesn’t look like a photo. If you watch those home shows on HGTV, they’ll show a CAD drawing of the home, but it’s not until later that they show the fancy, more-realistic view. That’s an extra step that can take a lot of time and some expensive hardware and software. And that’s how movie studios get realistic animated creates…they’re all RENDERED, adding some photo-realism.

(click to enlarge) Using Nanomesh in ZBrush as a test to make a pavé ring…

I had heard that ZBrush has a partner in crime when it comes to making that photorealistic stuff…but I also heard it was almost $1800! For “real” jewelers who sell expensive jewelry, they probably don’t bat an eye at that price. But for someone making casual lifestyle jewelry, that’s almost as much as a 3D printer.

I knew the need was there, though, so I started researching while working on my ZBrush course. I tried Blender, which is free, but OMG…it made my head hurt. Maybe Keyshot was more user-friendly? (Hint: It’s almost a religious debate among CAD folks…) Might as well know something about it. That was a mistake…I’m hooked. Do I really ever have to physically make jewelry again? This CAD thing is SO MUCH CLEANER! I’ll just look at my stuff on the screen and imagine I made it. But I guess that’s cheating future archeologists!

kat-adair-kramer-zbrush-jewelry-keyshot

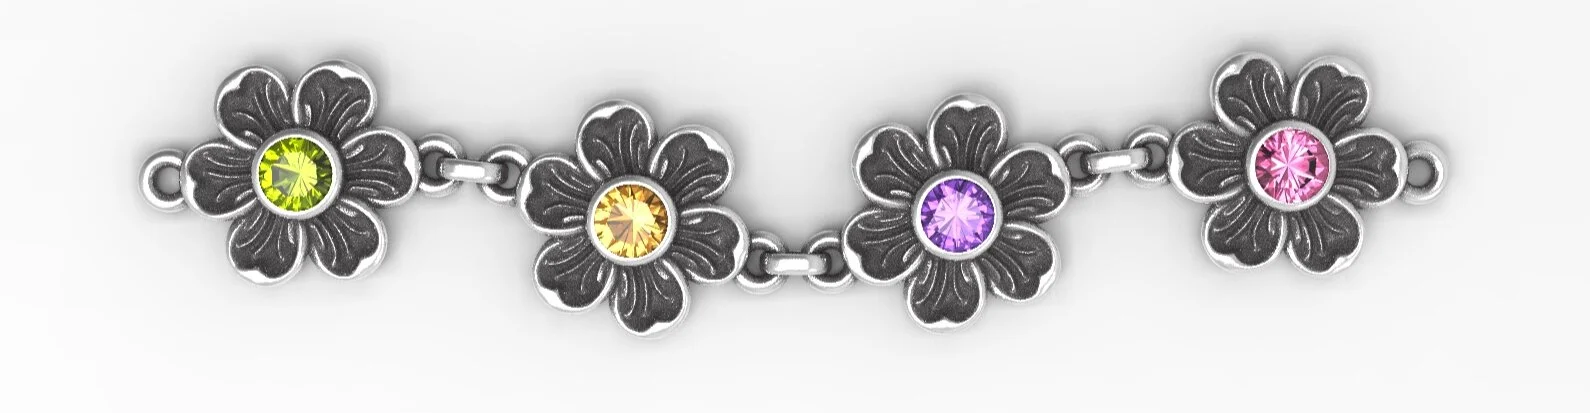
So here’s the interesting part. That cute little start to a bracelet above? It’s not real. I modeled it in ZBrush and rendered it in Keyshot. It does not exist in a physical form. How will we know what to believe anymore??

Anyway, I realized that I got the price wrong, and that there is a version specifically for users of ZBrush that’s $200, then there’s something called the ZBrush to Keyshot Bridge that costs another $149. At least I’m hoping that’s what it costs. I MUST have this. Forget designer shoes!

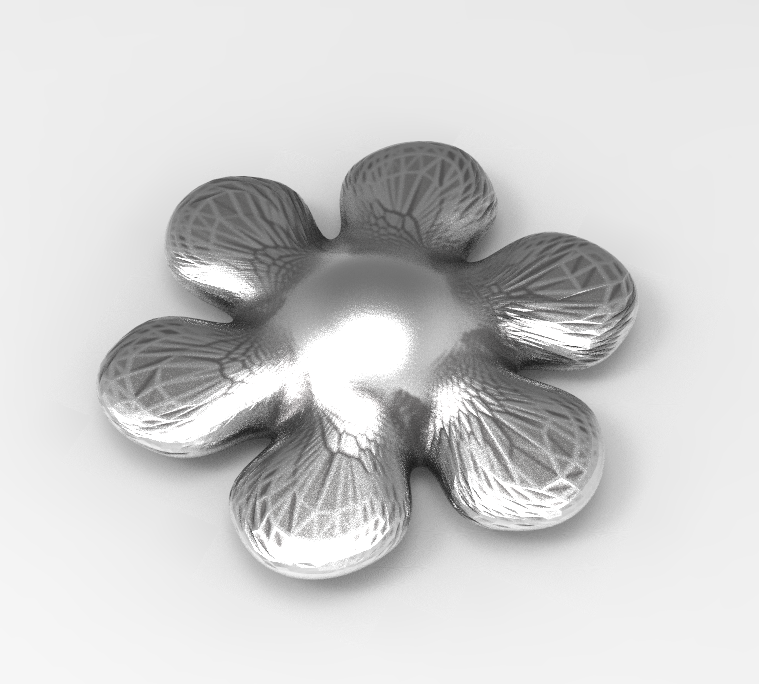
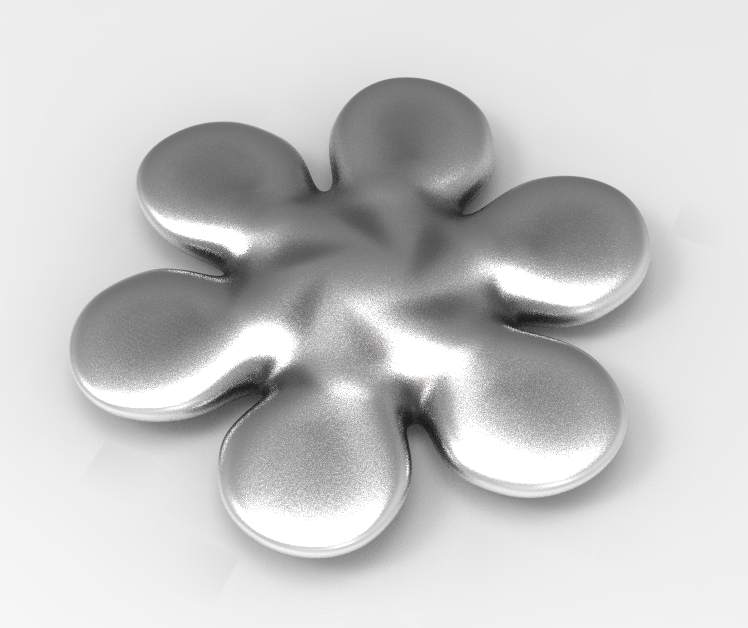
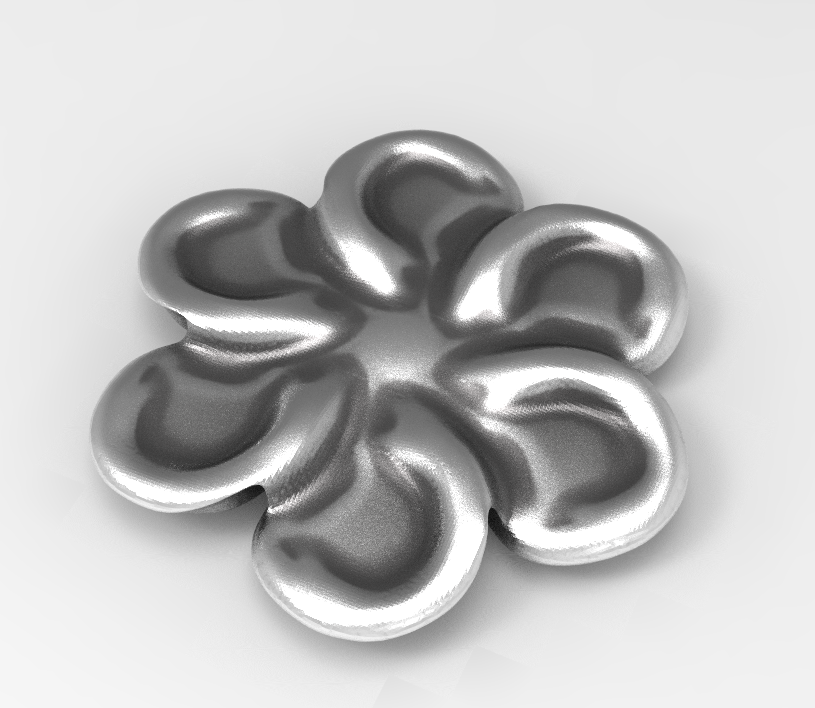
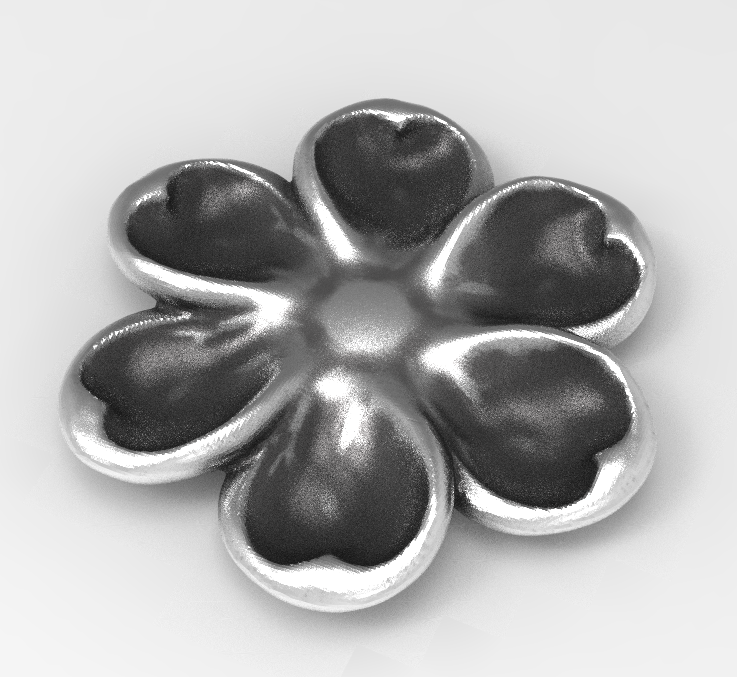
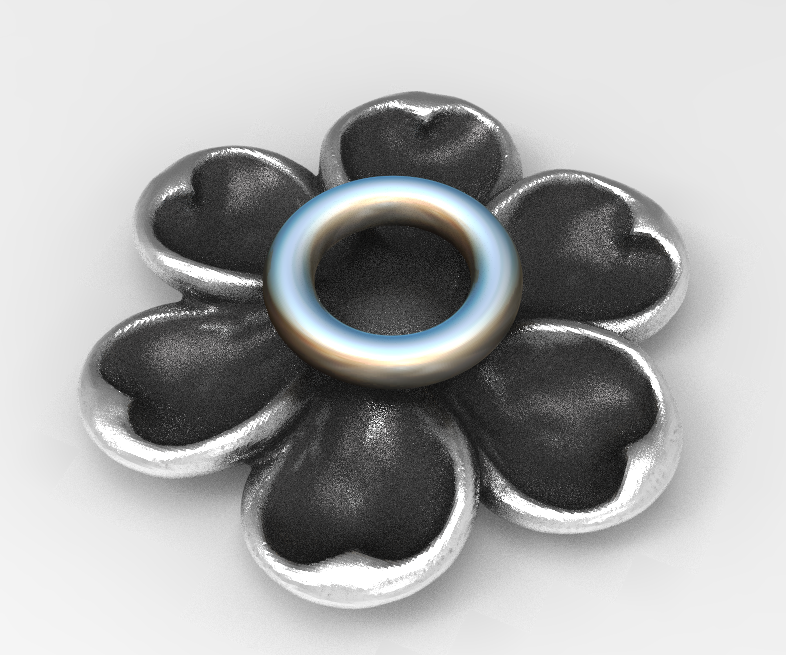
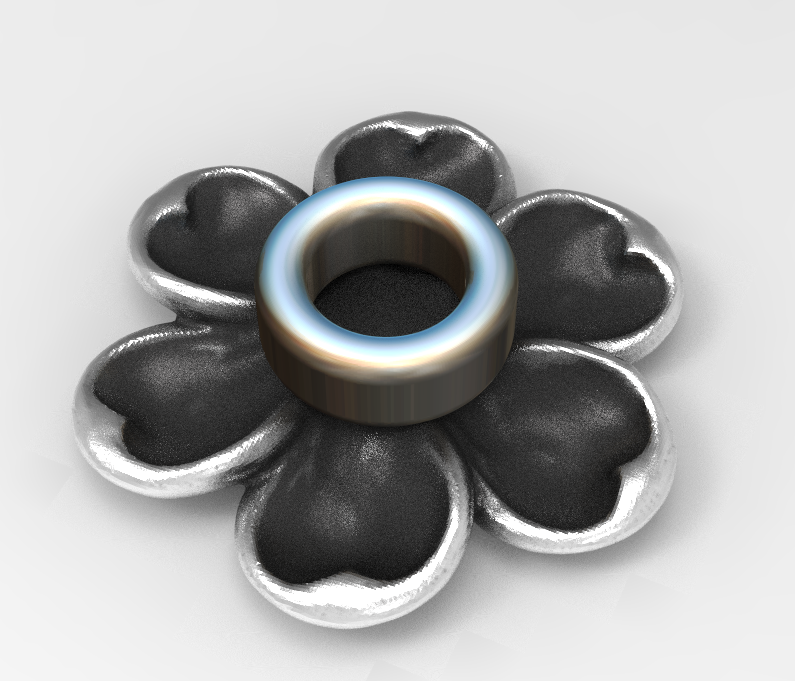
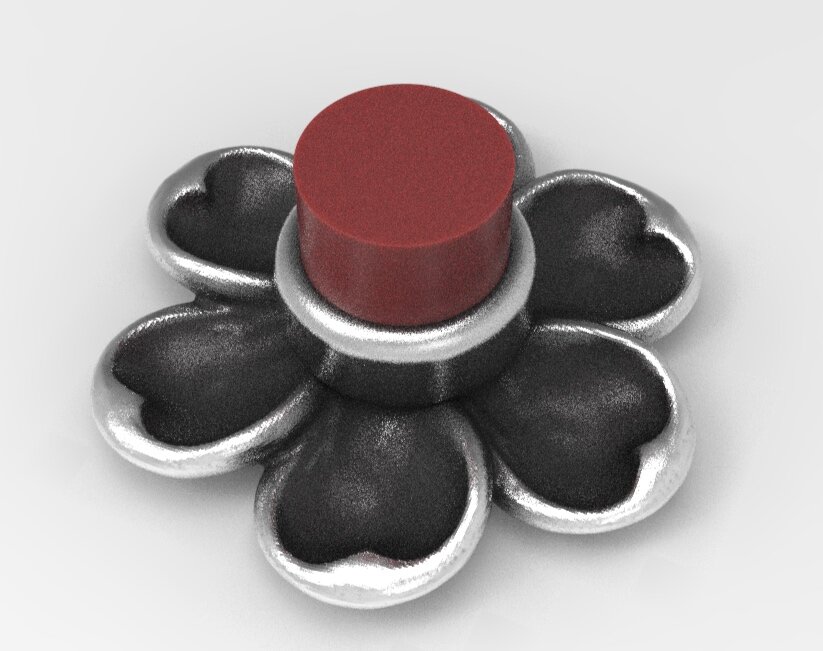
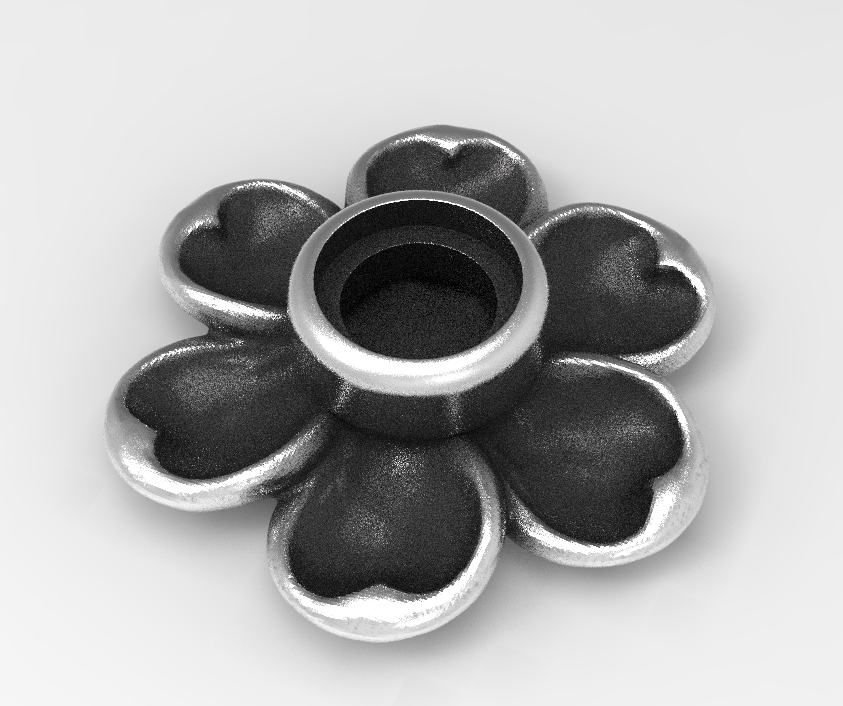
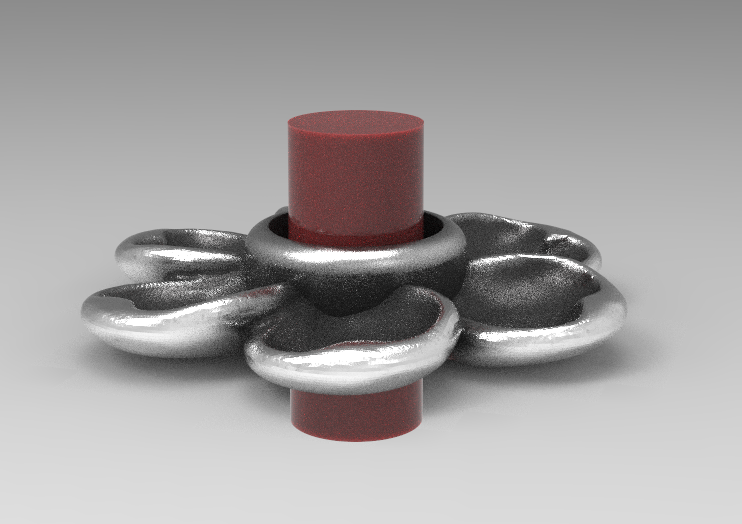
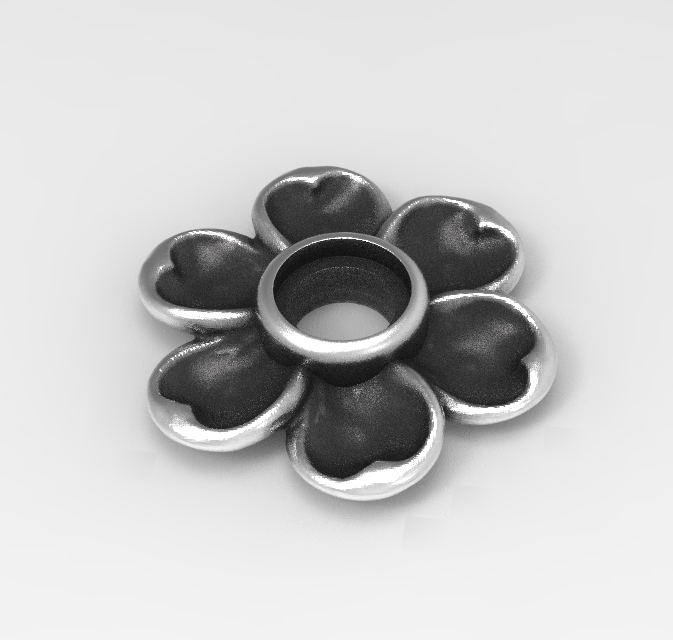
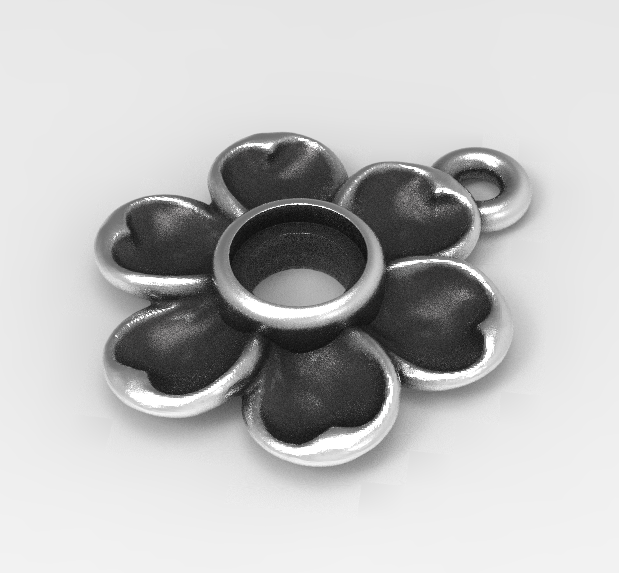
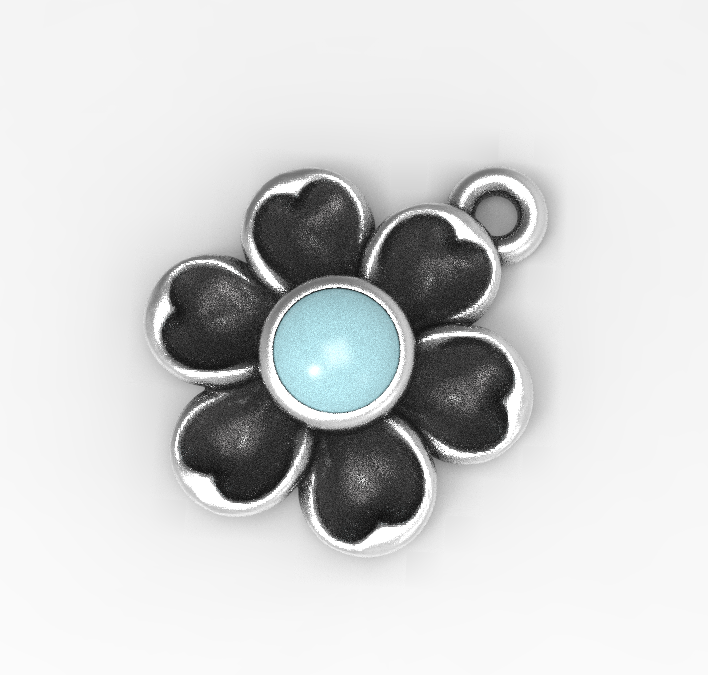
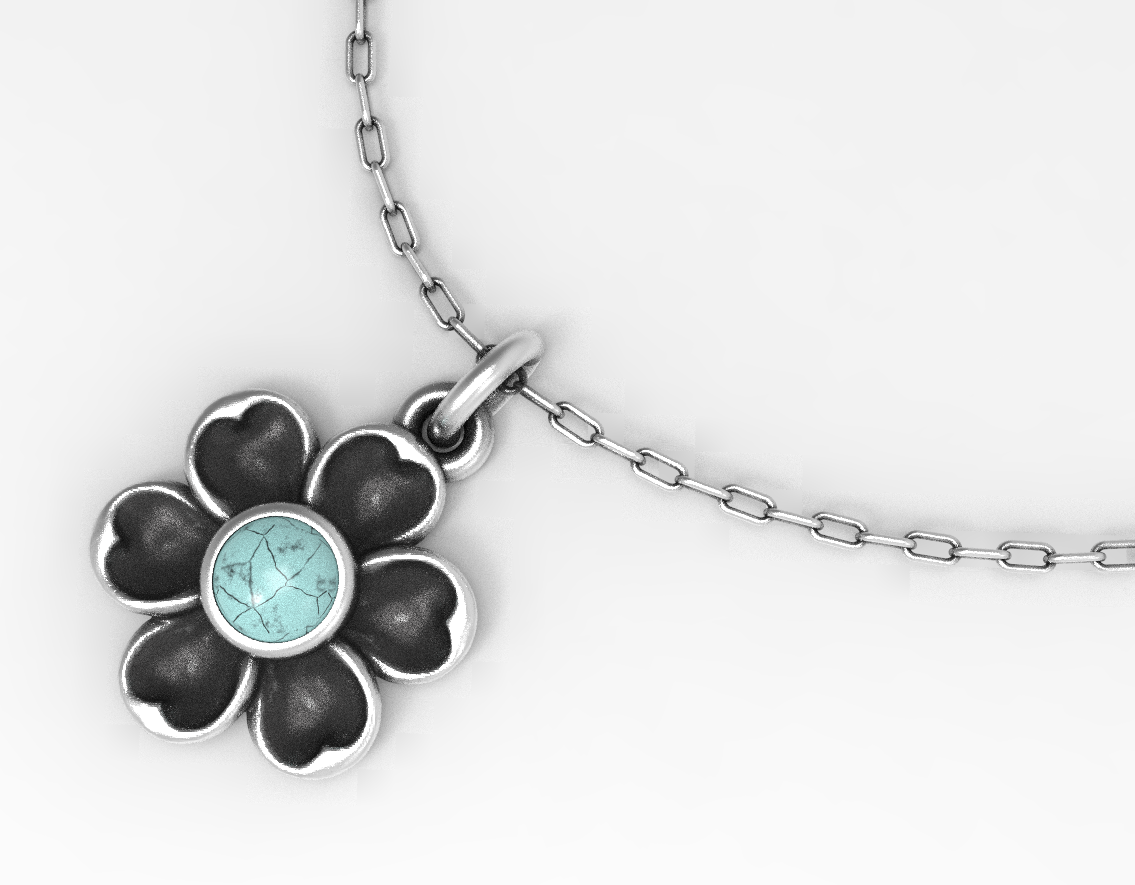
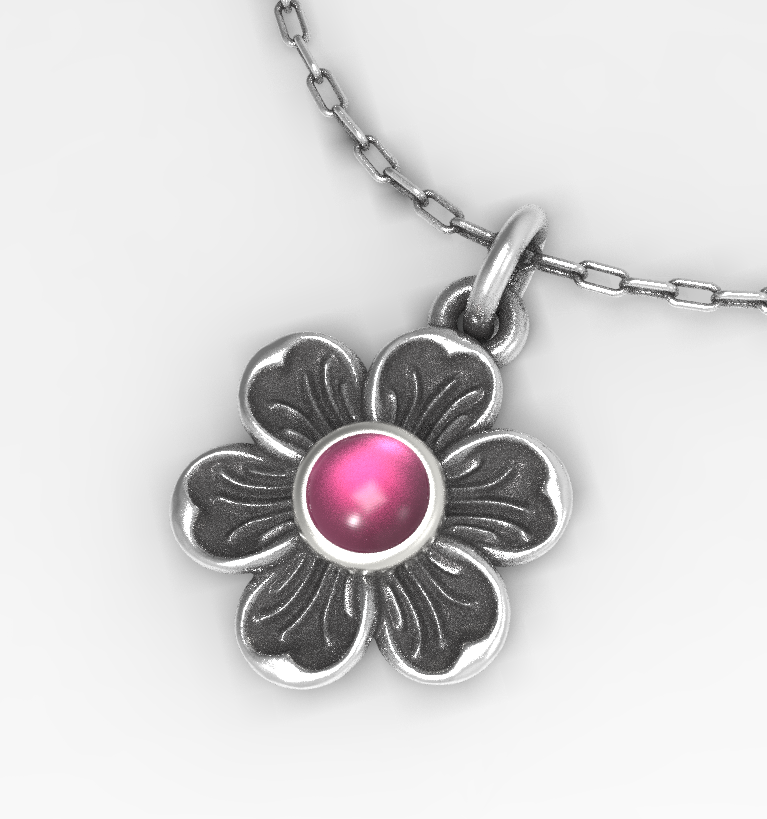
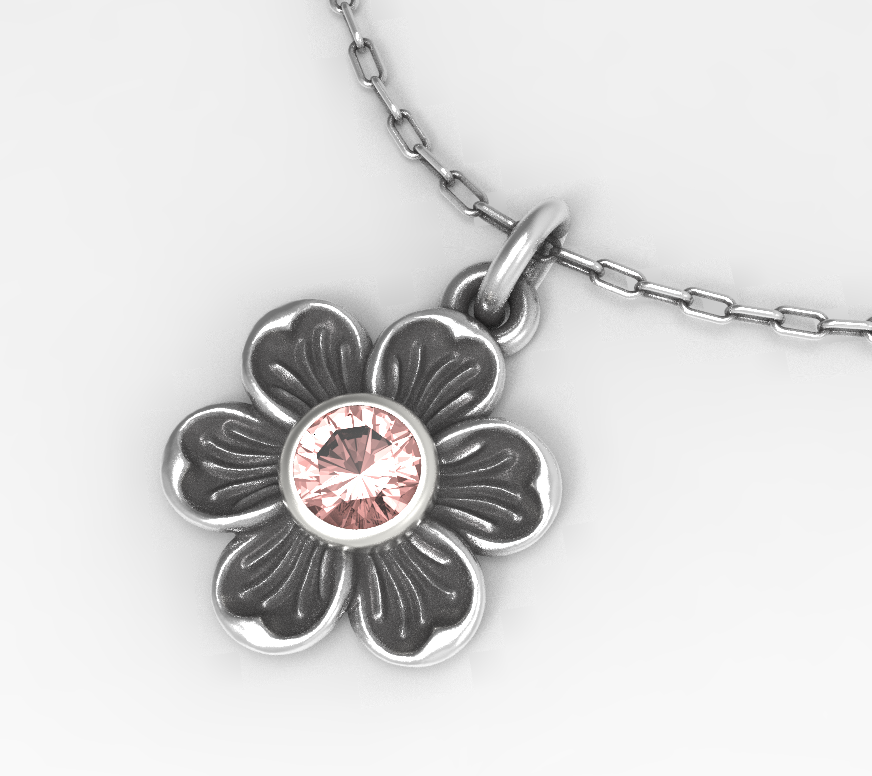
And it’s super late…like 2:47 a.m. on a Saturday, but I couldn’t stop rendering things…anything I could get my hands on. So I thought you might enjoy seeing the process of making a flower charm. It will be in my upcoming ZBrush course.

Anyway, I’m signing off. Time to actually go to bed.

a new fun ZBrush tool...VDM brush and my origami snowflake

I’d seen something pretty cool in ZBrush but had forgotten what it was called…there is a “brush” that allows you to apply objects to a surface and blend them in. One of the great built-in tools is a set of facial features, like noses, eyes, mouths, even some horns if you were creating some movie monsters.

I had seen it used for scales, and it allowed for features to overlap. Tonight it was my mission to find out how to make my own!

One of the best resources available for ZBrush artists is #AskZBrush. Most, if not all, are done by a very talented ZBrush expert named Joseph Drust. Not only are his videos clear and easy to follow, but his voice is very mellow…I could listen to him all day! So after a quick search for a tool that I had no idea what to call, sure enough, one of Joseph’s hundreds of videos covered the topic: the VDM Brush.

An example of a custom VDM brush in ZBrush

An example of a custom VDM brush in ZBrush

Template is here!

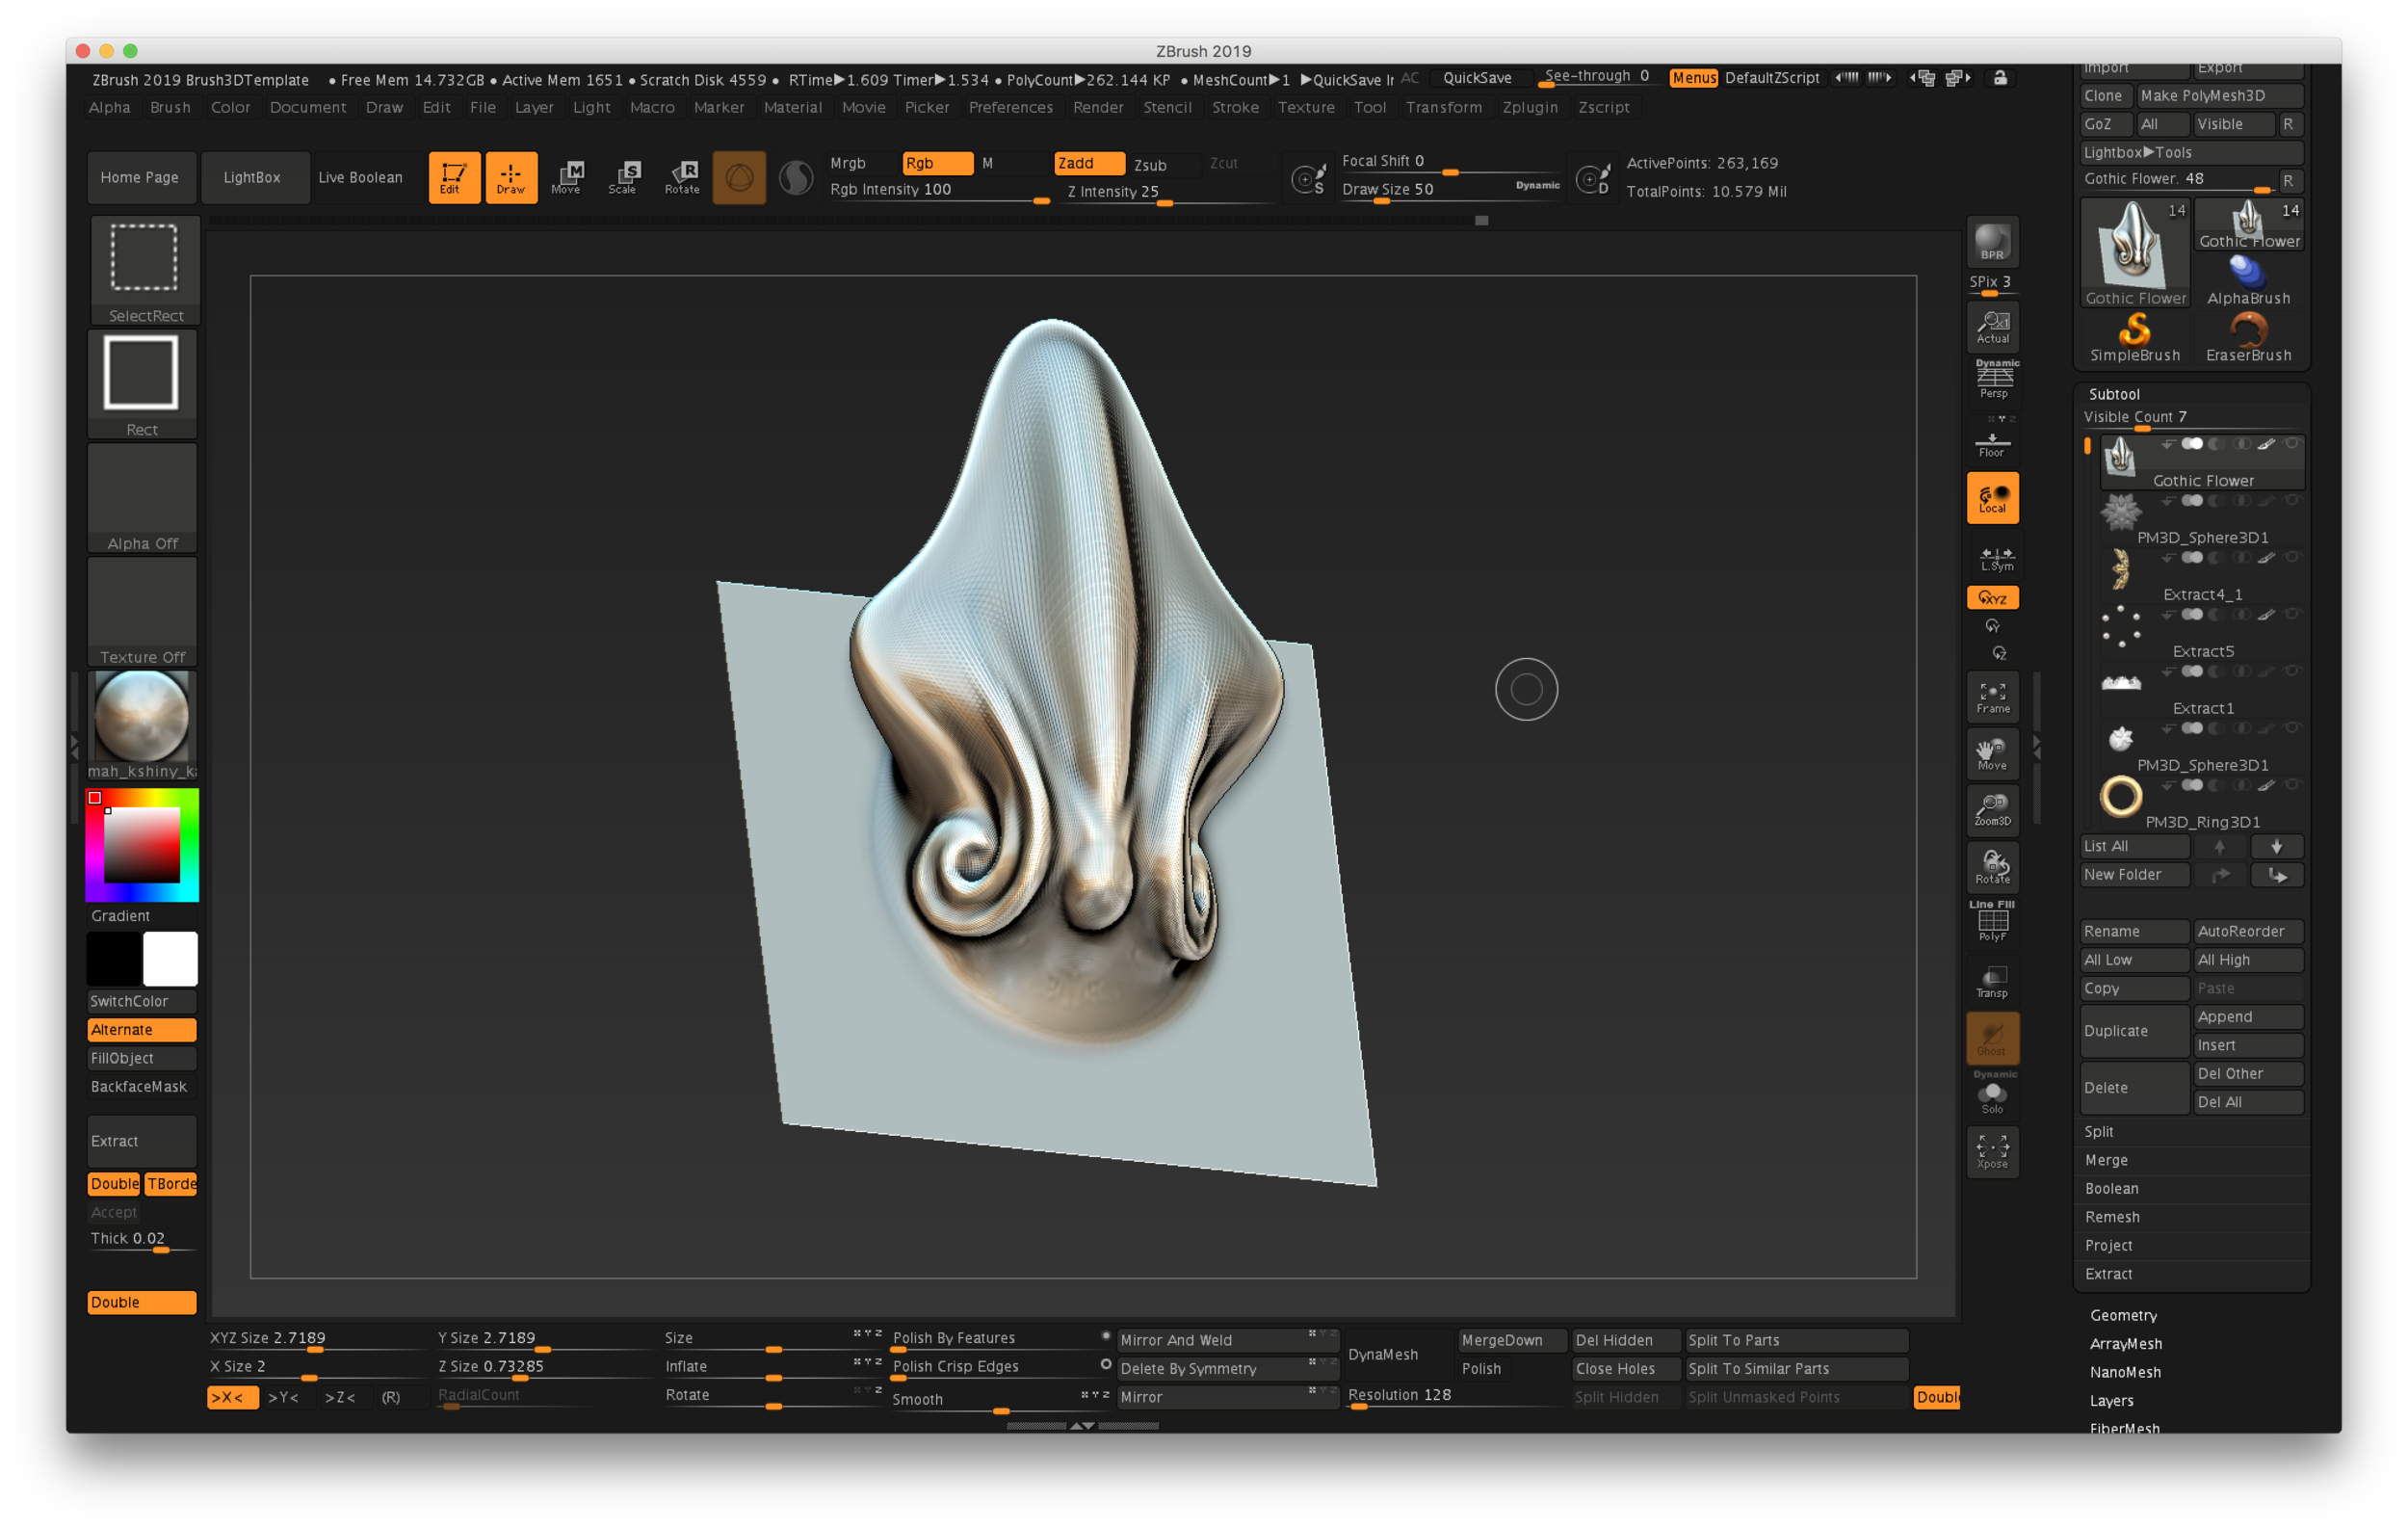
It’s an offshoot of something called a Chisel brush in ZBrush, and the #AskZBrush tutorial on this technique was a great place to start. Within the Lightbox, under Misc, there is a file called Brush3DTemplate.zpr. It’s a starting place for creating your own pattern, using a Plane3D primitive. The template includes the Plane3D with multiple subdivisions, so all you have to do it sculpt something using your favorite brushes while keeping the edges intact—don’t take your design all the way to the edge.

I used the Snakehook brush (Shortcut B-S-H), with the Inflate brush (B-I-N), and the Clay Buildup brush (B-C-B). If your mesh looks a little faceted, simply switch to a higher subdivision (press “D”). If you “lift” the design up off the surface, then there will be room for the design to overlap other instances, creating depth.

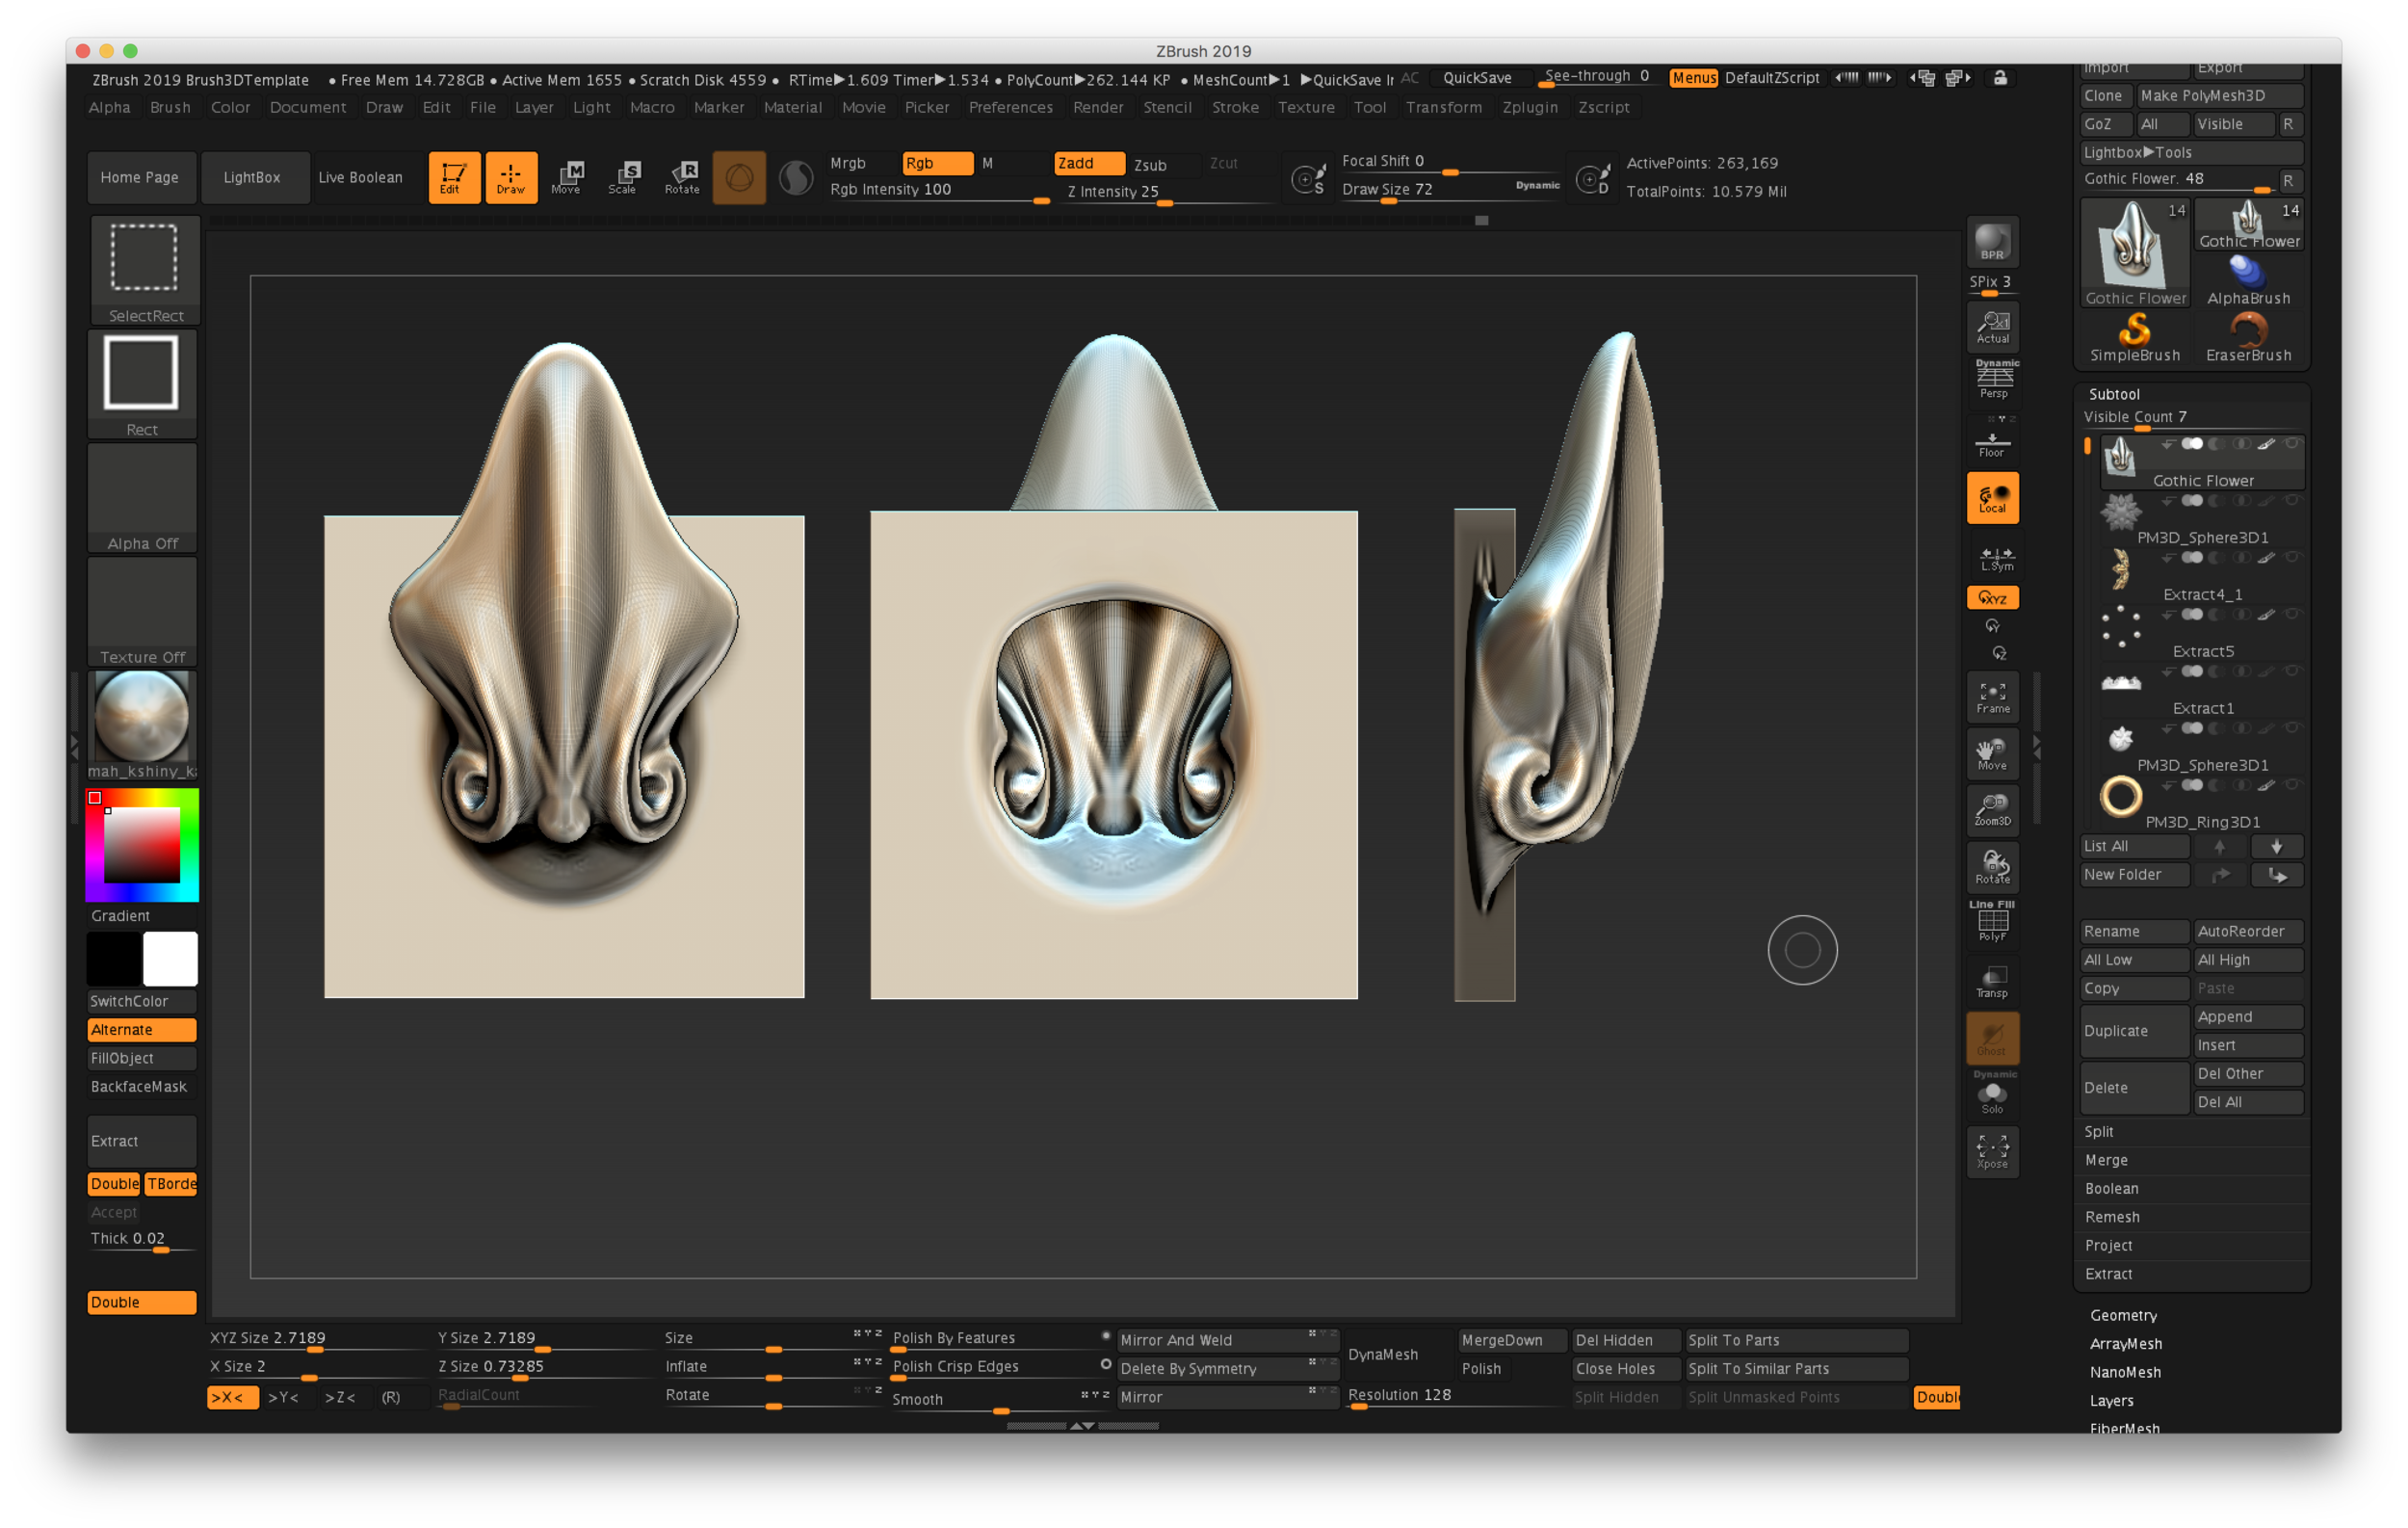
Notice also that since we’re using a Plane primitive, the back is open…this model has no real thickness.

Three views of the new brush…shows the hollow back and side view

Three views of the new brush…shows the hollow back and side view

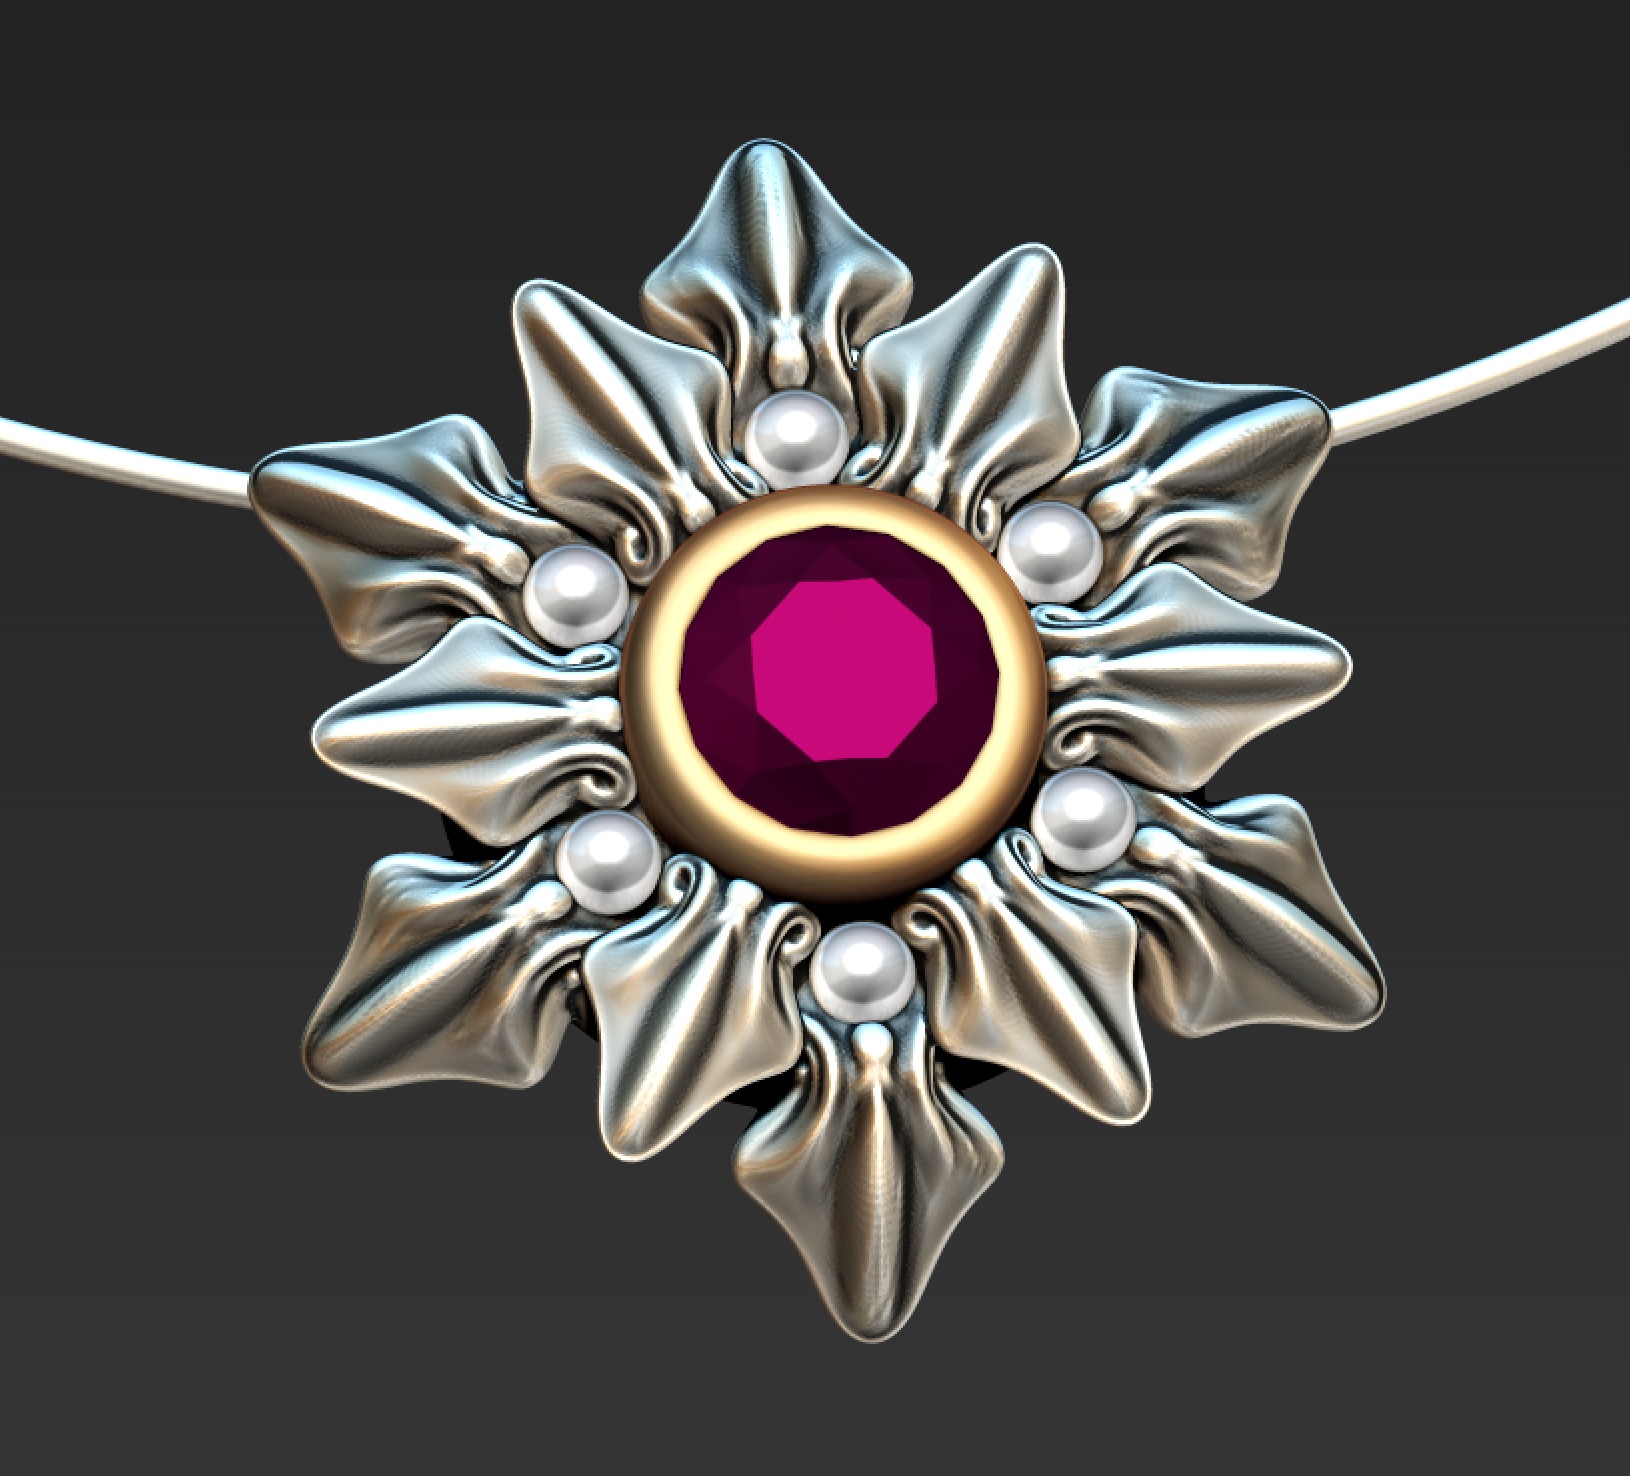
Anyway, I’d recommend that you watch the video for all the details, but I can see all sorts of possibilities here. On my sample model, I used half a sphere with radial symmetry, applied the “leaf,” then added a bezel and some “pearls.” The back is hollowed out, which is something I’ll show more about in my upcoming course.

It looks a little like an origami holiday snowflake to me!

kat-adair-kramer-zbrush-jewelry-vdm-brush.jpg

cost of printing @ Shapeways

I had a really great question from a viewer on my YouTube channel yesterday on the flower eternity band tutorial—how much would it cost to have the ring printed and cast? There are several factors that can affect the overall cost, like the thickness of the band and the type of metal. I wear a similar band to this one, and mine is 1.5mm in thickness and it has never bent out of shape.

I’d only sent models out to Shapeways very early in my ZBrush exploration, and even then I’d only had waxes made. So I had no idea what the answer to this question was…so I created a new ring and got it ready for Shapeways. Mind you, there are other great services out there, but Shapeways has a large variety of materials available.

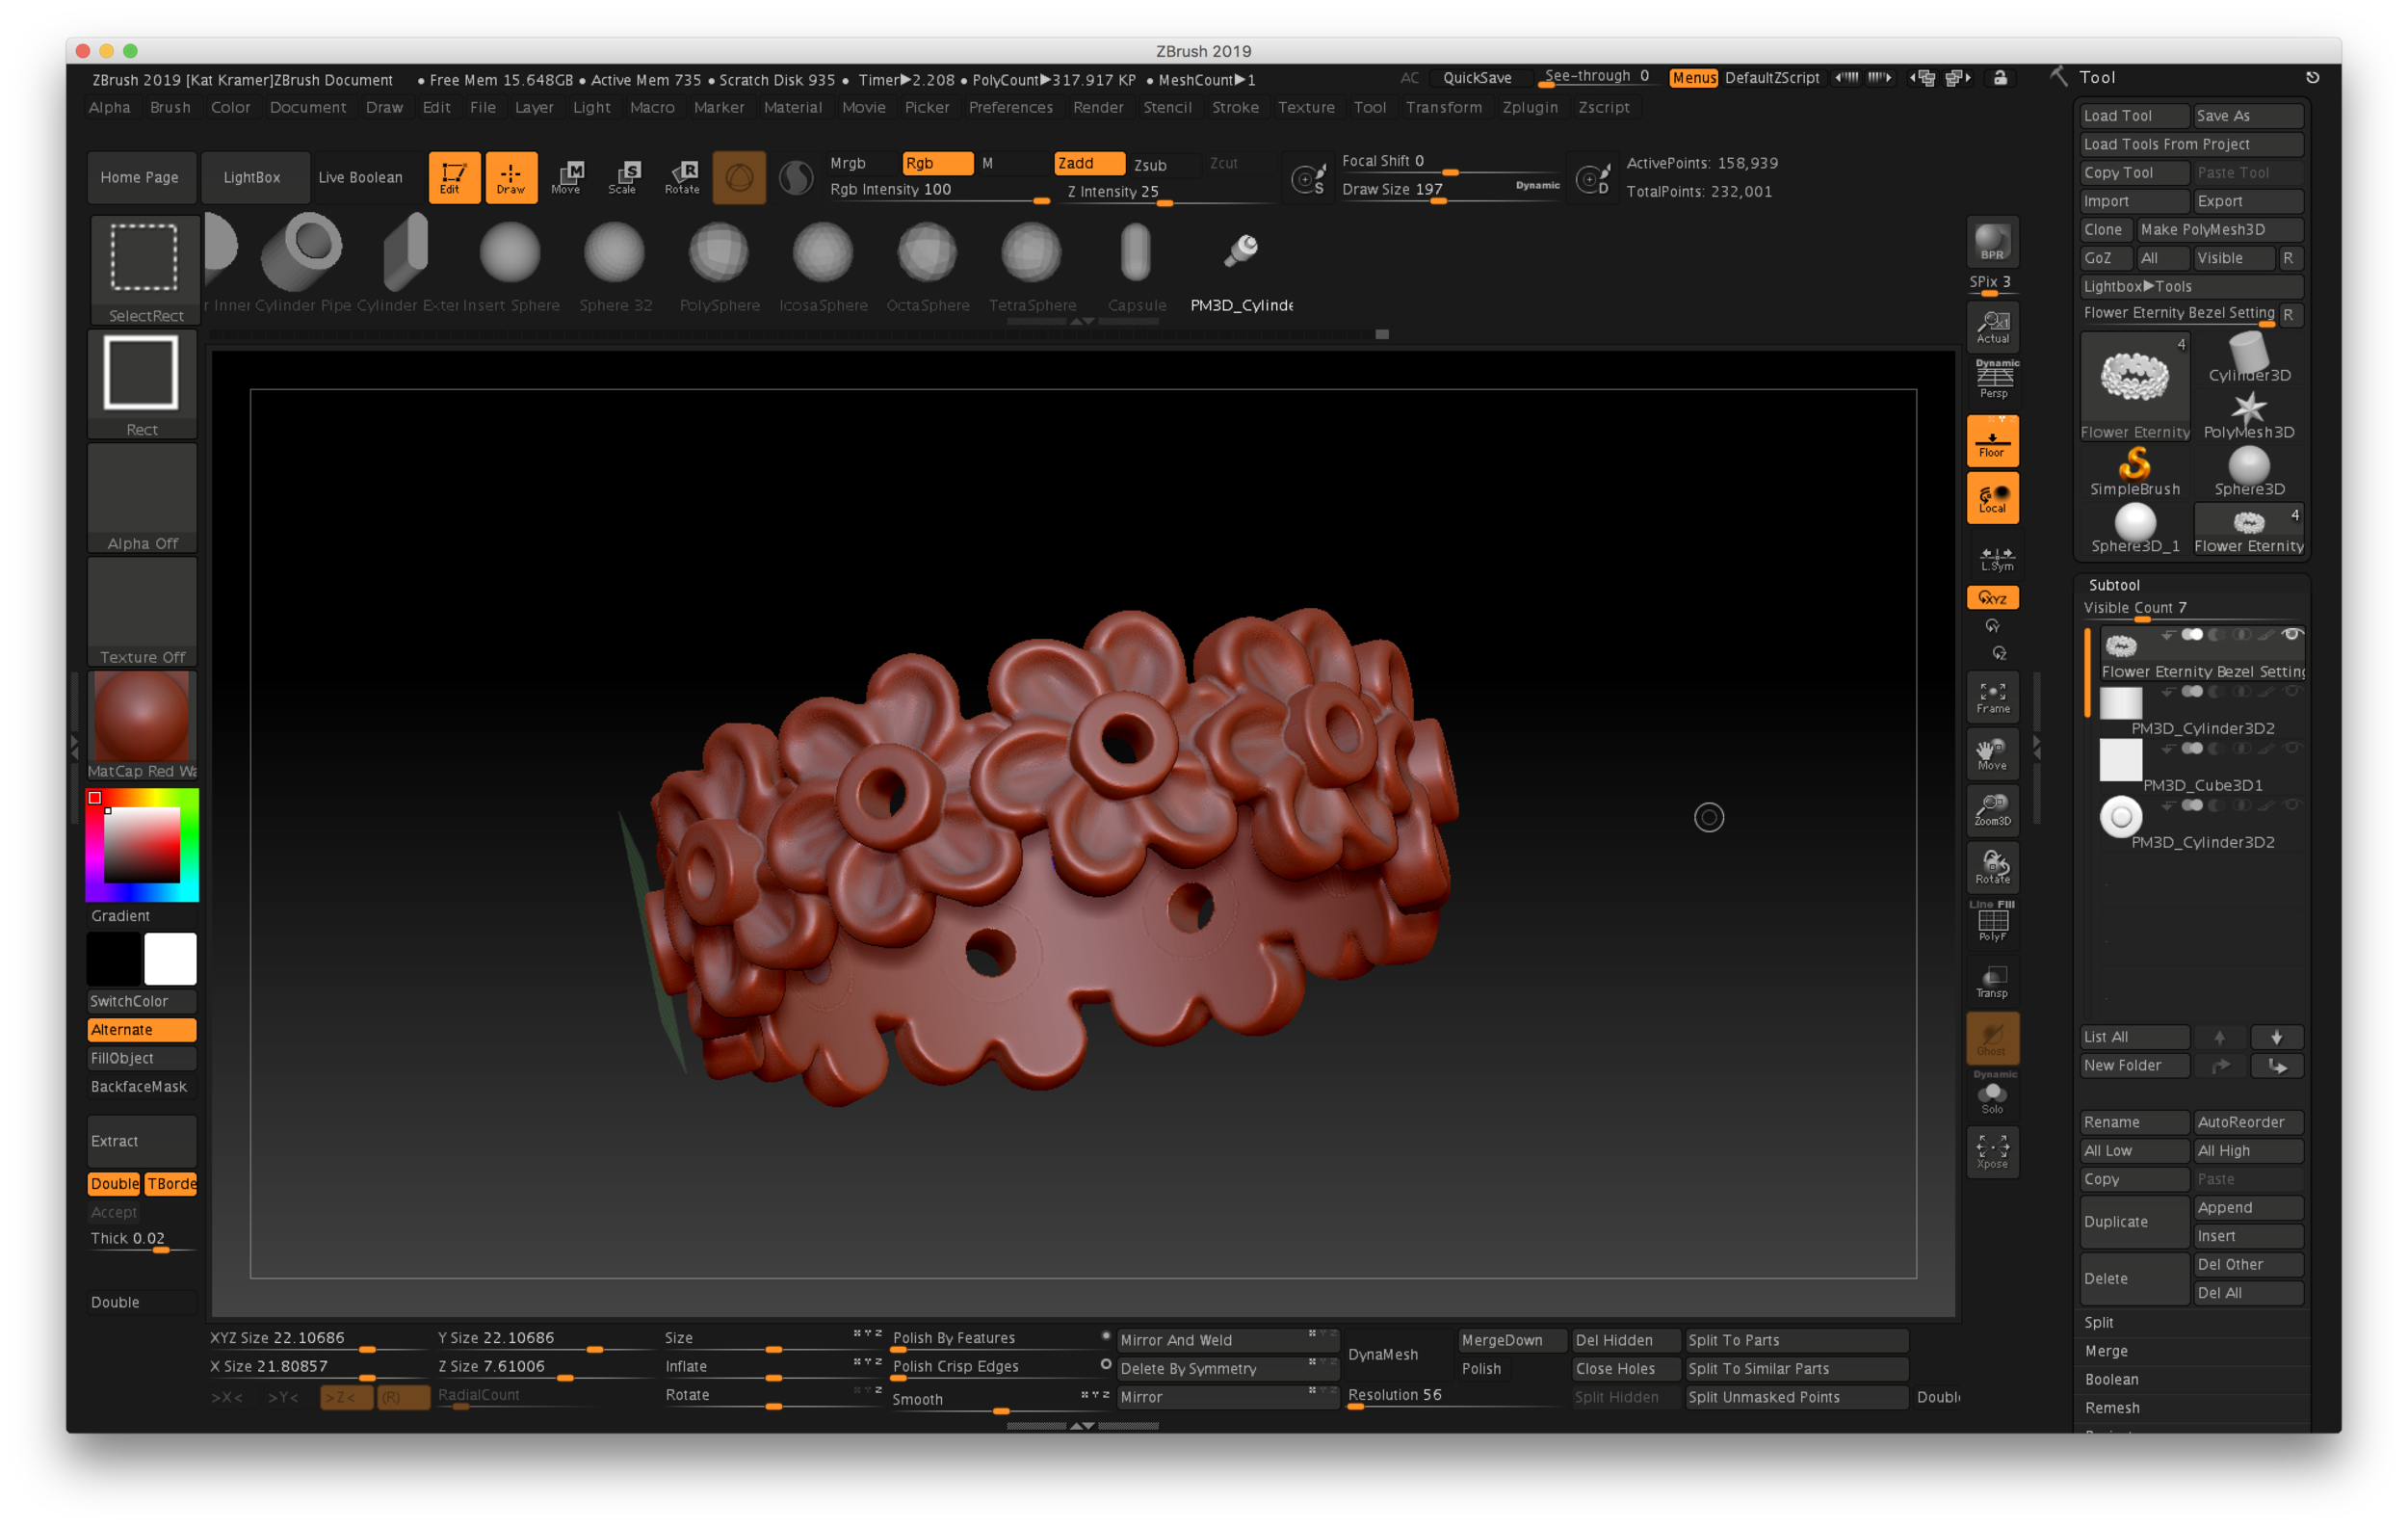
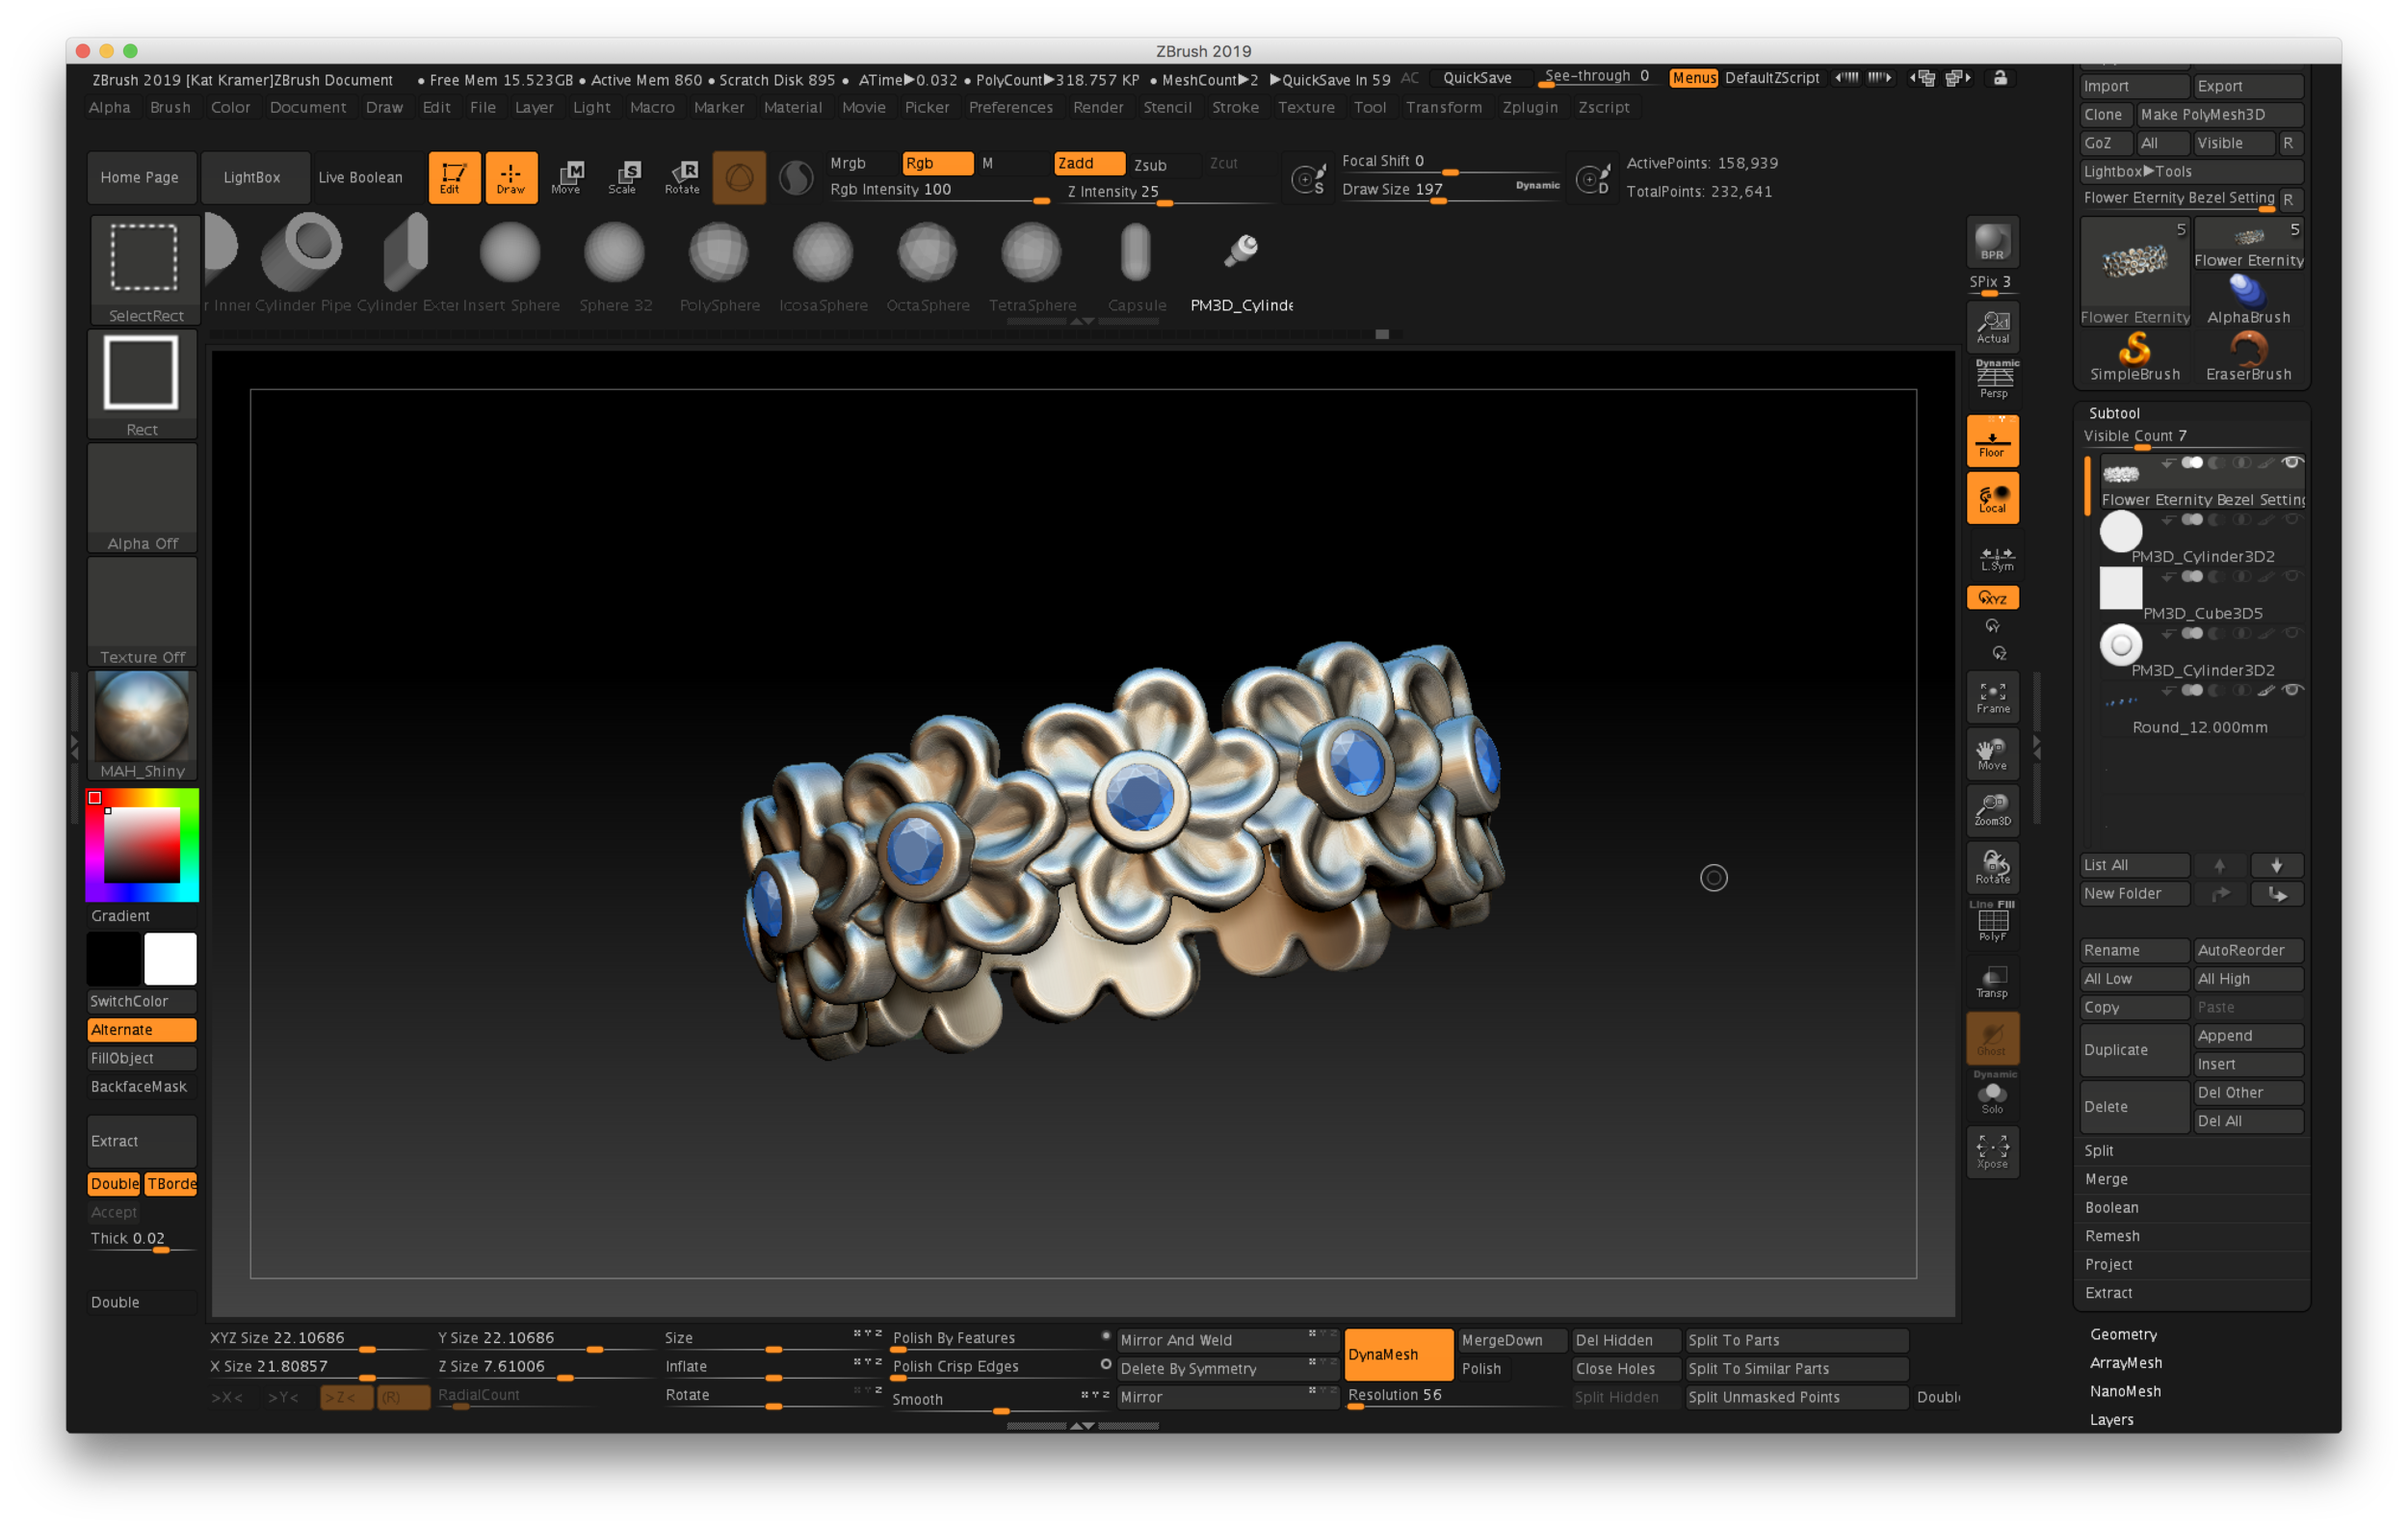
I decided to add a bezel setting to mine with a hole that’s smaller than the stone. I’ll use setting burs and a hammer handset on my Foredom to bezel set the stones. Creating a bezel with a smaller hole gives me flexibility on my stone size. Here are a couple photos of the model in ZBrush:

After creating the ring and resizing it to the desired thickness and ring size, I used Decimation Master to lower the overall file size and simplify the mesh. My ring is around a women’s size 8 US.

Make sure that the model you want to export is all in one Subtool—in my model, I had both the bezels and the flower band which needed to be permanently merged. I used Merge Down and re-Dynamesh to an appropriate resolution, which for full-sized rings in the method I use is a resolution of around 56-80. Then I went to the Plugins menu, and located Decimation Master. I always make a mental note of the ActivePoints above the canvas. Mine started out around 780,000 points.

This process has two steps…because you’re only exporting one Subtool, you only need to use Pre-process Current. That step will take a little bit of time, depending on the size of your model and number of ActivePoints. Once you’re done, the ActivePoint count will not change.

Special note about those ActivePoints: I tend to work with models that are a million points or lower…some artists have high-end hardware and love to work in the 12-20 million point range, but since I primarily work on a MacBook, and I hate waiting for my computer to process things, I learned how to work in lower resolutions.

The second step is to Decimate Current, and this is when you will see a change in the ActivePoints. Once the operation was complete on my model, the ActivePoint count dropped down to 158,000, which is a smaller, more efficient file. It’s easily uploaded to Shapeways by using the Export command in the Tool palette.

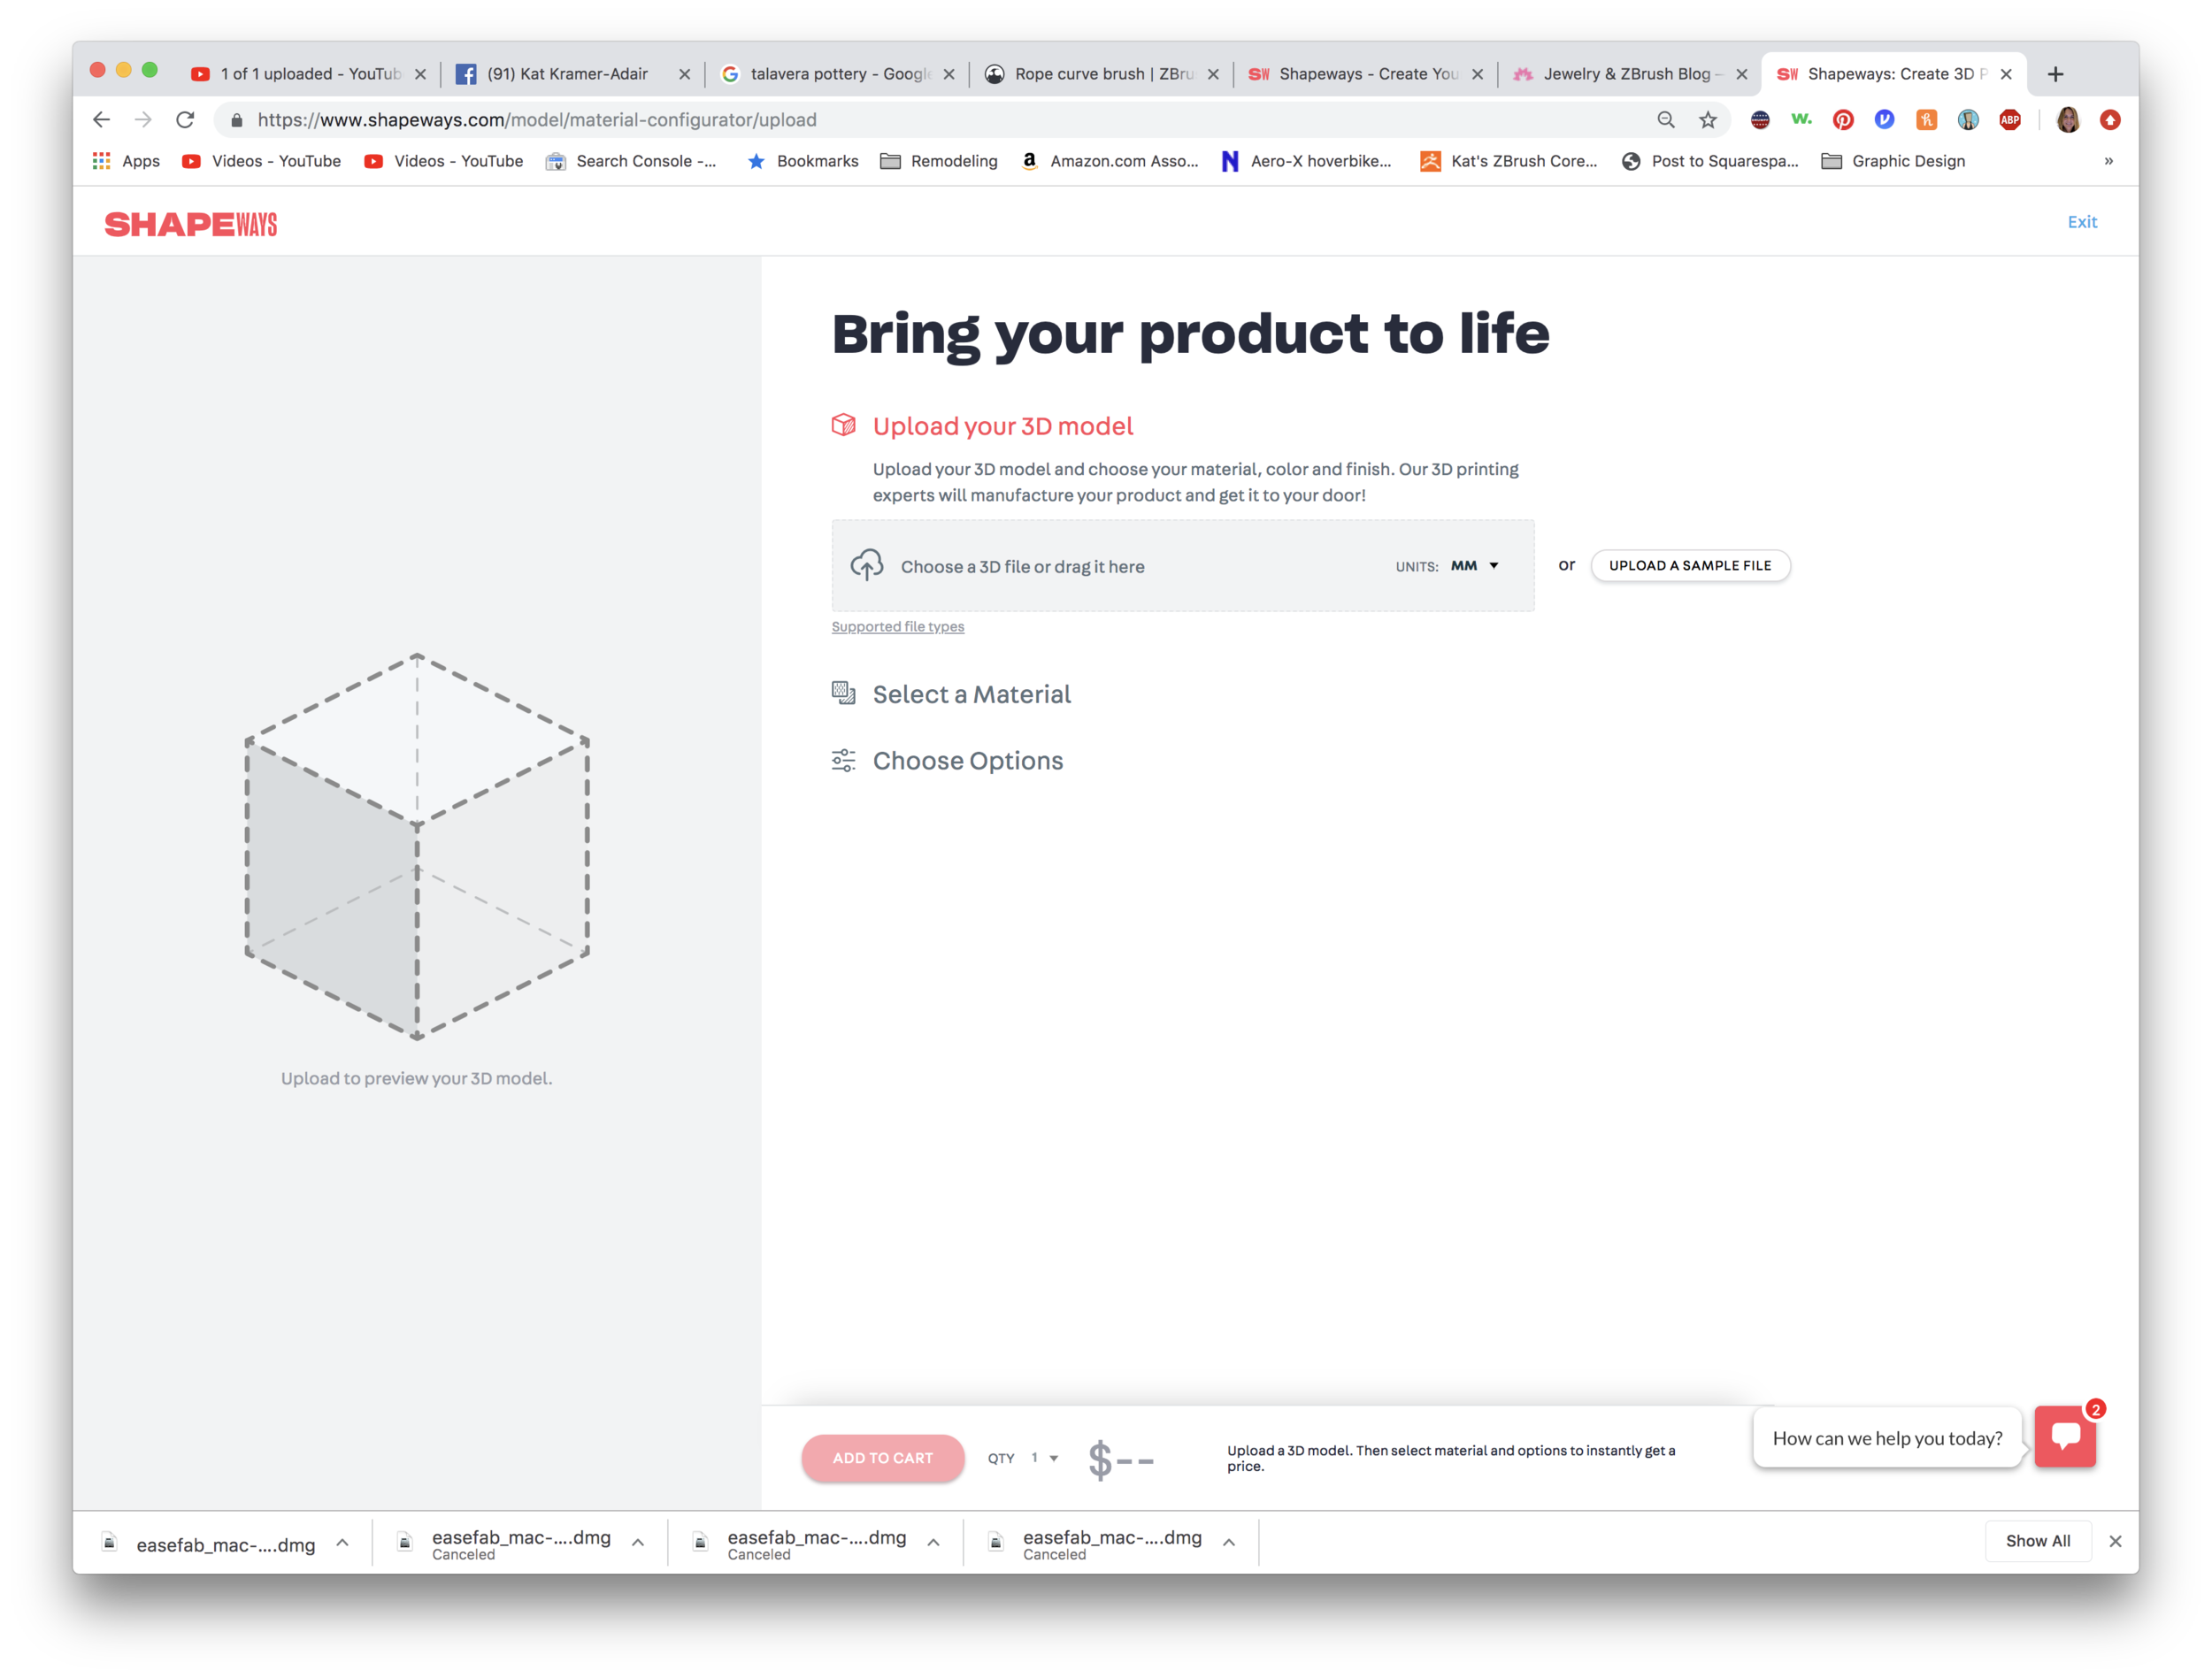
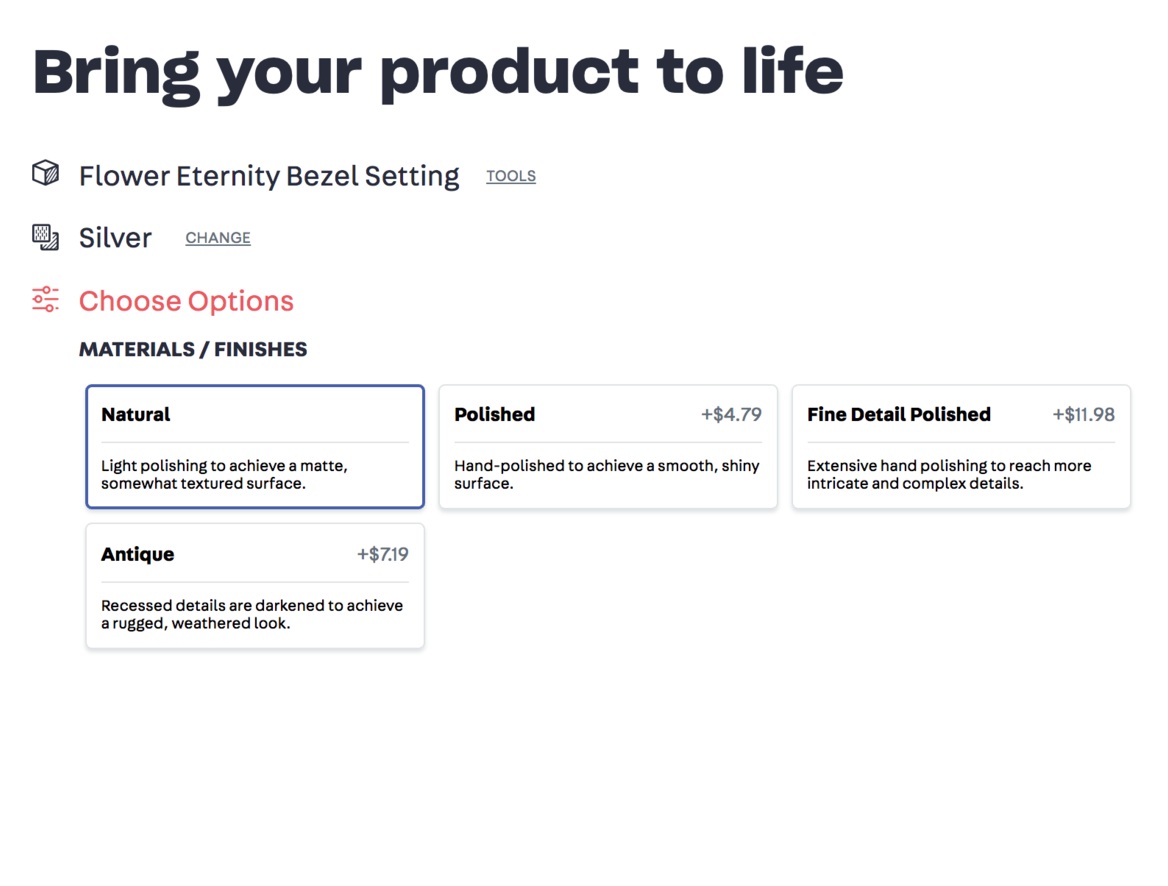
It looks like Shapeways has recently changed their landing page, so you can quickly upload a model and select a metal preference. You can also choose the type of finishing—rough, polished, or finely polished. There is an upcharge for those extras, though.

So the answer to the question if I were printing this design would be about $24-35 to print in sterling silver. Although I love wearing this ring so much I’d happily shell out $283 for a gold version!

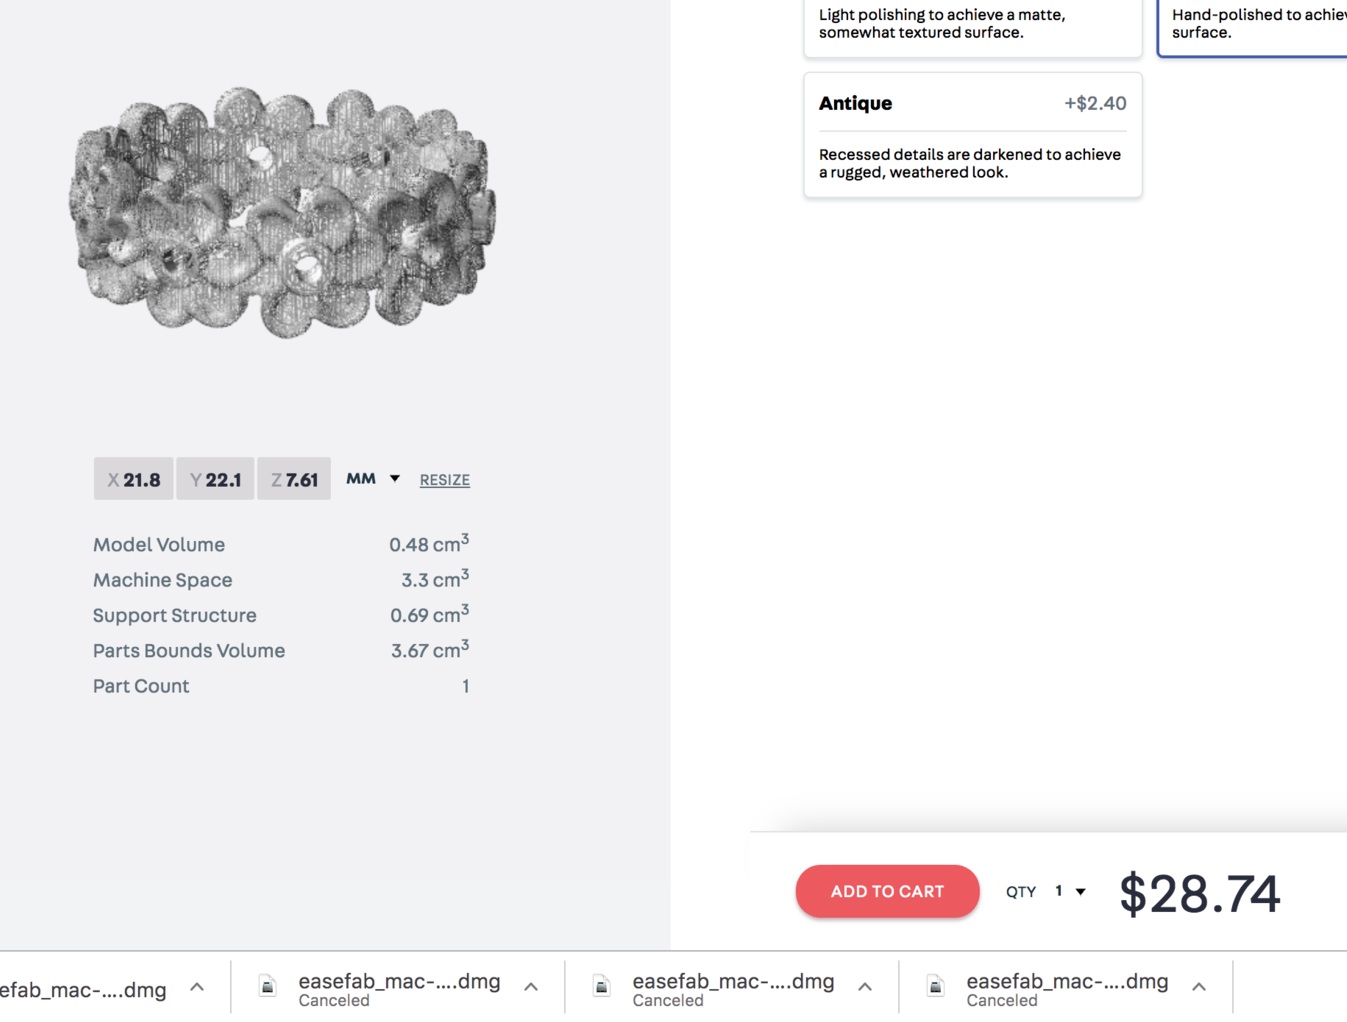
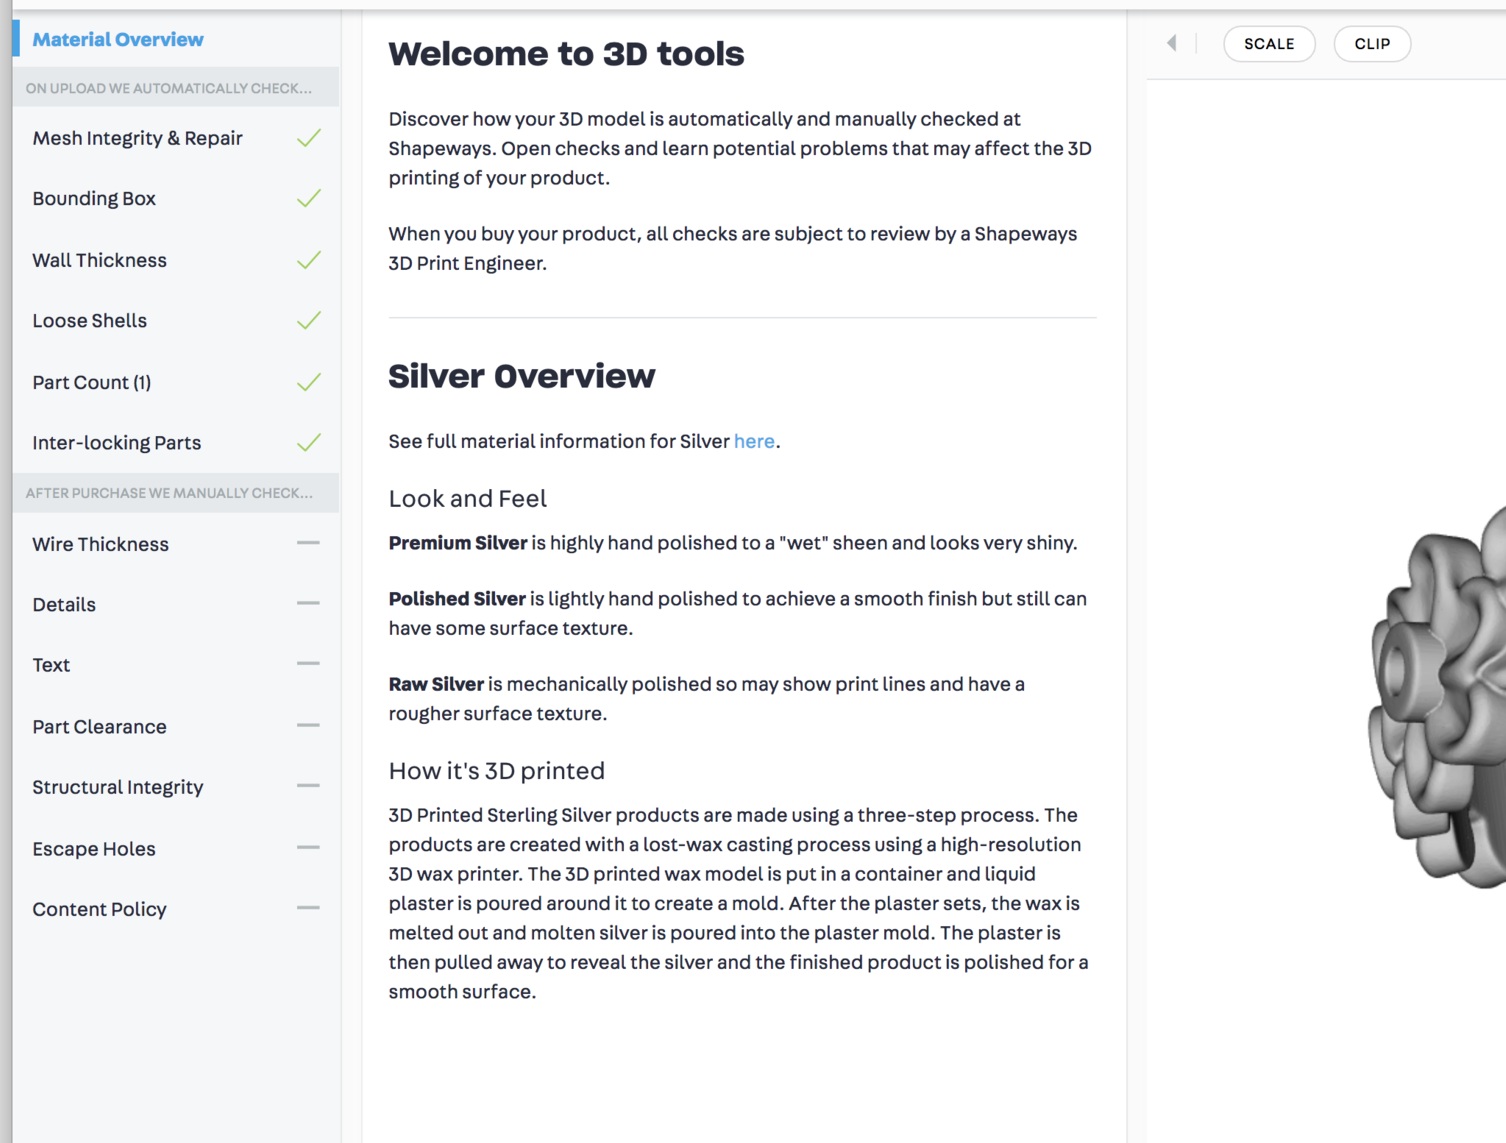
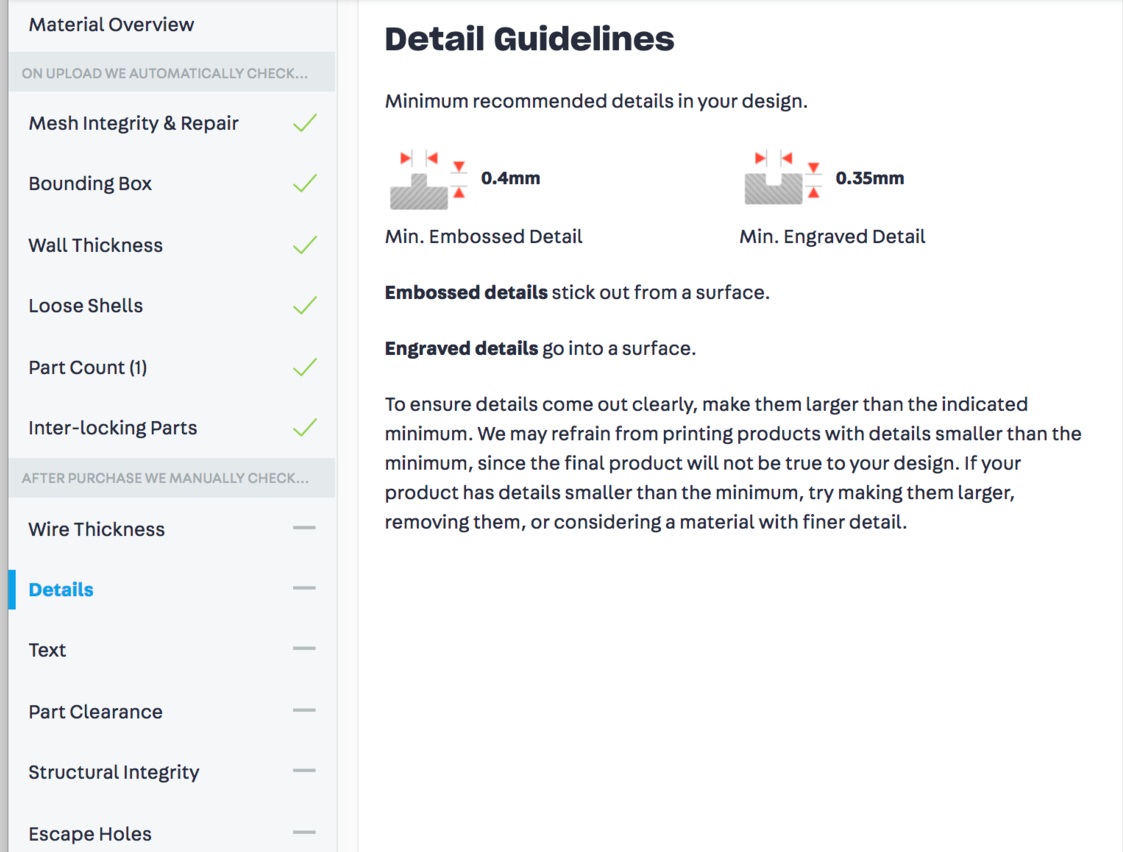
Also, there is another tool available. See below where it says TOOLS next to the title “Flower Eternity Bezel Setting?” If you click on that you’re directed to a 3D Tools page that will evaluate your model, and give information about the materials and printing.

Check out the images below, or you can click here to see the model for yourself!