
I’ve gotten a lot of questions about 3D printing from fellow glass artists, so I thought I would share some of my thoughts on printers, CAD programs, and filaments. The good news is that there are a lot of options out there that are quite affordable, so even a beginner can get started with a printer without a lot of upfront expense.
You don’t even have to know how to create 3D models…there is a plethora of 3D models out there—some free, some not—that you can simply download. But as glass artists, being creative people, you’ll eventually have ideas that will lead you down the path of making your own.
Let’s break down the process:
Obtain or create a model
“Slice” the model
Print
So what the heck is slicing? It’s preparing the model—cutting it into horizontal layers—in a way that can be sent to the printer. If I have a three-dimensional model, the printer’s nozzle will “draw” each layer. It’s kind of like a tiny glue gun, pushing out plastic through a nozzle onto a print bed. Each layer builds on the previous one. This little animation is a preview of a layer being drawn on a little flower model that I designed in ZBrush.
But once that preparation is complete, you send the file to the printer and the magic begins!
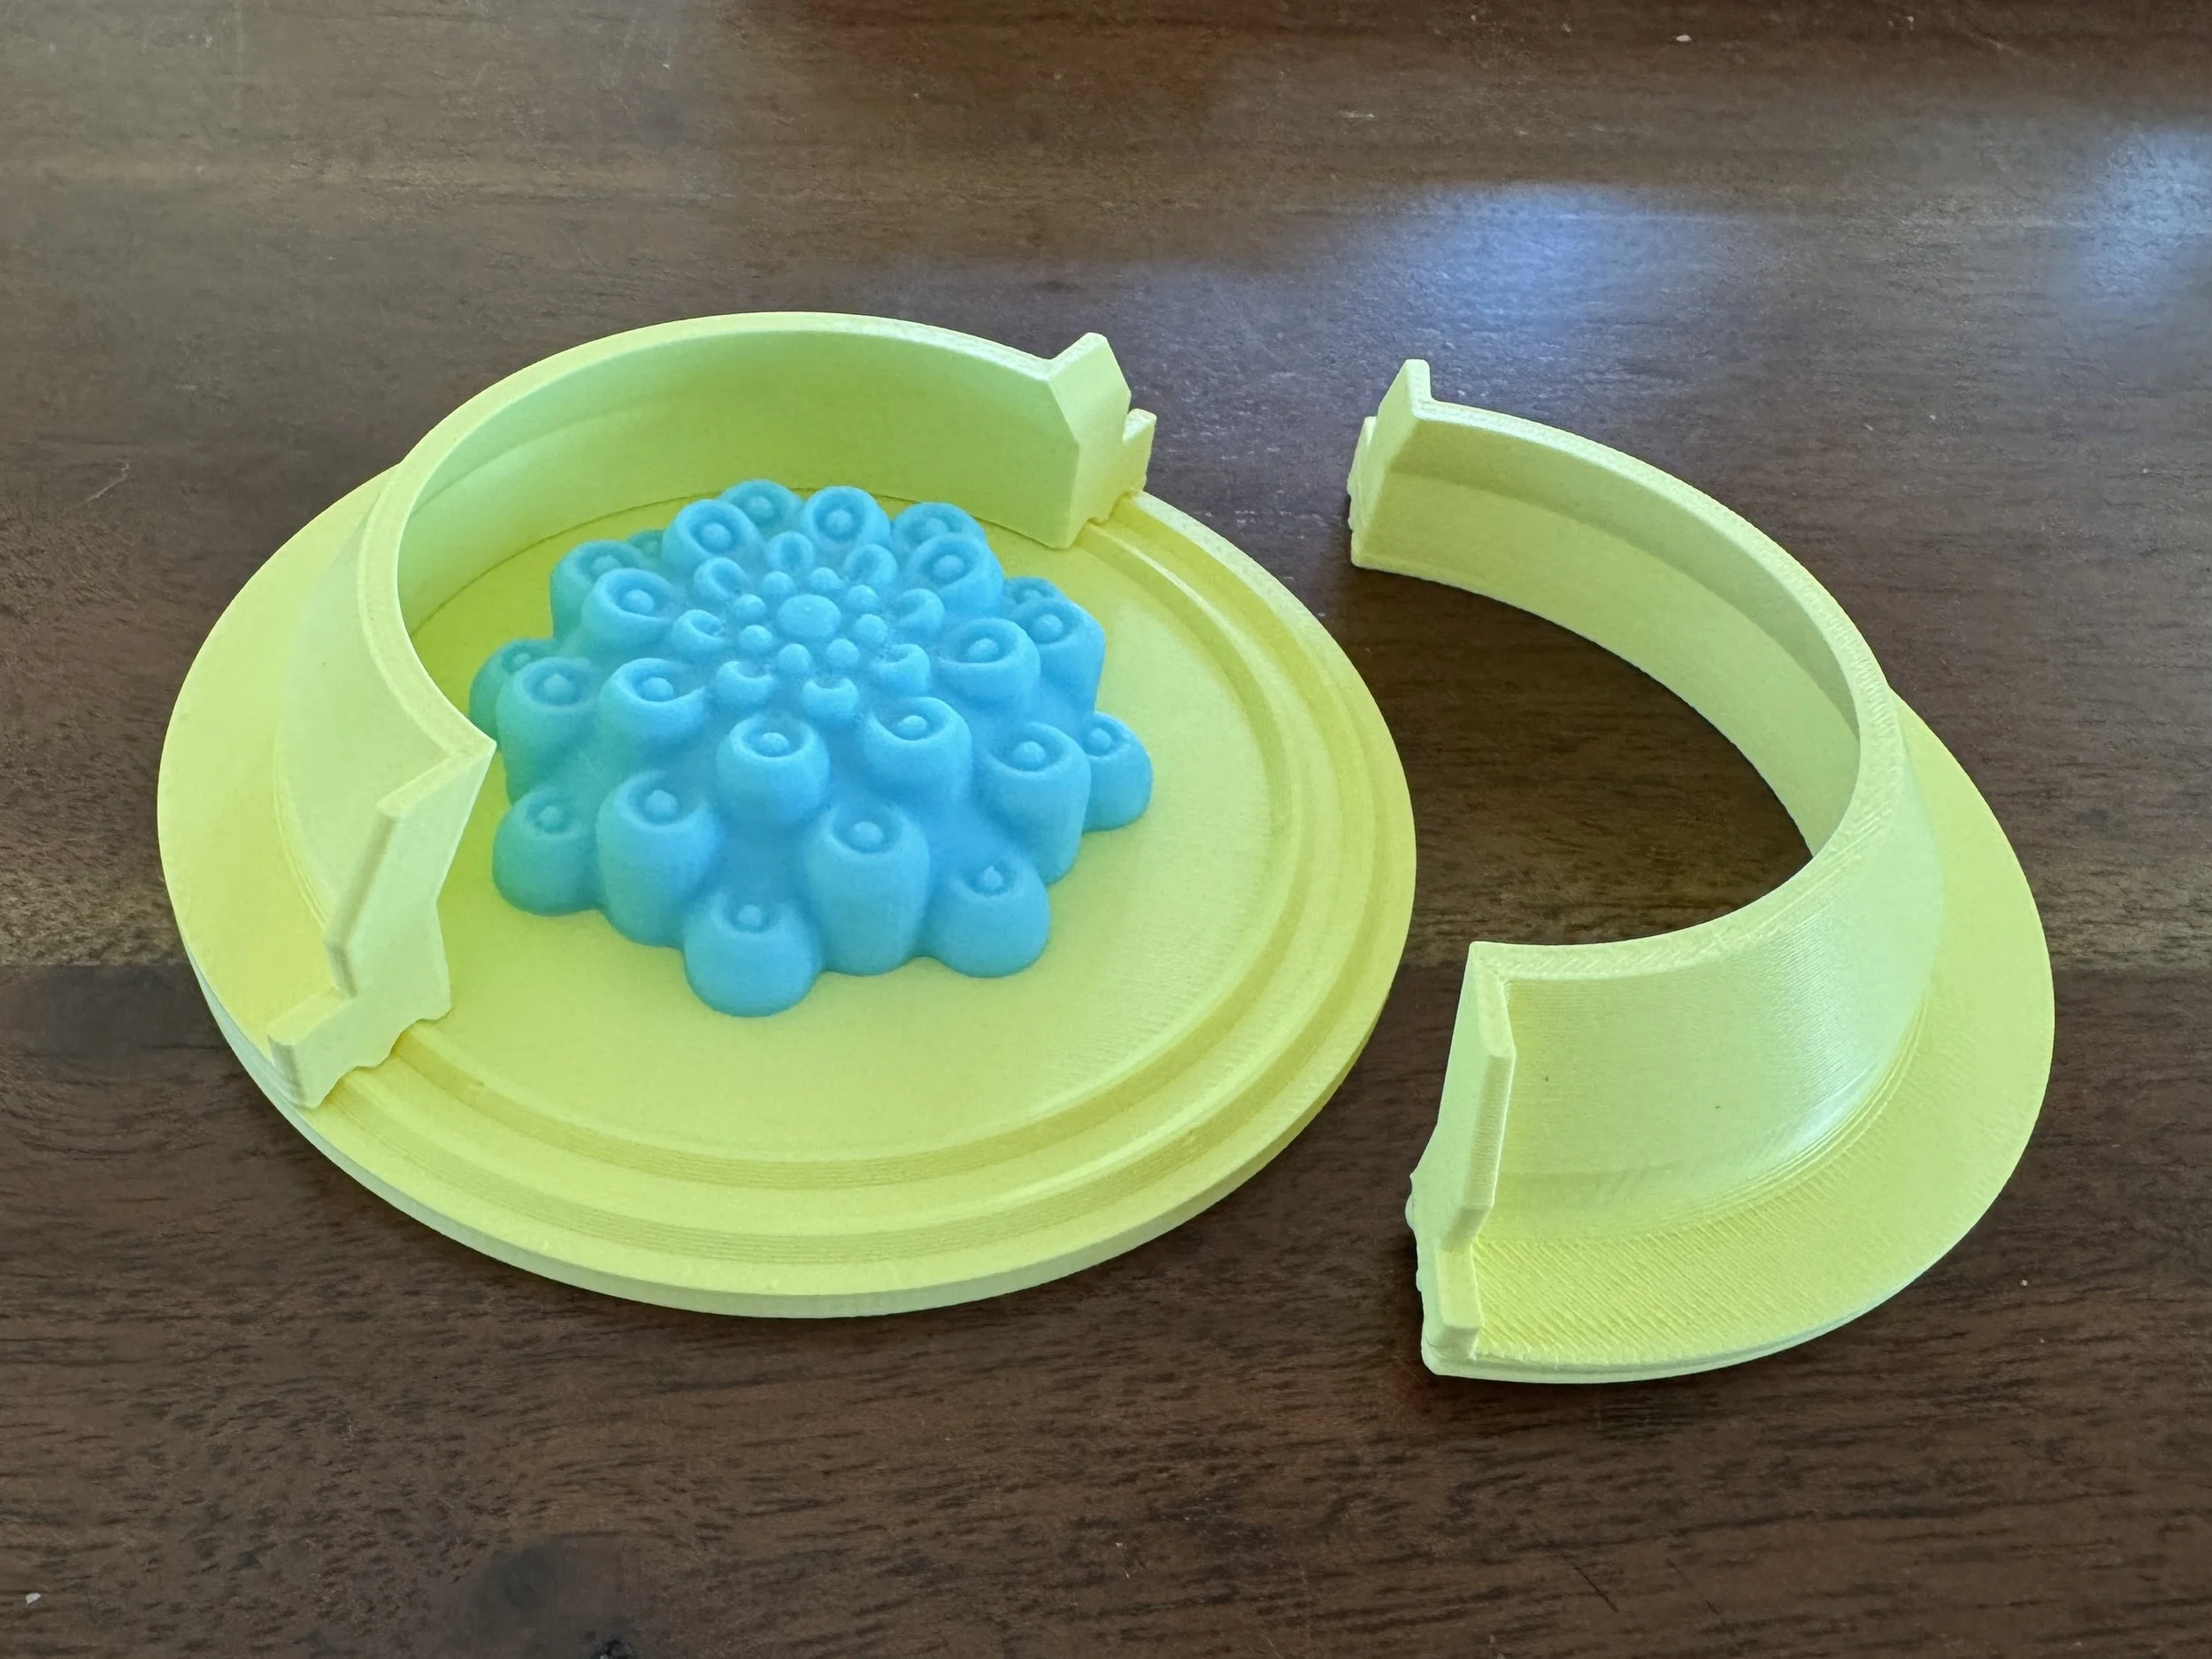
A setup for making a silicone or plaster mold
The mold above was created for making a silicone press mold for clay, but could also be used with refractory plaster/silica for casting in glass. I’m also using these techniques for making slipcast molds for casting glass.
The prints shown here were created with my Bambu H2D filament printer…we’ll talk more about the types of printers in my next post. I’ll talk about why I chose this particular printer, and talk about more affordable options that I recommend.