
Step 9: Casting!!
The last step is to cast. Once the flask has burned out, you need to melt the scrap metal with at least 50% new casting grain. When metal is heated, some of the alloy burns off, so it's important to use some new metal with the old scrap.
I did have problems in the past coordinating taking the flask out of the kiln with getting the metal to the right temperature at the right time. There is a nifty little thing called an Electro-Melt Furnace from Kerr that melts up to 30 grams or 100 grams and keeps it at the right temperature. Add that to my Christmas list!
But I don't have that, so I practiced heating some silver in the crucible with an oxy-acetylene Smith Little Torch with rosebud tip before it was time to cast. And I realized something...since I had pre-heated the crucible, when it came time to cast, the metal melted really quickly. This was an improvement over my earlier casting.
A NOTE ABOUT TORCHES
The first time I was going to cast, I tried heating the silver with my acetylene/ambient air soldering torch, a Smith Silver Smith torch setup, and it didn't get hot enough. I LOVE this torch for fabrication, but it was useless for casting. I wasn't able to make it work. If you saw my earlier posts on casting, that tree of red wax was never cast because of this problem.
The key, apparently, is an oxy-acetylene torch or oxy-propane torch. The oxygen helps the flame burn hotter. So after some scrambling to find a solution, I realized that there was a tip available for the Smith Little Torch that had multiple flames. The specs on one site say that it can heat up to three ounces of silver or gold. I've since used that torch setup to cast successfully.
Step 9: Casting, continued
Anyway, I started to melt the metal in the crucible, using a little sprinkle of borax flux on the metal to help the melting process. I had also read that using a graphite rod helps remove impurities, so I warmed the rod in the flame, then stirred the metal. I then shut off the torch, removed the flask from the kiln with the tongs, placed the flask on the rubber pad on the casting chamber, switched the vacuum to the Casting Chamber setting, and turned on the pump. This step would've been much easier with a helper...they could remove the flask and place it on the vacuum casting chamber while I continued heating the metal.
I then continued heating the metal the rest of the way, transferring the crucible over to the machine, keeping the torch aimed at the silver, and continuing to heat the silver until I poured it into the flask. The vacuum sucks the metal down into the hole, and VOILA!
It all goes pretty fast!
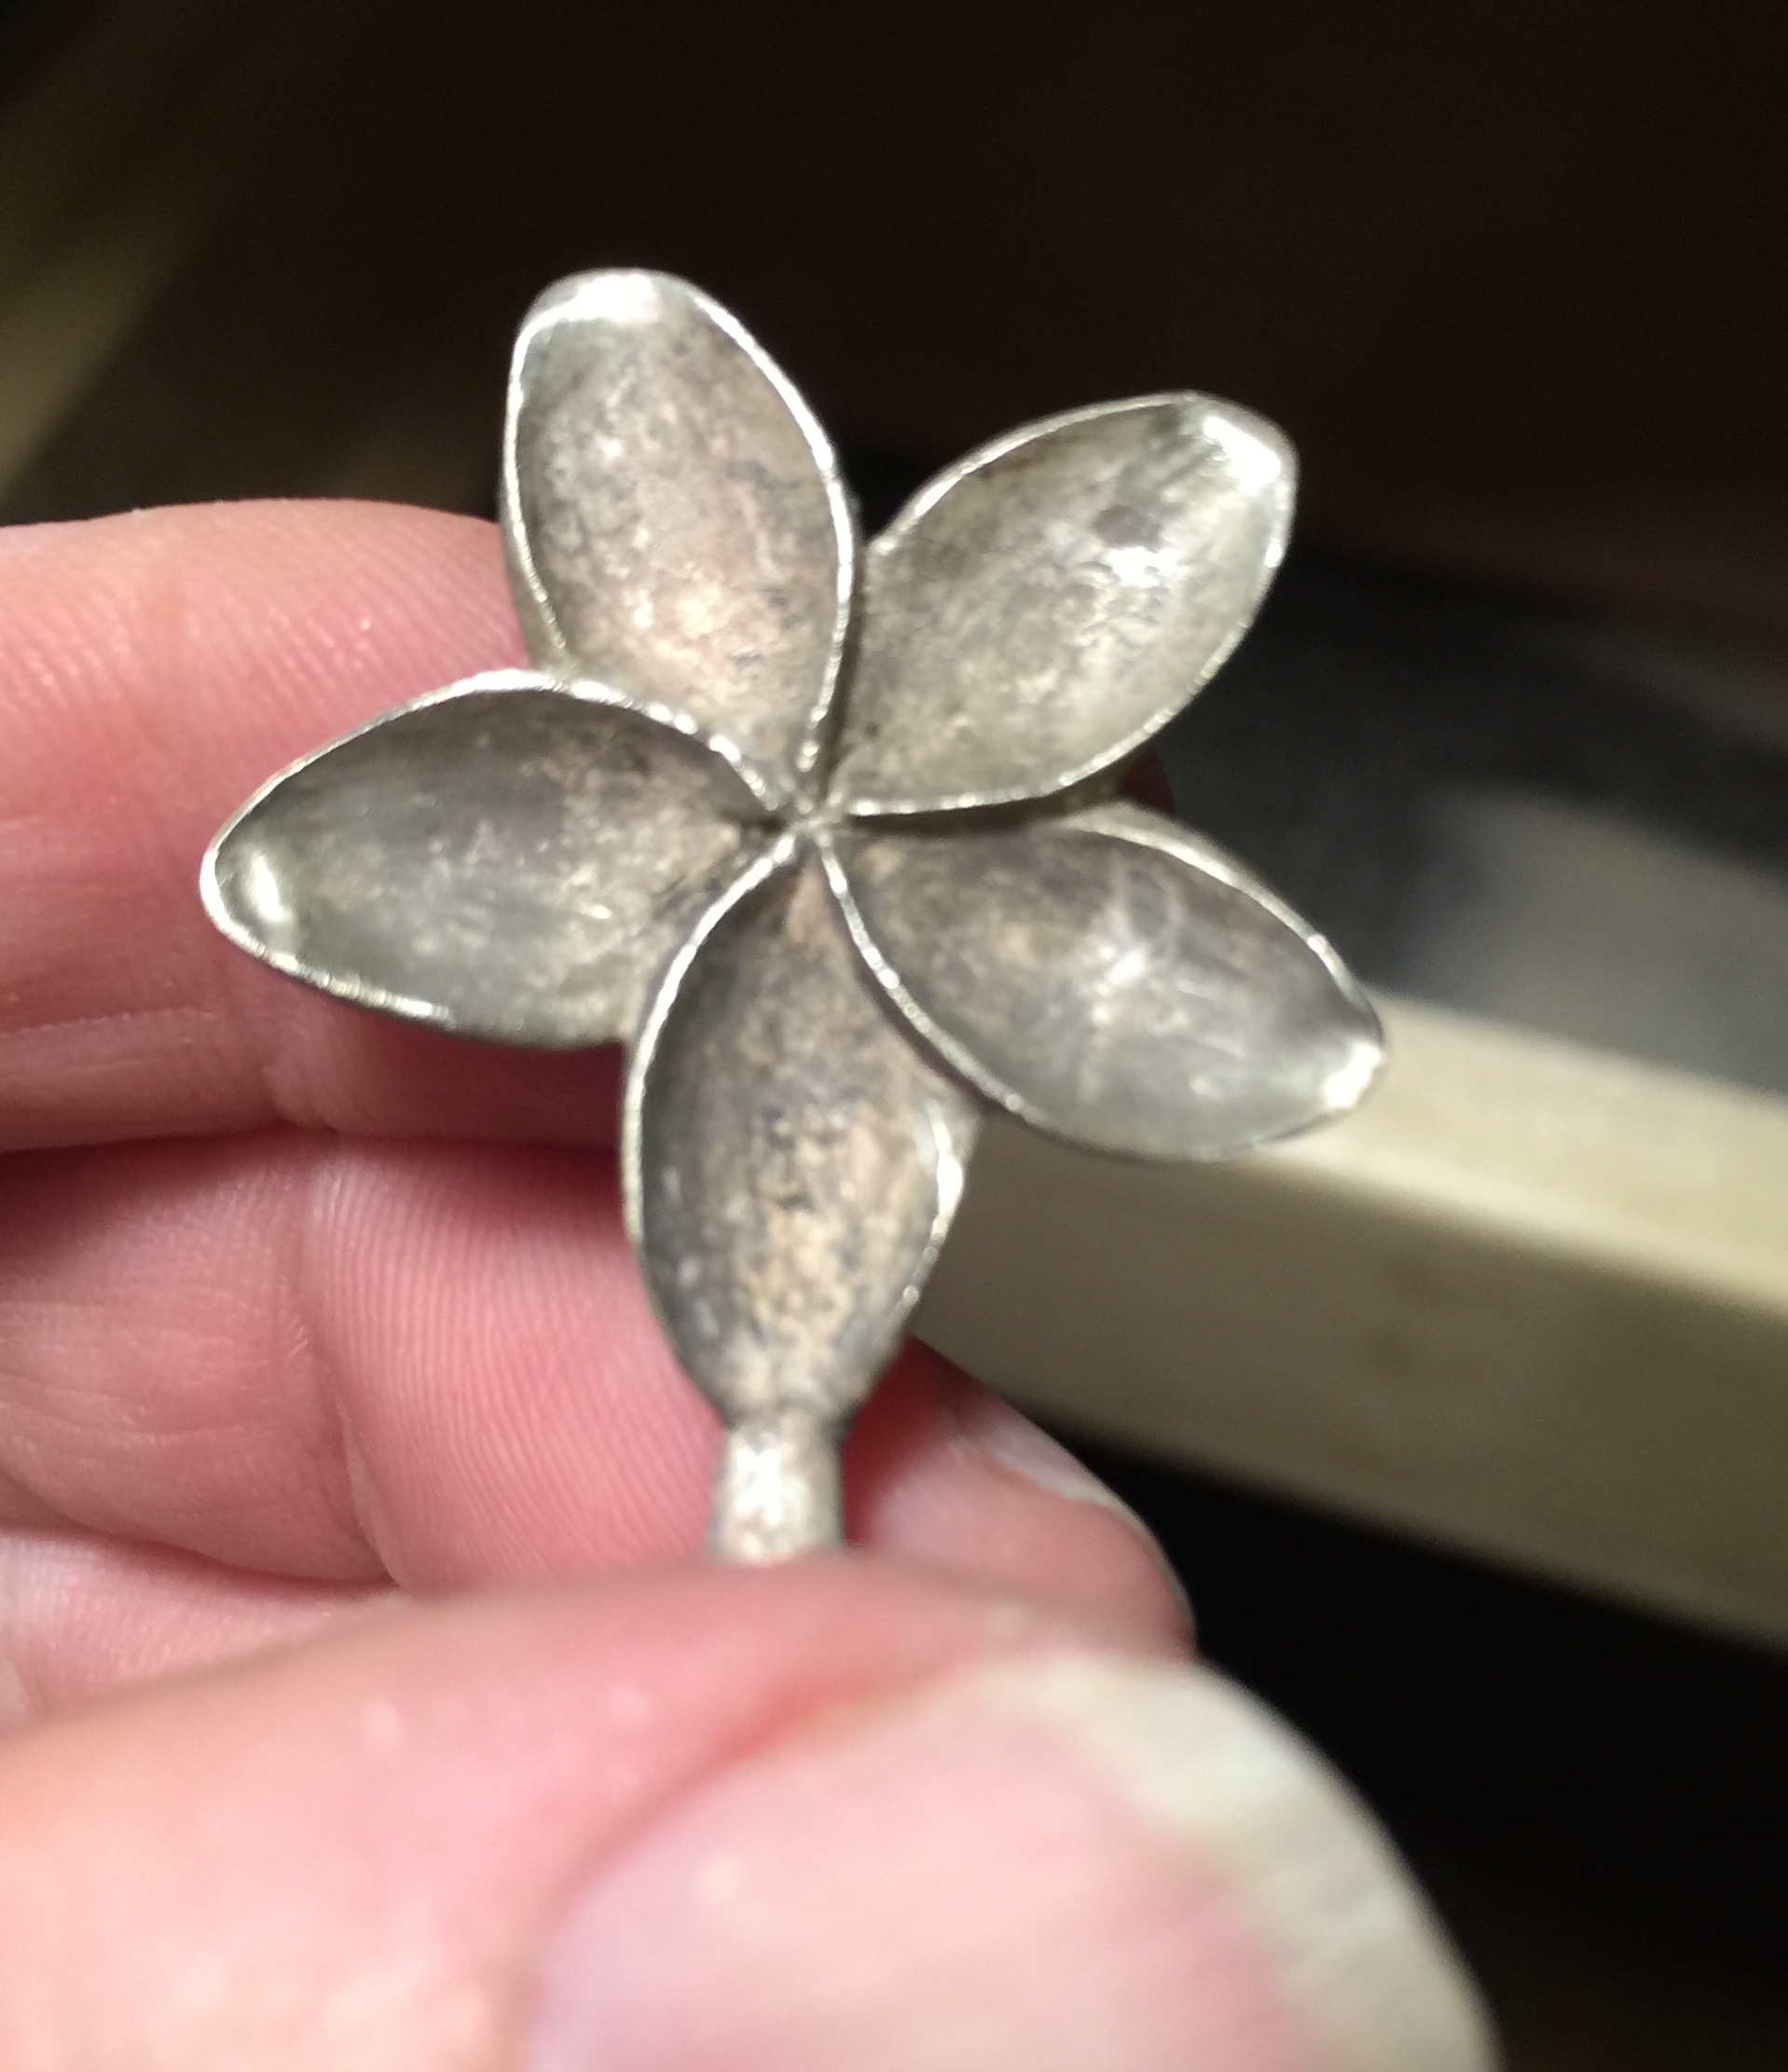

Step 10: Removing the Casting
The next step is the easiest. Switch the vacuum OFF in the casting chamber vacuum, then turn off the machine. Using the tongs, transfer the flask to a large bucket of water while holding the piece horizontal (holes are on either side), slowly submerging the flask. Investment will spew out the sides into the water.
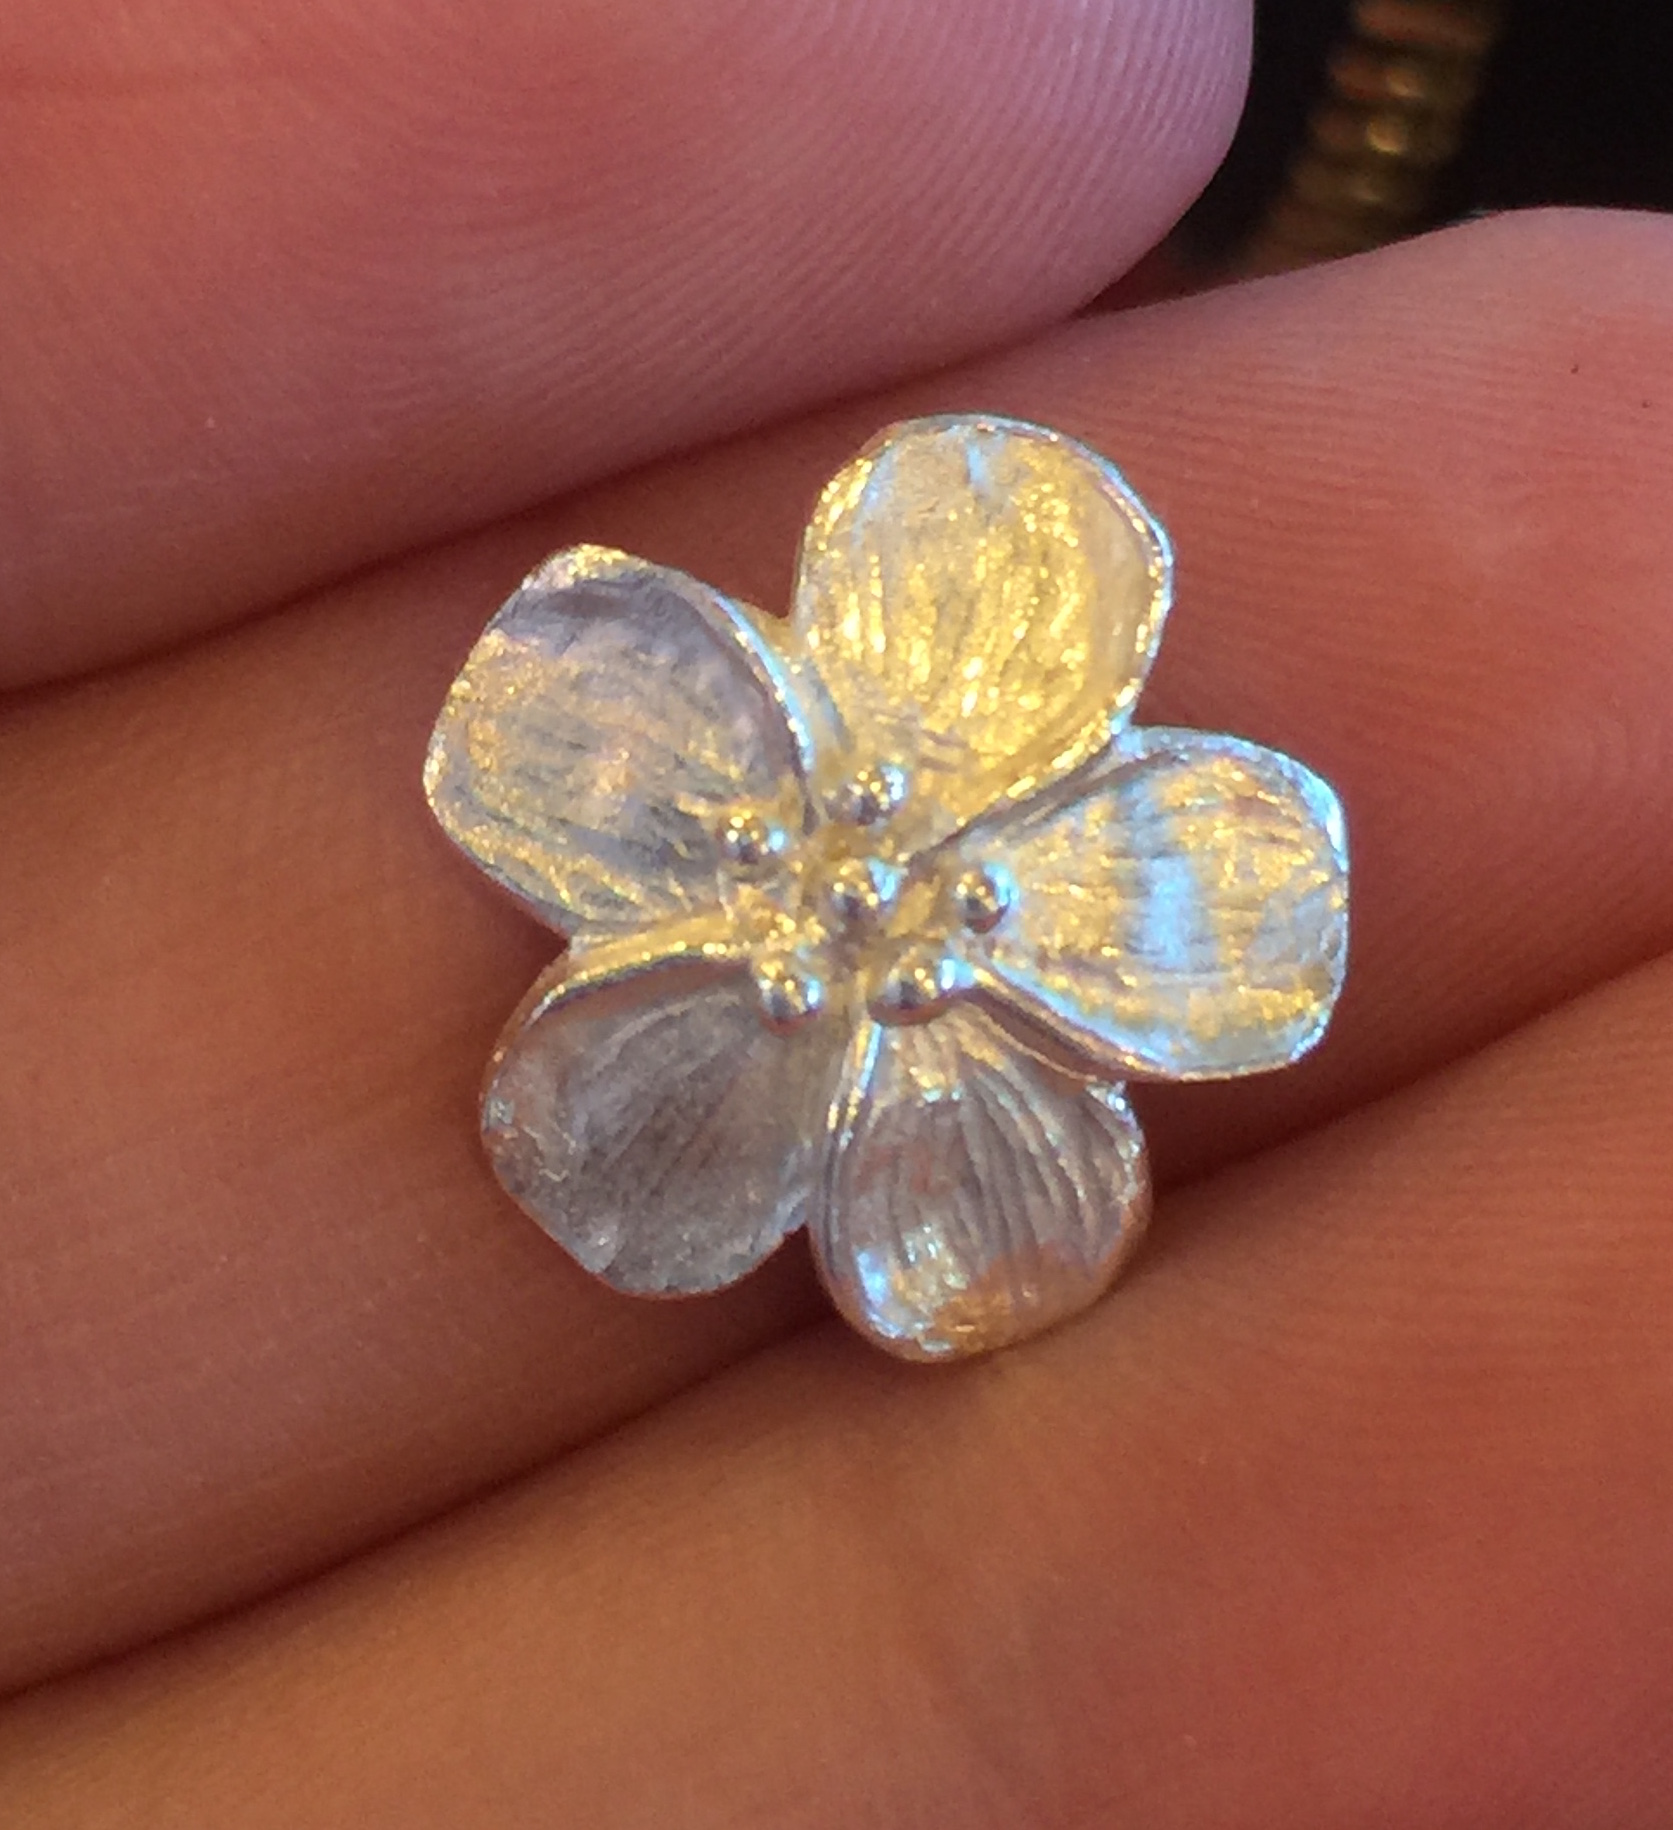
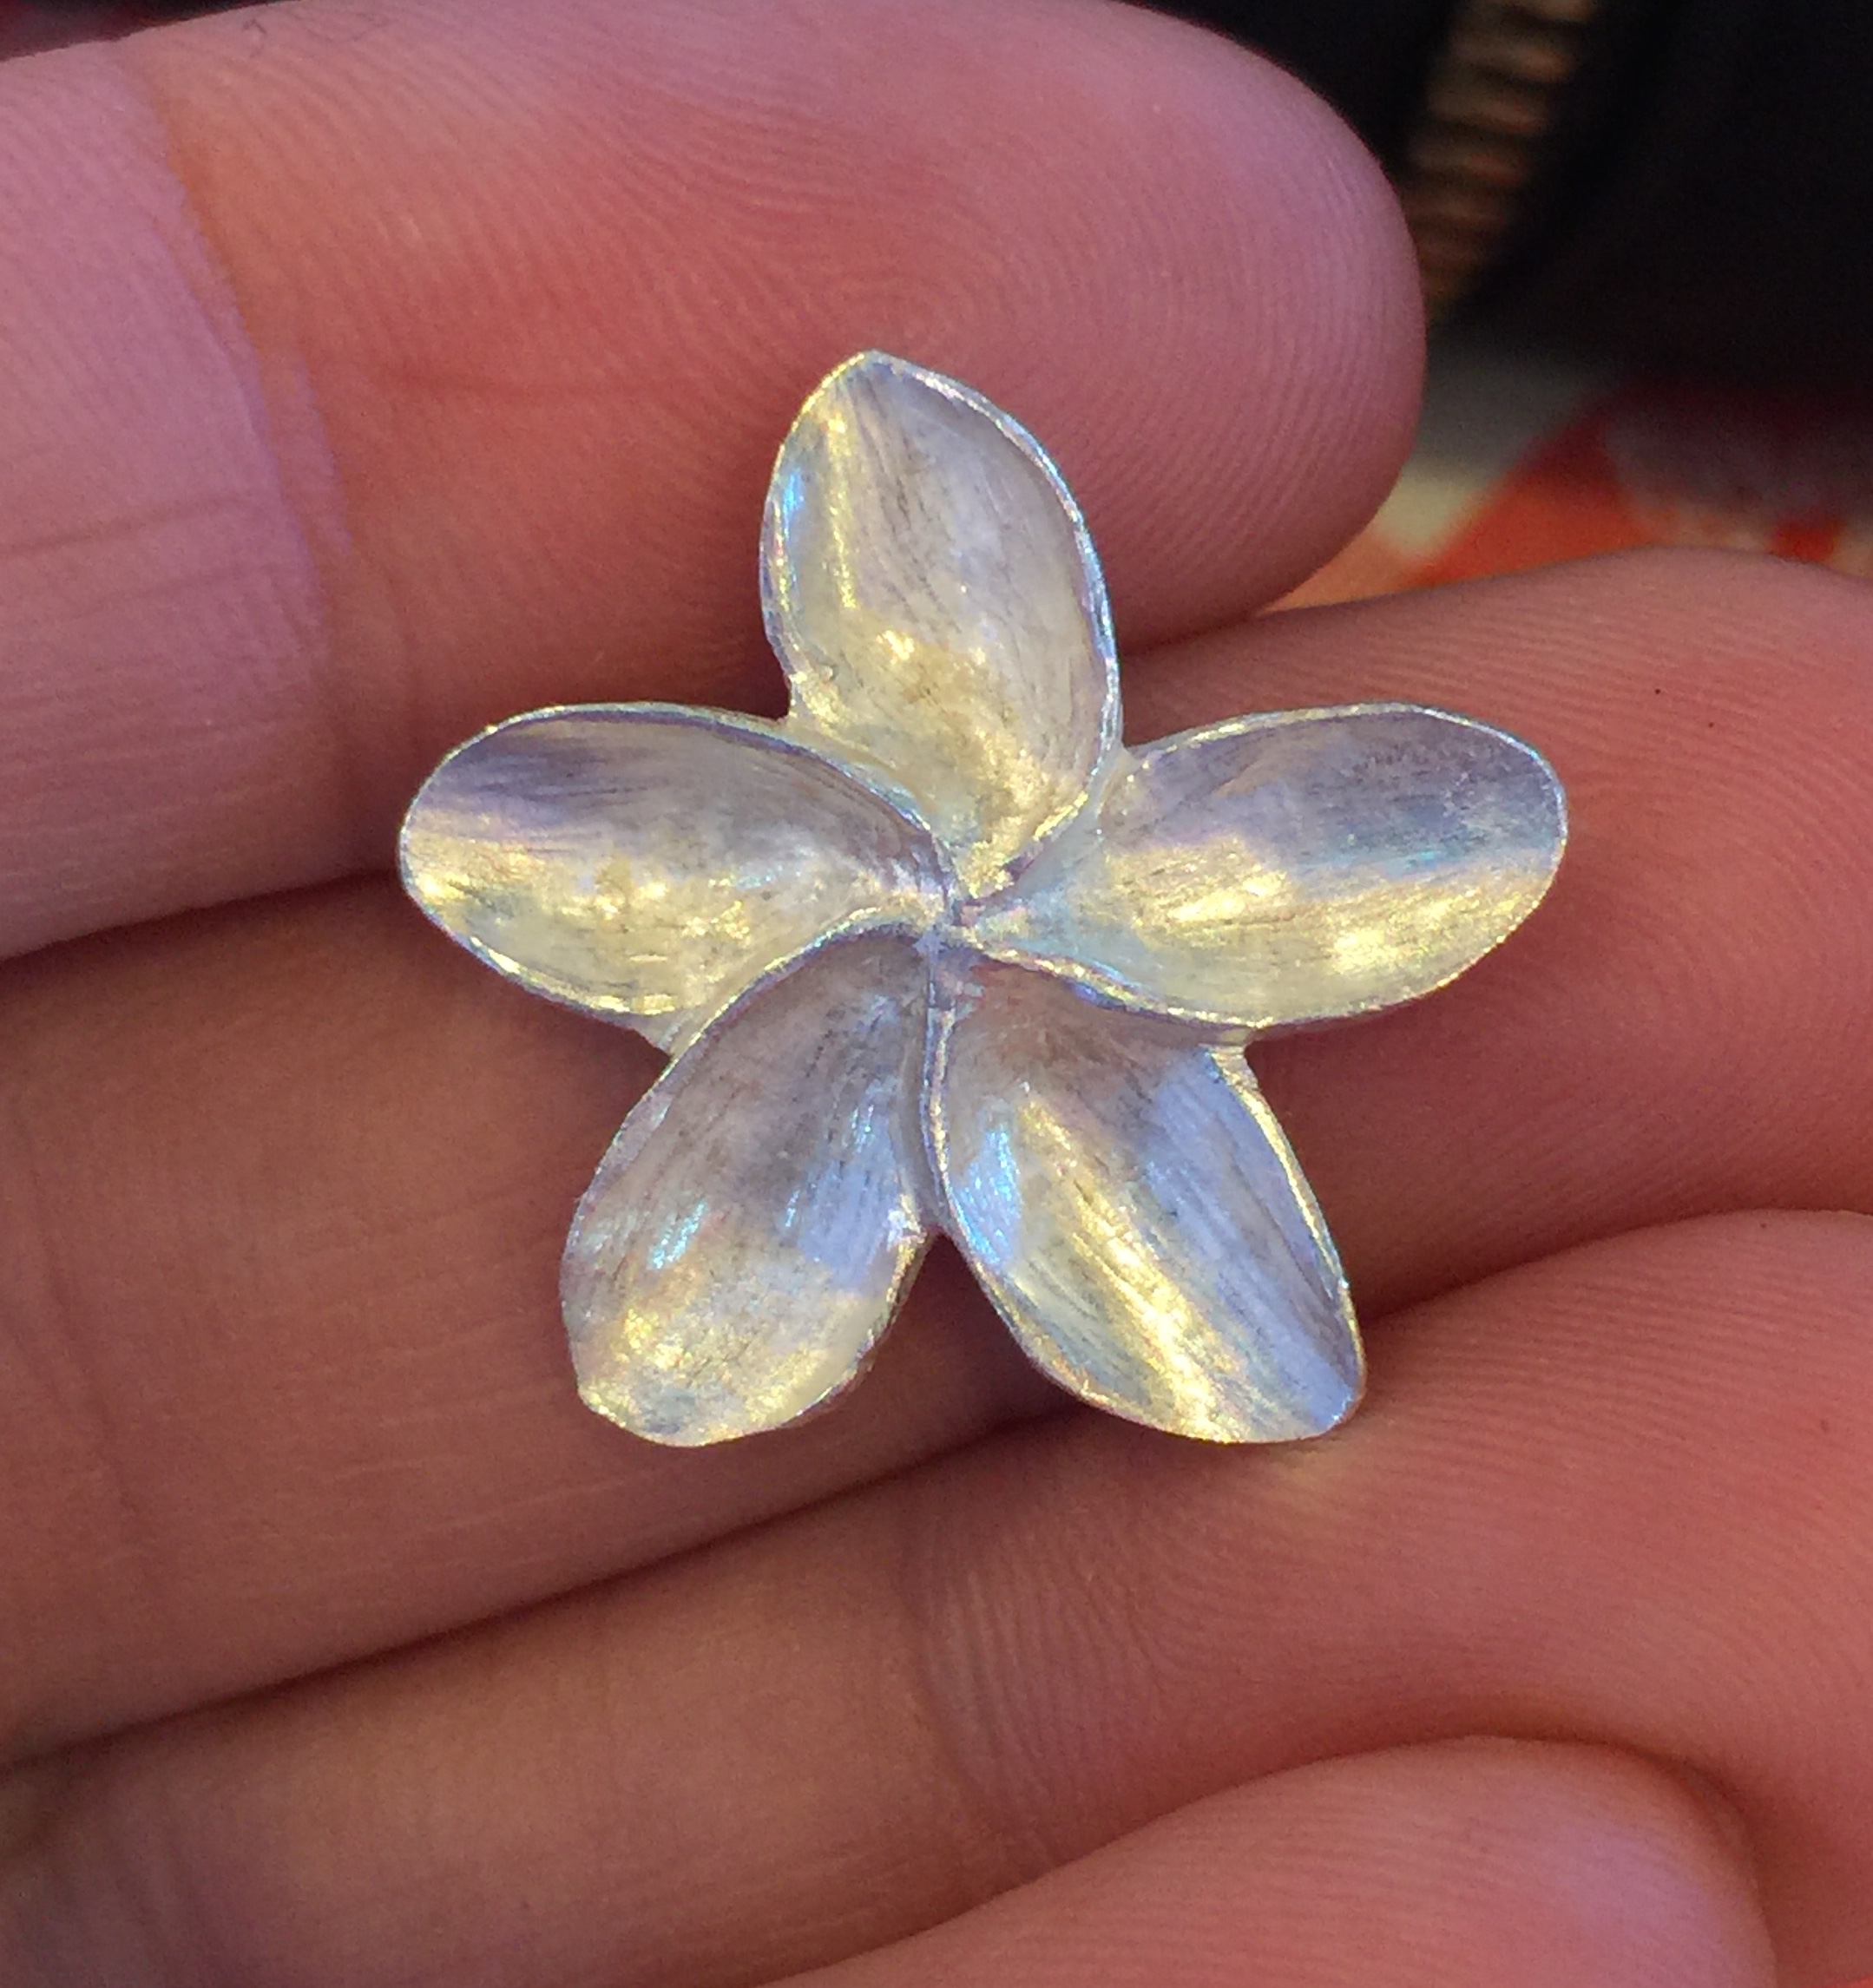
Eventually, you'll hear a "clunk," which is the piece falling to the bottom of the bucket. The next part is like Christmas...fishing around to find your piece! Clean with a toothbrush in the bucket, not the sink. Brush with a soft brass brush, and check out the results!