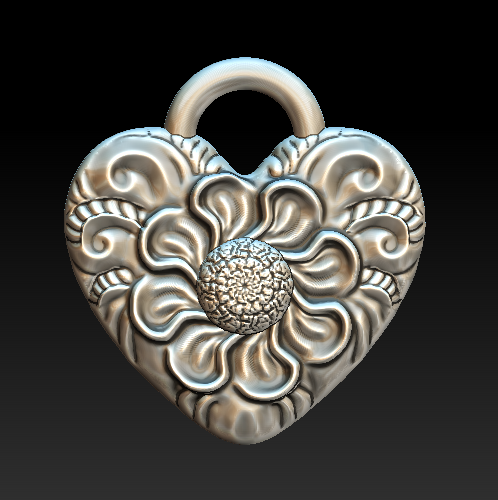
UPDATE, December 2017: Looking back at this post, there are so many things that are wrong! Anyway, a good exploration of what works and what doesn't, and modifying a design to cast and finish more easily. The main change I eventually made to this pendant is to attach the design to a backplate, so the design is simply raised from a background. With a patina, the design is similar but much easier to cast and finish. I have since scrapped this design and melted them all down. So maybe they'll be collector's items someday! And oh my goodness…thankfully my design skills have come a long way. I’ll leave this post up, though, just in case others are having the same issues.
Well, it's finally time. What better time to start casting holiday gifts than a week before Christmas?
It's been an interesting journey. It started back in Denver after I got the casting setup...I remember that my first attempt at casting with a perforated flask, I ran out of acetylene at 1 a.m. and didn't have a way to heat enough metal to cast. The second attempt, I realized that my acetylene/ambient air torch couldn't heat enough metal hot enough to cast. After switching to my old Smith Little Torch (acetylene/oxygen) with a "bud tip," I was able to get the metal melted, but never cast before we suddenly moved back to Texas.
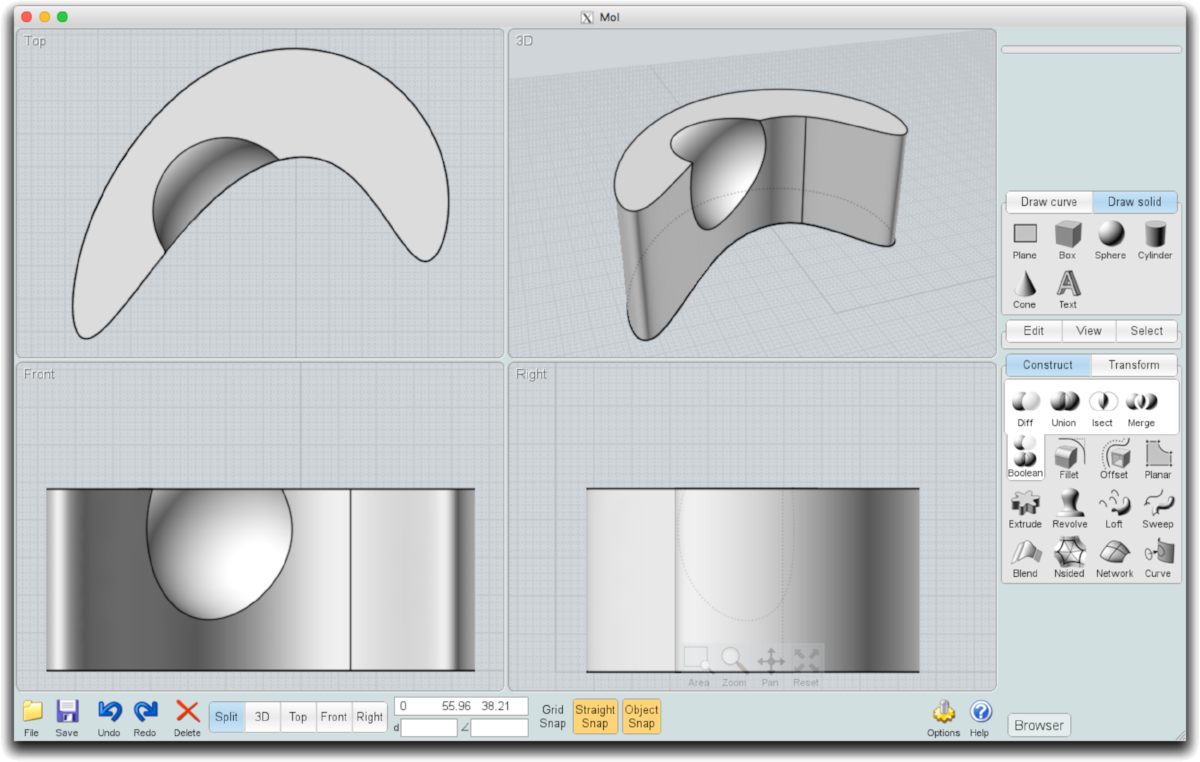
Fast forward over a year. Since then I've taken the wax-working class with Kate Wolf, learned ZBrush, and explored printing in 3D on the Formlabs Form 2. I've printed a lot of things, but the missing link was casting them into metal jewelry.
So I was ready to go! Treed up some models, was burning them out, and my kiln fell victim to the outdoor sprinkler. Since I work late at night usually, I didn't realize that the sprinkler was scheduled to water the lawn that night. The kiln was sitting on a little window in the outdoor kitchen burning out my first 3D model flask, and a poorly aimed sprinkler doused the kiln and killed it. I awoke to an error message and a flask that hadn't completed burnout. I was crushed.
So what do you do when your Paragon SC2 kiln has been watered? Let it sit for a few days and let it dry out. Since this kiln has a metal cabinet, I removed the back and aimed the fan on the inside. Sure enough, about four days later I had the guts to turn it back on. It worked.
Next, I was ready to cast the 3D prints. I prepared the trees, the flask, and tried casting again. I was still having difficulty getting the metal heated correctly. About that time I was helping my parents downsize their house, and my dad gave me a little present...the Kerr Electro-Melt that I needed to get the metal to the right temperature for casting. Something I've learned through research—not in practice—is that metal can be porous if overheated. When melting with a torch, you don't really know how hot the metal is. Any casting I've done in the past was on a very small scale, and I probably just got lucky!