the rubber chicken pendant

I haven’t blogged in awhile because I’ve been remodeling my parents’ house. But while preparing a portfolio piece for a jewelry company, I made a series of sheets that show the design process of some of my more recent work.

Click to download the PDF of this file.

Click to download the PDF of this file.

So how did I make this little guy? I started with a DynaMesh Sphere from the Lightbox, then turned off Perspective. I used the Gizmo 3D in the Move mode to stretch the sphere into an egg shape.

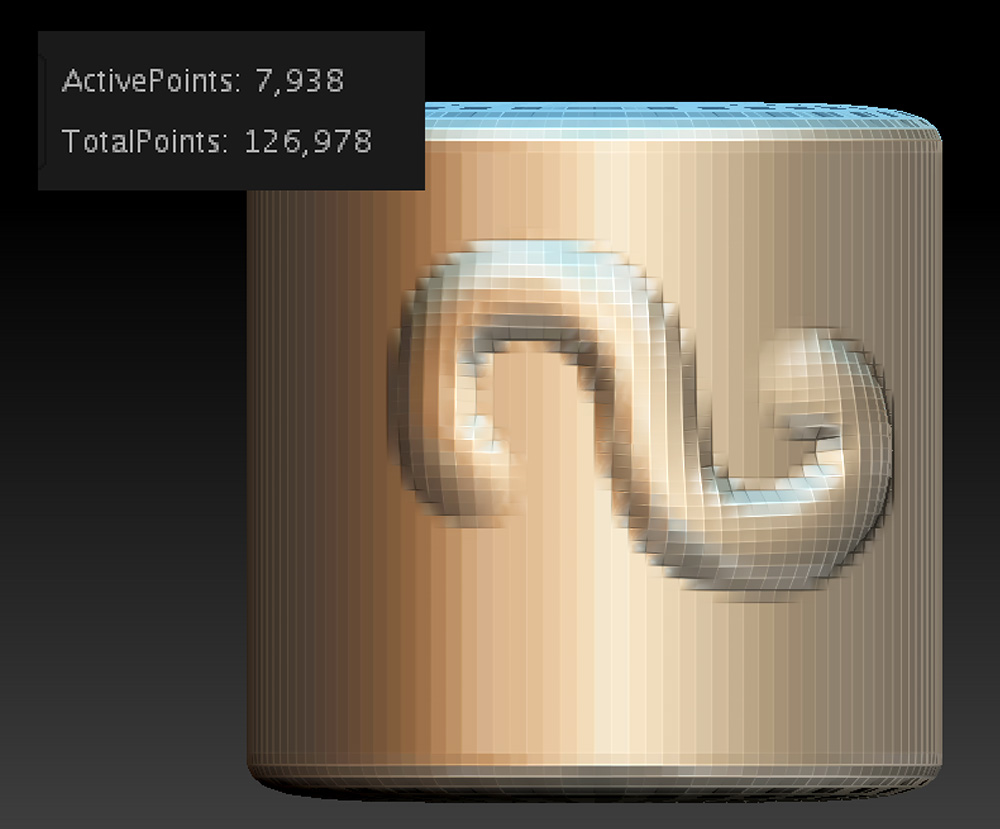
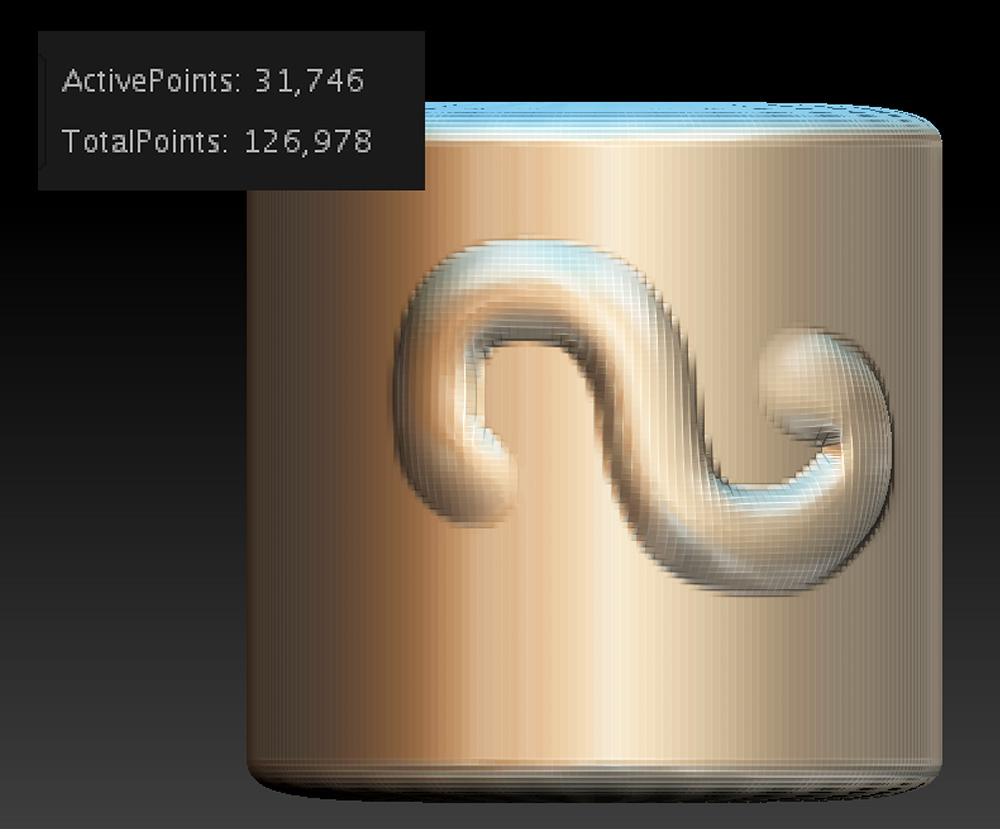
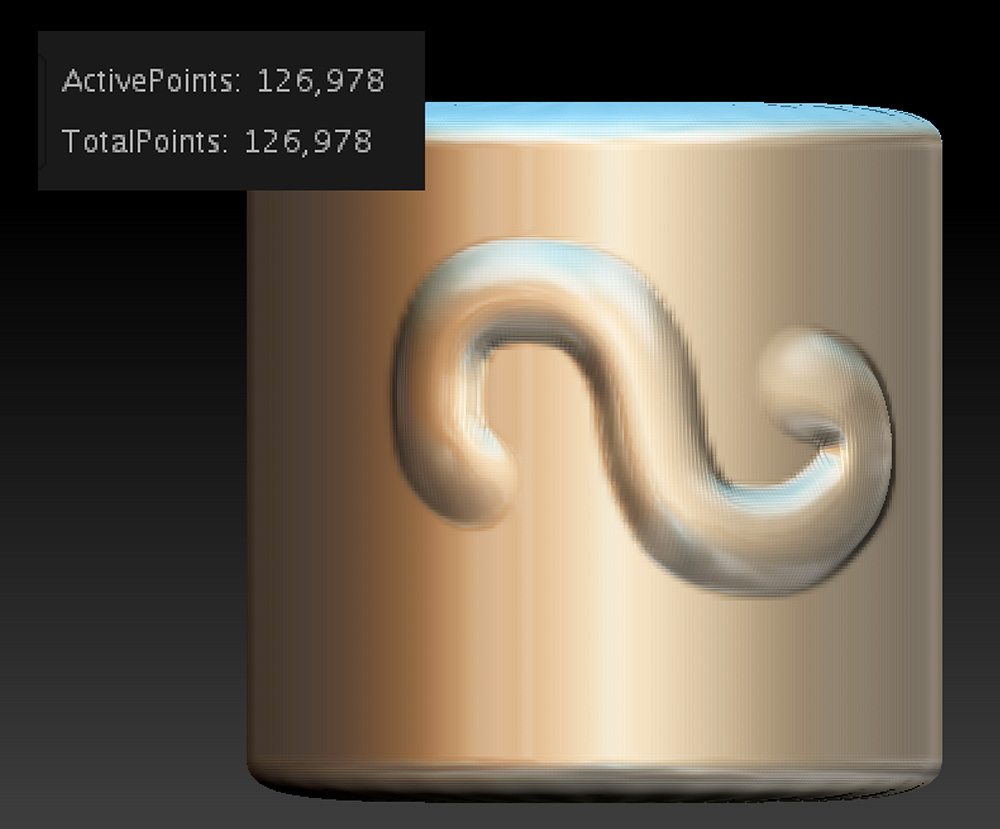
Switch to the Draw mode. Using a mask where the neck should go (Cmd on Mac, Ctrl on PC), I reversed the mask (Cmd/Mac, Ctrl/PC and click on background) and used the Gizmo 3D “ball” in the Move mode to pull the neck out. Since your primitive is already a DynaMesh, after each major change, re-DynaMesh to refresh the mesh. If you want to see what’s happening, on the right side of the main canvas look for the PolyF button with a grid on it.

Using the same method, turn on Symmetry under the Transform menu, then you can mask off both legs at once in the Draw mode, then switch to the Move mode and use the Gizmo to pull the legs down.

Try using the Snakehook tool to pull out things like the toes on the feet…play around with the size. The shortcut for Snakehook is B-S-H on your keyboard.

Switch to the Clay Buildup tool for sculpting details…a good tip is to turn your intensity down to 5 so it doesn’t apply much material, which is easier to smooth with the shift key. The keyboard shortcut for Clay Building is B-C-B.

The arms were masked off, mask reversed, then pulled out to each side. Try using symmetry to do this, but you will need to move the Gizmo to the general vicinity of one of the arms…when you pull out to the side, it will “raise” both arms at once. To move the Gizmo, hold down Option/Mac or Alt/PC and drag the Gizmo over the masked area for one of the arms, release the key, then use your mouse to pull the horizontal arrow away from the body. Clear the mask and fine-tune with sculpting. To re-center, click on the third icon above the Gizmo to find unmasked center.

Another trick? After masking, you can hold down the Cmd/Mac or Ctrl/PC and click ON the model to soften/blur the edge of the mask. This will provide nice, rounded arms.

And finally, the t-shirt was applied to the chicken using a mask and the Mask Pen. Try switching the stroke to Lasso if you’d like. Sharpen the mask by clicking on the model while holding Cmd-Option/Mac or Ctrl-Alt/PC. Then use the Extract command from bottom of the SubTool palette.

I’ll do a tutorial on this one soon, but hopefully this will get you started!

physical size, resolution, and file size

I've been out of touch for a little bit as I took on a pretty big project that's completely unrelated to jewelry. If you read my bio, you might have seen that I have a background in construction (of all things!). I've been in the middle of a major remodel of my parents' house, getting it ready to go on the market. If you can imagine, popcorn ceiling removal, paint, a new multi-level deck, and a total re-do of four bathrooms, including moving walls. If you've ever watched that show Fixer Upper, it's kinda like that...except for unlike the show, it doesn't happen over the course of an hour.

size matters

Screen Shot 2018-07-21 at 8.01.48 PM.png
xyz-size-zbrush.png

Yup, size can be a big issue when working with ZBrush. While I don't have a formal answer why, I'm guessing that it's because the program was designed to make things that were abstract—things that lived in a virtual world. So for that reason, size is relative in ZBrush, and measured in plain ol' units. Here you can see the Size sub-palette under the Geometry palette on the right-side of the interface.

The pendant on the stage (only the pendant, not the chain), is a minuscule amount smaller than 25.4 units. Well, if you count this as 25.4 millimeters, this equals one inch across. You can also see the Z Size is 1.61 units, so approximately 1.61 mm thick, which is a nice thickness for a pendant. And likewise, the height is 16.7 mm.

When I first started working with ZBrush, I saw a tutorial that suggested calibrating something called the Transpose Line tool. I struggled with this, and every time I thought I had the size correct, something would change and everything would be off. I couldn't reliably gauge bezel cups or stone settings...or even thicknesses. This also became an issue with the amount that a design or text was raised off or inset into the surface. So finding a way to make this work was really important.

Someone also asked me on YouTube if I used a plugin called "ScaleMaster." The answer is no. I have also tried RingMaster, another plugin, which is nice, but I also had some problems with that. However, I DO use RingMaster to insert gemstones because the models contain minimal polygons, meaning they don't slow ZBrush down.

getting started with a correctly sized model

simplebrush-zbrush.png

So here's the process I use:

  1. From the right-hand side of the stage, click on the yellow "S" that represents the SimpleBrush tool.

  2. Choose the Cylinder3D from the list.

  3. Click and drag a cylinder on the stage. It doesn't matter how large you make it...it comes into ZBrush at an XYZSize of "2" units.

  4. Immediately press the "T" key to switch to the Edit mode.

  5. Press the Make PolyMesh3D button toward the top under the Tool palette.

  6. Look under the Geometry palette on the right-hand side of the window for the Size sub-palette.

  7. Enter "10" in the XYZSize box and hit return to accept the new size.

  8. The primitive is probably taking up the whole window, so click somewhere on the stage to deselect the number in the XYZSize.

  9. Now press the "F" key to fill the stage with the current object.

And there you have an object on the stage.  It's pretty faceted, and not smooth, but we'll deal with that next.

smoothing the primitive

I have a special technique that I've developed to get a smooth object as soon as possible in the workflow. In the beginning, I thought simply performing a DynaMesh operation would smooth it, and I went back and forth between DynaMesh and Polish Features, but with results that weren't efficient or acceptable. So here's how I smooth things out.

  1. Look for a button labeled Divide from the Geometry palette.

  2. Make sure that the Smt button is turned on (this will smooth your primitive).

  3. Click the Divide button twice.

  4. Look above the Divide button for another button labeled Del Lower. This will delete the two lower-resolution subdivisions that you just created.

That should give you a nice, smooth primitive. 

So what happened? Each time that you use the Divide command, ZBrush takes each rectangular polygon and divides it into four polygons. Then when you divide again, it divides each one of those resulting polygons into four more polygons. If you have the Smt button activated, it takes the opportunity to smooth out your model.

You can see the underlying geometry of your model by using the Draw PolyFrame (Shift - F) button to the right of the stage, toward the bottom of the vertical row of buttons.

Subdivisions are wonderful if you're roughing out a shape, then switching back and forth between lower resolution subdivisions and higher resolution subdivisions. Adding material with a brush like the ClayBuildup brush works faster when working with a low resolution. But finer details are better applied with the higher resolution. I'll address this in a tutorial later.

Take a look at the example below...look at the pixillation of the cylinder and the number of ActivePoints. Each time that the cylinder is divided, it QUADRUPLES the number of ActivePoints. This has implications with regard to file size...our strategy is to get a smooth resolution while still keeping the file size down. 

So keep this in mind, and I'll write a little more later...then we'll talk about how working in actual size relates to your DynaMesh resolution. and how you can work more efficiently and on lower-end hardware.

Heck, I can even run ZBrush on my 2012 MacBook Pro! And you know what that means? I can sit in a café in the Caribbean and design jewelry. SWEET!

an experimental earring from a kaleidoscope program

mandala-3.jpg

I'm just putting this experimental earring up here because I think it turned out pretty cool! Created in the new ZBrush Core.

I used a kaleidoscope drawing program that I found on the internet to make the basic design, used the Gaussian Blur tool in Photoshop to blur the jagged edges, then Unsharp Mask to bring it back into focus. The design was then brought into ZBrush as an alpha mask, turned into a polygroup, isolated, then extracted. The resulting mesh was then Dynameshed so it could be sculpted, then divided (using Subdivisions and the Divide function) to give a finer mesh for sculpting.

UPDATE: I’m now using iOrnament on the iPad with the Apple Pencil as a design tool for repeating patterns and mandalas. It eliminates the problem of having to blur the image and sharpen…just use AirDrop and send it over to your computer!

BIG DISCLAIMER: I wouldn't say that this is my best design work, but it was more of an experiment...so carry on.

Rendered image from ZBrush

I used the Helix tool in ZBrush to create the coil on the drop, added some jump rings, then brought in a Cube primitive and Dynameshed it so I could draw a mask and create the darker supports that would recess into the background after a patina was applied. The original supports were straight. The curls add a nice touch that mirrors the swirls on the main design.

By the way...using the MRGB function in ZBrush, you can "paint" different areas to mimic the patination applied during finishing. Just choose a material, and change the color to a darker gray. This behaves a little differently than using the "dirty" silver MatCap material, and results in a more dramatic presentation of the finished piece.

UPDATE: When this earring was printed and cast, it was too thick and too heavy. Thanks to the technology, I was able to shrink the thickness, enhance the scrolls, and reprint. The great thing about having a printer on your workbench is being able to make adjustments and test techniques. 

The models with supports added, ready to print. This version was too thick and too heavy.

MoI — moment of inspiration CAD software

types of CAD modeling

After taking an online course on jewelry in ZBrush, I was a little frustrated that the instructor was going back and forth between ZBrush ($795) and another piece of "parametric CAD" software that was more expensive. I had a few early attempts to stretch SketchUp's capabilities to make basic forms for ZBrush that worked okay, but since then I've learned more about ZBrush's ZModeler functionality for hard surface modeling.

Simple flower made in virtual "clay" in ZBrush

So you say, "Kat, you're using that crazy terminology again, and I have no idea what you're talking about." Let me explain.

ZBrush gives you the ability for more freeform modeling. Imagine sculpting with a ball of clay in real life...you can push and pull the material into organic shapes, creating a model in a very realistic way but in a new medium. The flower shown here is a very basic example of this type of freeform modeling in ZBrush. However, the flower was originally created in ZModeler as a hard-surface model, then sculptural details added with other more freeform brushes.

The ZModeler mode in ZBrush is great for creating hard-surface models...this would be like modeling a starfighter...you might start with basic shape and push and pull surfaces to make something more mechanical looking. Here's a fascinating time-lapse video of "Alex O" modeling a war helmet in ZBrush with ZModeler. In jewelry design, I might use the ZModeler functionality to create a square frame for a pendant, then an inner medallion, then switch over to soft sculpting to create the design. When creating a base for 3D printing, I also use the ZModeler functionality. Here's another great video from Alex O that shows him using ZModeler to make a geometric ring.

However, something like SketchUp (SketchUp Make, FREE download) is a little more rigid. I can create a box, then push and pull geometric shapes. But if I were making a box that I wanted to be exactly 20 cm, I have a precision built in to the program that can make that happen. That is a characteristic of a "parametric" 3D modeling program. That makes SketchUp...like AutoCAD, Fusion360 (cloud-based, FREE for hobbyists), Solidworks, and similar software...perfect for creating technical drawings and product designs. For example, I used SketchUp to design my jewelry workbench.

moment of inspiration (MoI)

I had some issues with creating printable models in SketchUp, so I started looking around for another "technical" drawing solution that wouldn't break the bank. Enter Moment of Inspiration, also known as MoI. MoI is $295, works on both Mac and PC, and has a 30-day trial.

At first I was a little skeptical. The interface was pretty basic, and definitely wasn't written to take advantage of the Mac interface I'm using. But then again, neither is ZBrush. After a couple of YouTube videos I was up and running, and I was able to figure out the rest on my own. 

So what is MoI good for? Probably almost any kind of technical modeling you might want to do except freeform "clay" type modeling. You could take a freeform "extruded" shape and "subtract" a sphere from it. Combining different "primitive" shapes, such as cubes, cylinders, and spheres, you can make pretty complex models that export well. Turning on a "grid snap" or "object snap" helps line things up. Then you can export these items easily, bringing them into the PreForm or other "slicing" software that prepares the file for 3D printing.

Some rubber mold frames made in MoI

I jokingly say that the second phase of having access to a 3D printer is when you start making your own tools. I purchased some frames for making rubber molds from Rio Grande, but they were too wide to fit in a nifty little spring clamp that holds the split mold together while filling with hot wax. Additionally, trying to estimate the amount of two-part "RTV" (room temperature vulcanizing) mold material usually resulted in wasted material...and at $56 a container, it's too expensive to do that! So my "improved" version has markings on the side to indicate centimeters, and a handy spreadsheet calculates the exact volume and weight of RTV needed. Remember the ability to measure in a parametric modeling program? Because MoI works that way, my one centimeter marks are accurate when printed. In ZBrush, that would be more difficult.

And because I'm a dork, I added www.katkramer.com and my logo to the side...and it was backwards, so when the rubber mold is made, my website address doesn't read correctly. Oh well, there's always version 2.

So in a nutshell, MoI is a nice little program, and the models created are accurate in size. It is a nice alternative to more expensive programs for making basic models to bring into ZBrush.


finally casting...the mandala pendants

UPDATE, December 2017: Looking back at this post, there are so many things that are wrong! Anyway, a good exploration of what works and what doesn't, and modifying a design to cast and finish more easily. The main change I eventually made to this pendant is to attach the design to a backplate, so the design is simply raised from a background. With a patina, the design is similar but much easier to cast and finish. I have since scrapped this design and melted them all down. So maybe they'll be collector's items someday! And oh my goodness…thankfully my design skills have come a long way. I’ll leave this post up, though, just in case others are having the same issues.

Well, it's finally time. What better time to start casting holiday gifts than a week before Christmas?

It's been an interesting journey. It started back in Denver after I got the casting setup...I remember that my first attempt at casting with a perforated flask, I ran out of acetylene at 1 a.m. and didn't have a way to heat enough metal to cast. The second attempt, I realized that my acetylene/ambient air torch couldn't heat enough metal hot enough to cast. After switching to my old Smith Little Torch (acetylene/oxygen) with a "bud tip," I was able to get the metal melted, but never cast before we suddenly moved back to Texas.

Fast forward over a year. Since then I've taken the wax-working class with Kate Wolf, learned ZBrush, and explored printing in 3D on the Formlabs Form 2. I've printed a lot of things, but the missing link was casting them into metal jewelry.

So I was ready to go! Treed up some models, was burning them out, and my kiln fell victim to the outdoor sprinkler. Since I work late at night usually, I didn't realize that the sprinkler was scheduled to water the lawn that night. The kiln was sitting on a little window in the outdoor kitchen burning out my first 3D model flask, and a poorly aimed sprinkler doused the kiln and killed it. I awoke to an error message and a flask that hadn't completed burnout. I was crushed.

So what do you do when your Paragon SC2 kiln has been watered? Let it sit for a few days and let it dry out. Since this kiln has a metal cabinet, I removed the back and aimed the fan on the inside. Sure enough, about four days later I had the guts to turn it back on. It worked.

Next, I was ready to cast the 3D prints. I prepared the trees, the flask, and tried casting again. I was still having difficulty getting the metal heated correctly. About that time I was helping my parents downsize their house, and my dad gave me a little present...the Kerr Electro-Melt that I needed to get the metal to the right temperature for casting. Something I've learned through research—not in practice—is that metal can be porous if overheated. When melting with a torch, you don't really know how hot the metal is. Any casting I've done in the past was on a very small scale, and I probably just got lucky!

Incomplete casting

Incomplete casting

So I was ready to cast, and treed up some nine models. This time when I cast, I heated the sterling silver to about 1740°F (Kerr recommends going 100°F above the melting temperature of the metal, and silver is about 1640°F). I used the Formlabs castable resin burnout schedule, which clocks in at about 14 hours, landing on a 900°F casting temperature with a 3.5"x4" perforated flask. The result was not good!

But why?

After consulting Creative Side Jewelry Academy here in Austin, and the Formlabs forum, I found that it could be either the metal was not hot enough, or the flask was not hot enough. I found in another article that the flask can drop about 100°F in one minute in a vacuum caster, so it suggested making your flask temperature 100°F hotter. Also, filigree designs require a slightly hotter flask. The girl at Creative Side asked if I cast close to 1100°F, and I remember casting at or near that temperature in the past. Participants in the forum suggested between 900°F, or 950°F for filigree. Then the suggestion that every casting situation is different and these numbers are just guidelines, so it requires experimentation. 

Fast-forward two years later, and my settings now are this: flask temperature at the end is 975°F, and metal in my Kerr Electro-Melt is 1865°F.

So I set off to cast again. This time, I used two 2"x2.5" flasks, a 2.5"x2.5" flask, and a 2.5"x3" flask, each with three models, rather than trying to cast a tree with ten models (or more?). I also tried adding a forked sprue coming into the bezel on the back, and another configuration with four sprues coming to the back of the frame. On that one I also added two small sprues coming into the back of the bezel. The sprues on the back of the frame are very easy to clean up, but when I 3D printed this one, the different support configuration distorted the frame on the bottom.

I also conquered my fear of cleaning up the jewelry! I learned from the forum that I should try tumbling the pendants for longer (these were polished about 40 minutes on a rotary tumbler), and silicone wheels work well for cleaning up raw castings. So far I hadn't had much luck with them. So I busted out the kit and it worked!  I also tried these little wheels made with 3M micron finishing papers, and they worked well for grinding down the sprues from the back and finishing the back of the frame. And something surprising...the back of the pendant with a patina is as pretty as the back...so it's reversible. I'll have to play around more with that.

However, they were still usable, and became Christmas gifts! 

zbrushcore...zbrush fun at a lower price!

Awhile back I started writing about 3D printing, and my exploration into a piece of software called ZBrush. It was the single most confusing piece of software I've ever tried to learn, but once you "get it," it's simply amazing. There are a lot of resources out there for learning, and the company's ZClassroom is pretty comprehensive. If you still have questions, you can go to Twitter and use the hashtag #AskZBrush, and they will answer with instructional videos on YouTube.

I've researched the different types of software available, and most "bench" jewelers that make mostly engagement-style jewelry are using something called RhinoGold, but the price tag is pretty hefty. If you want to add on the functionality of modeling with a virtual clay, it will set you back over $8,000.

But ZBrush wasn't made for jewelry. It's been around since the late 1990s, and primarily used for creating movie monsters and CGI effects. If you've watched any of the Marvel movies, or even Game of Thrones, you've seen things made with ZBrush.

So I've been working with the most recent version (as of Fall 2016), which is ZBrush 4R7, costing about $800. I understand 4R8 is coming, but a little surprise happened along the way...a new version called ZBrushCore. This new version is targeted at folks who want to get started with 3D modeling in ZBrush, who might not need all the bells and whistles, and who want a lower price. Voila! ZBrushCore is $199.

Click to enlarge

Feeling pretty advanced with ZBrush, at least where jewelry is concerned, I volunteered to give a demo to a fellow glass artist who is interested in using 3D printing to create specialized tools. At first I gave her a demo of ZBrush 4R7, well before the introduction of ZBrushCore. Then she came over for a quick intro lesson on the new software, and I was thrown off a little by some of the tools that are missing, but we still had a successful tutorial session, making some press molds for clay. But as you can see, the Palettes are significantly simplified.

After getting a chance to work more with ZBC, I found there are workarounds for someone working with jewelry designs. And Pixologic has also included some starting projects in the "Lightbox" for a signet ring, a plain band, and an engagement ring. There are also wonderful videos for getting started...the ring below is a variation of one of their tutorials. I added the bezel and stone, and hollowed out the back of the ring so that it would be lighter to cast. The new version also includes simplified exports for 3D printing, but I haven't tried those yet.

New Gizmo 3D tool

ZBrushCore is also limited to 30 different brushes, but the majority of them are the brushes I use most. I did try loading some of my favorite brushes from ZBrush 4R7, but I got a message that says that ZBrushCore only allows brushes created in that program. I'll have to look into that...can I make brushes? But it did let me load in my favorite materials (Shiny, Shiny Dirty, and Dirty Blue).

It was also missing some of the Clipping Brushes...most notably the ClipRect brush that I use frequently. I tried adding it, but it wasn't accessible. I also couldn't find the Close Holes function, but found that when a Dynamesh operation is performed, the holes automatically close. I really like the new Gizmo 3D tool that allows the user to more easily rotate, stretch, and resize the model, and look forward to that be added into the full version of ZBrush.

One other thing that might throw off an experienced ZBrush user is the masking brushes. At first you think that some of the mask brushes are missing, but check the Stroke options below the masking brushes, and you'll find your old friends. the Curve and Lasso options. Under the mask brushes, you'll also see the new additions of PerfectCircle and PerfectSquare.  These were formerly checkboxes in the Stroke options, but adding them in as an easily accessible tool makes things really nice.

If you've got the extra money for the full version of ZBrush 4R7, I would recommend the full version, but if you're on a budget and just getting started, ZBrushCore is a great program that simplifies the learning process, and still produces models that can be easily printed in 3D.

I'll write more about this over the weekend, and create a tutorial on how to make a ring for YouTube. But if you're interested in digital sculpting, ZBrushCore is a great place to start!

Variation of silver ring from ZBrushCore's tutorials