and now for something completely different...rendering??

So earlier this week I made the mistake of downloading the trial of something called Keyshot. Here’s the deal…when you model something in ZBrush, or any basic CAD program, it doesn’t look like a photo. If you watch those home shows on HGTV, they’ll show a CAD drawing of the home, but it’s not until later that they show the fancy, more-realistic view. That’s an extra step that can take a lot of time and some expensive hardware and software. And that’s how movie studios get realistic animated creates…they’re all RENDERED, adding some photo-realism.

(click to enlarge) Using Nanomesh in ZBrush as a test to make a pavé ring…

I had heard that ZBrush has a partner in crime when it comes to making that photorealistic stuff…but I also heard it was almost $1800! For “real” jewelers who sell expensive jewelry, they probably don’t bat an eye at that price. But for someone making casual lifestyle jewelry, that’s almost as much as a 3D printer.

I knew the need was there, though, so I started researching while working on my ZBrush course. I tried Blender, which is free, but OMG…it made my head hurt. Maybe Keyshot was more user-friendly? (Hint: It’s almost a religious debate among CAD folks…) Might as well know something about it. That was a mistake…I’m hooked. Do I really ever have to physically make jewelry again? This CAD thing is SO MUCH CLEANER! I’ll just look at my stuff on the screen and imagine I made it. But I guess that’s cheating future archeologists!

kat-adair-kramer-zbrush-jewelry-keyshot

So here’s the interesting part. That cute little start to a bracelet above? It’s not real. I modeled it in ZBrush and rendered it in Keyshot. It does not exist in a physical form. How will we know what to believe anymore??

Anyway, I realized that I got the price wrong, and that there is a version specifically for users of ZBrush that’s $200, then there’s something called the ZBrush to Keyshot Bridge that costs another $149. At least I’m hoping that’s what it costs. I MUST have this. Forget designer shoes!

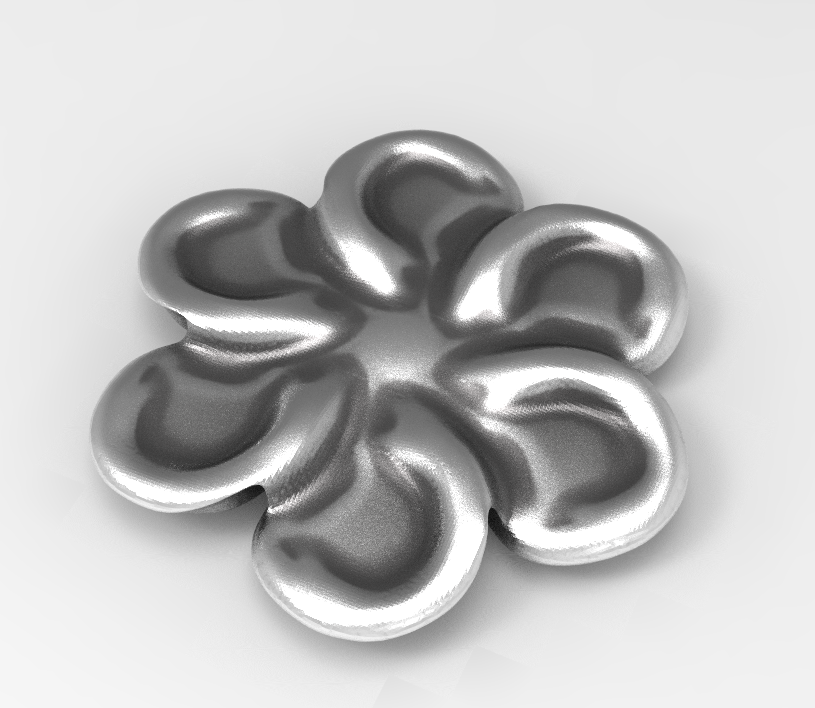
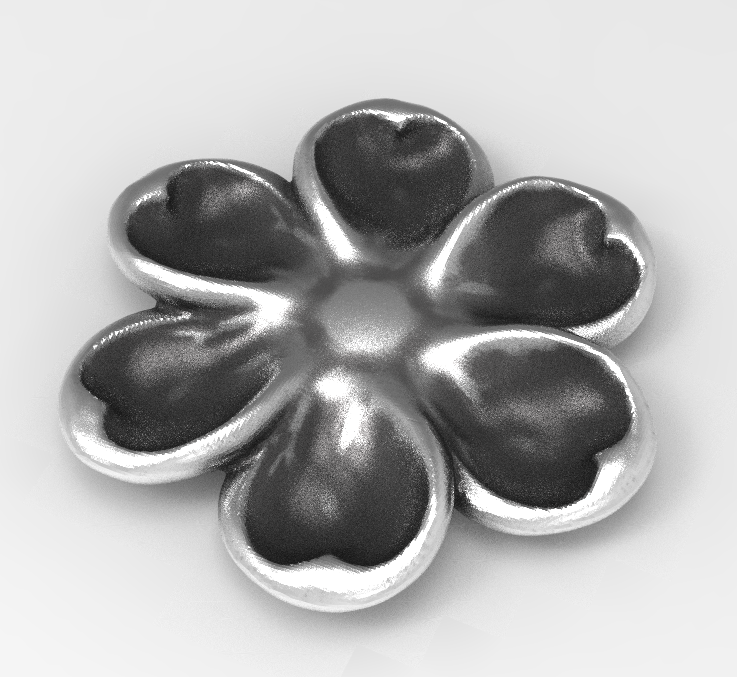
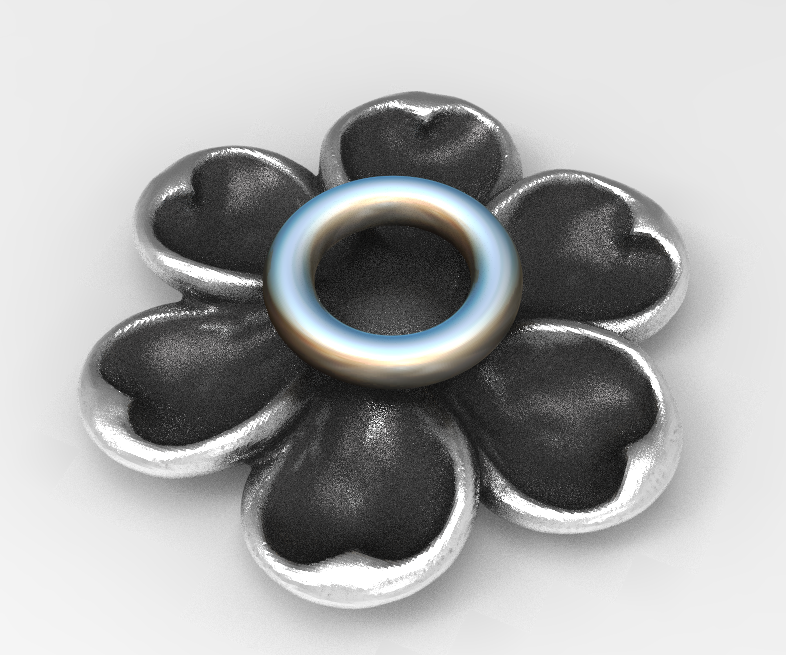
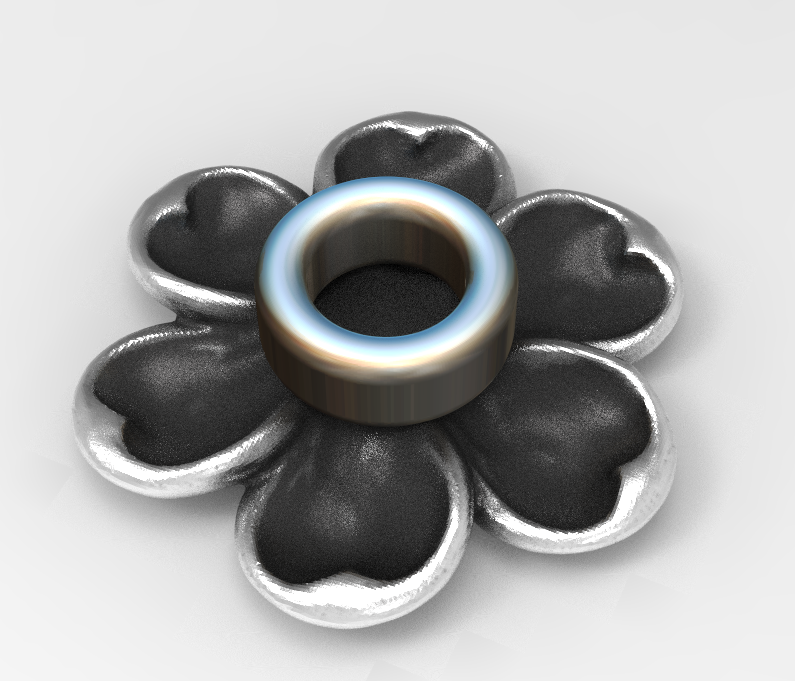
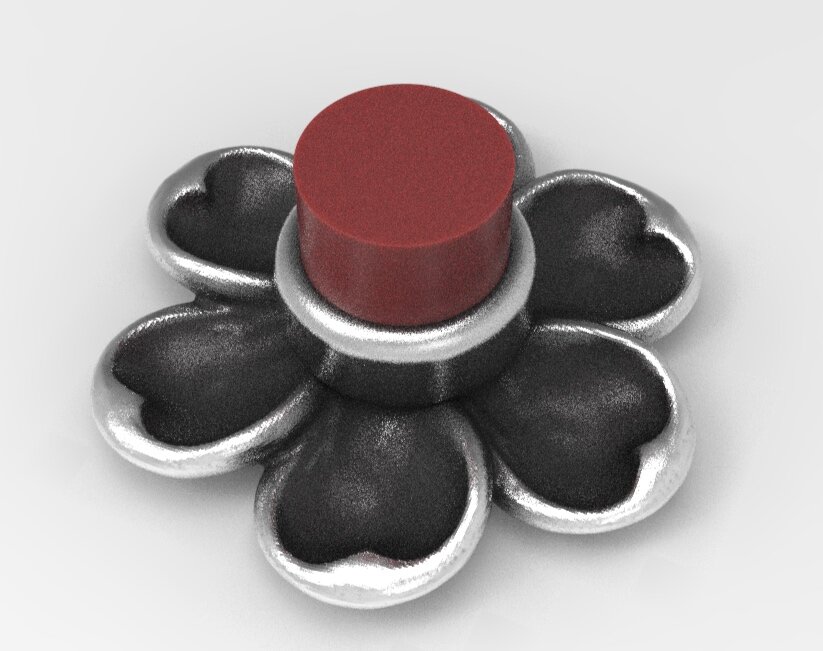
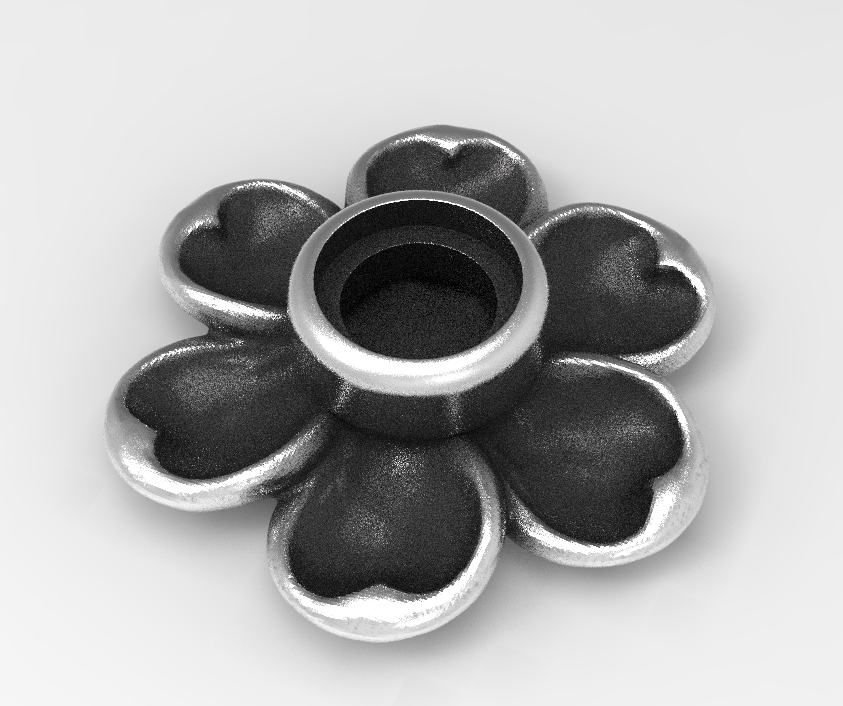
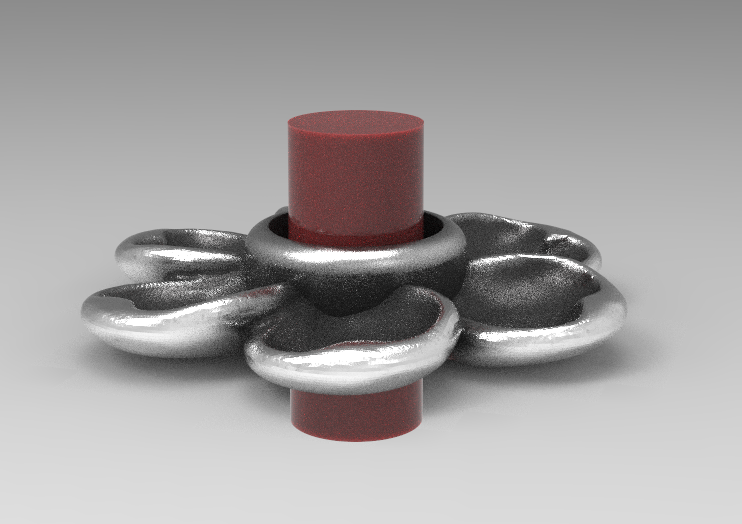
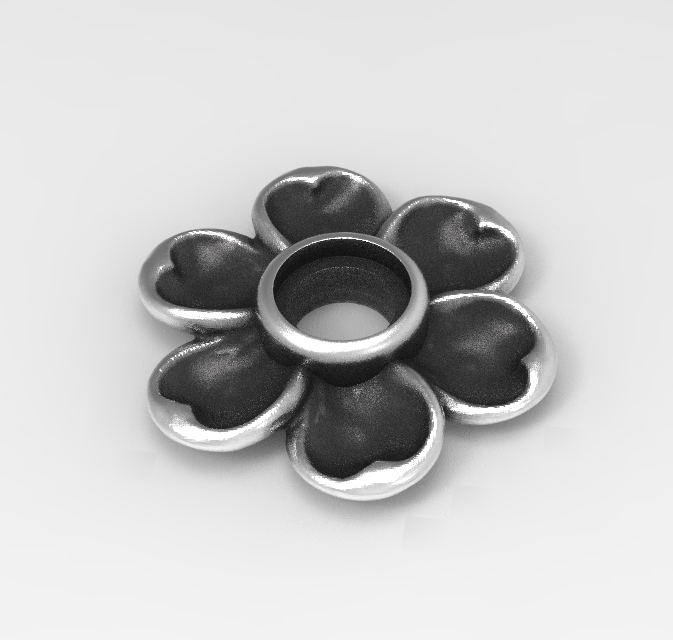
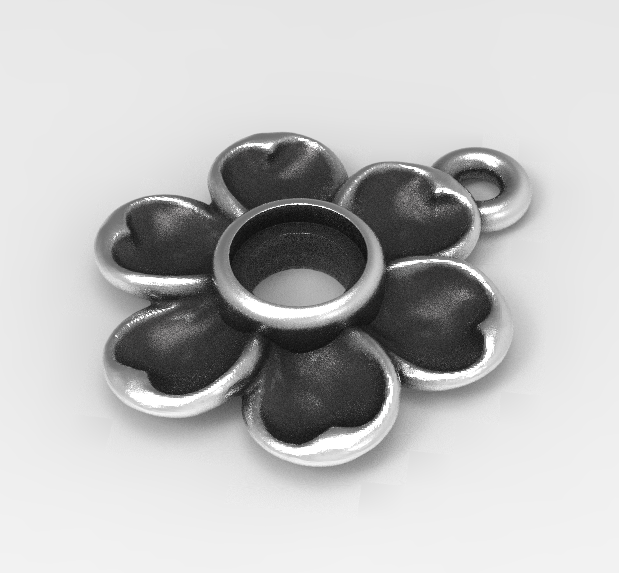
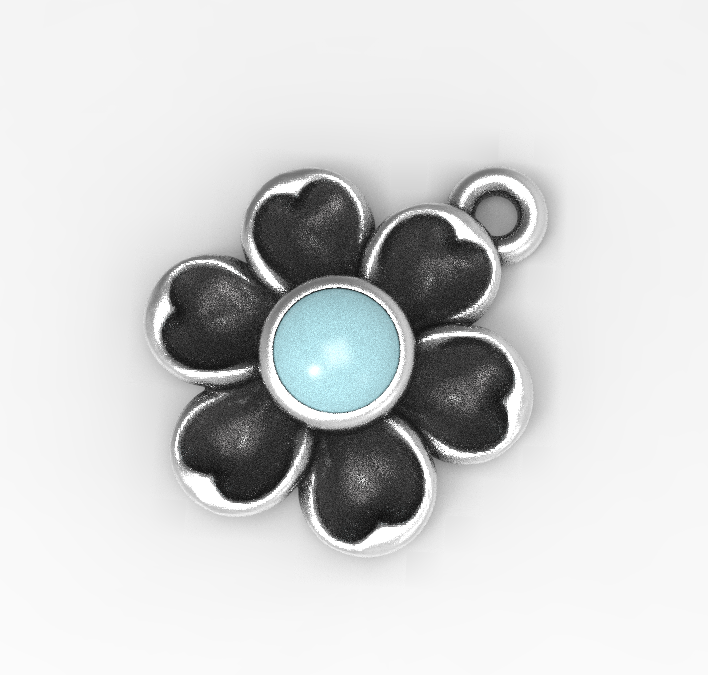
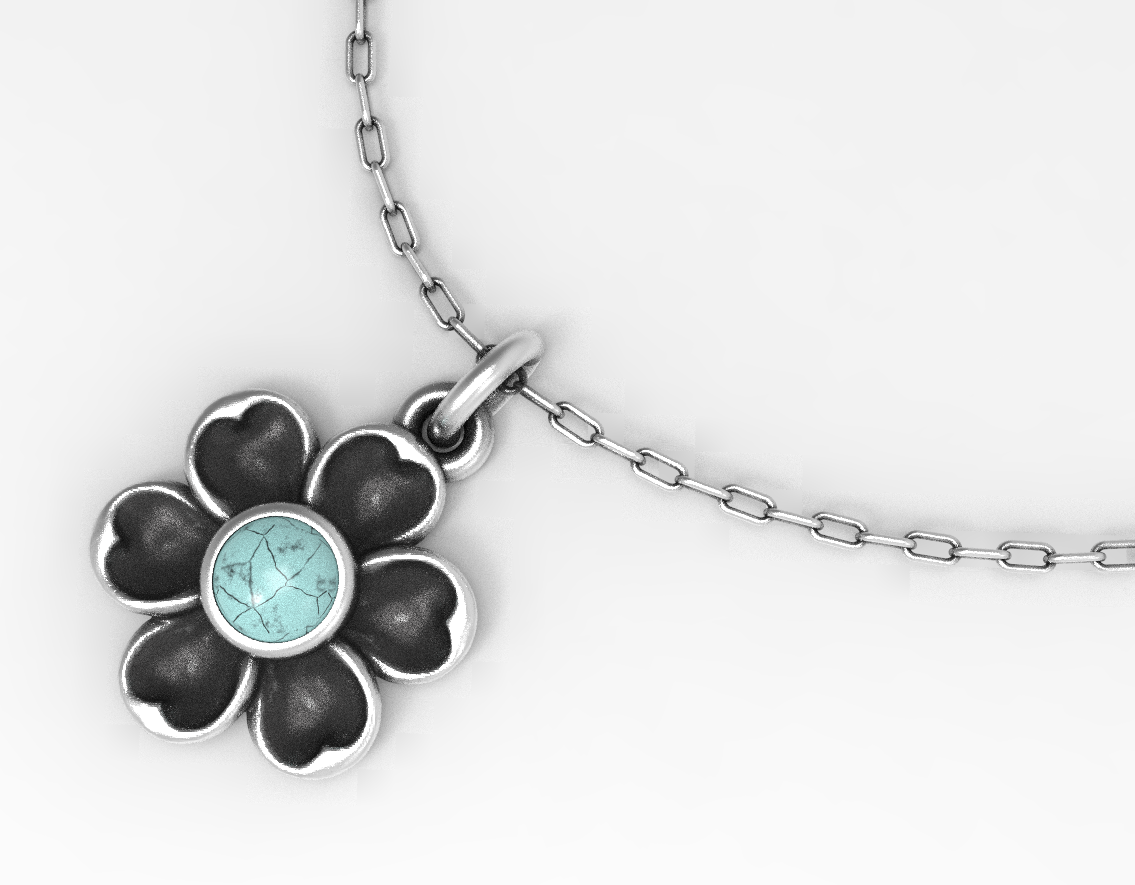
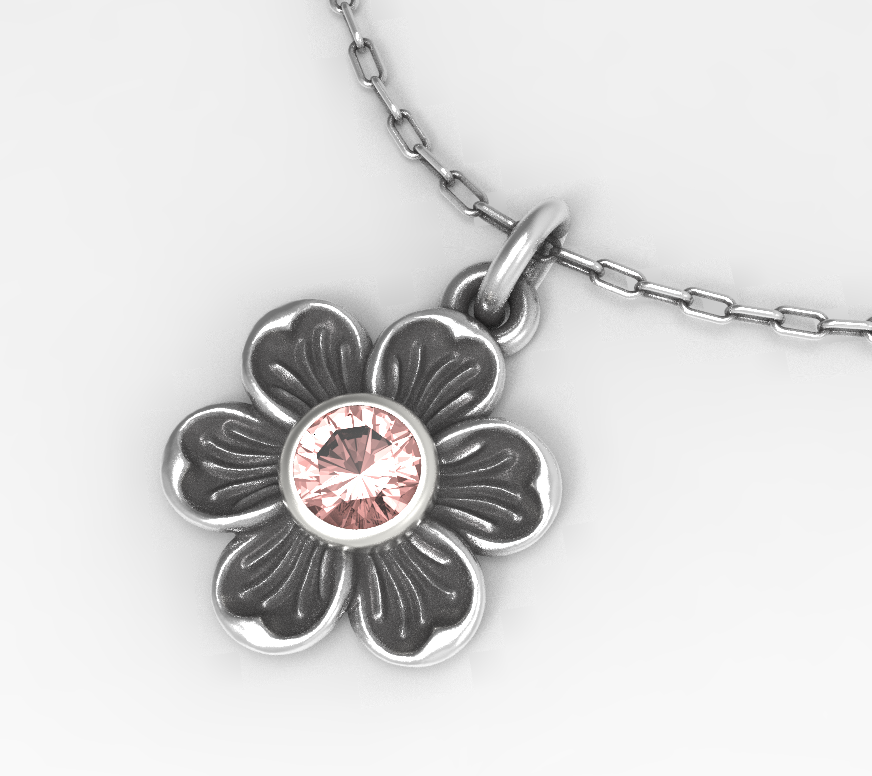
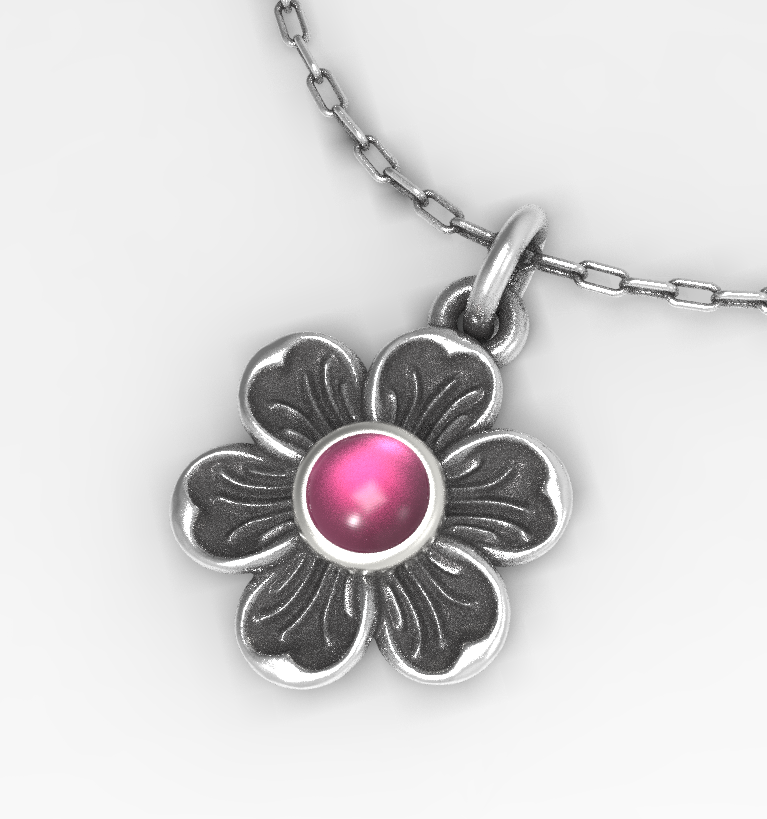
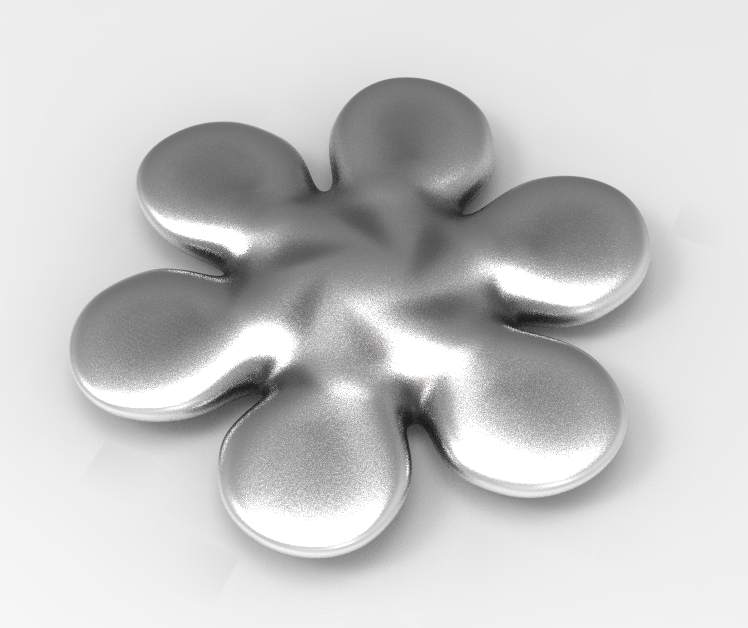
And it’s super late…like 2:47 a.m. on a Saturday, but I couldn’t stop rendering things…anything I could get my hands on. So I thought you might enjoy seeing the process of making a flower charm. It will be in my upcoming ZBrush course.
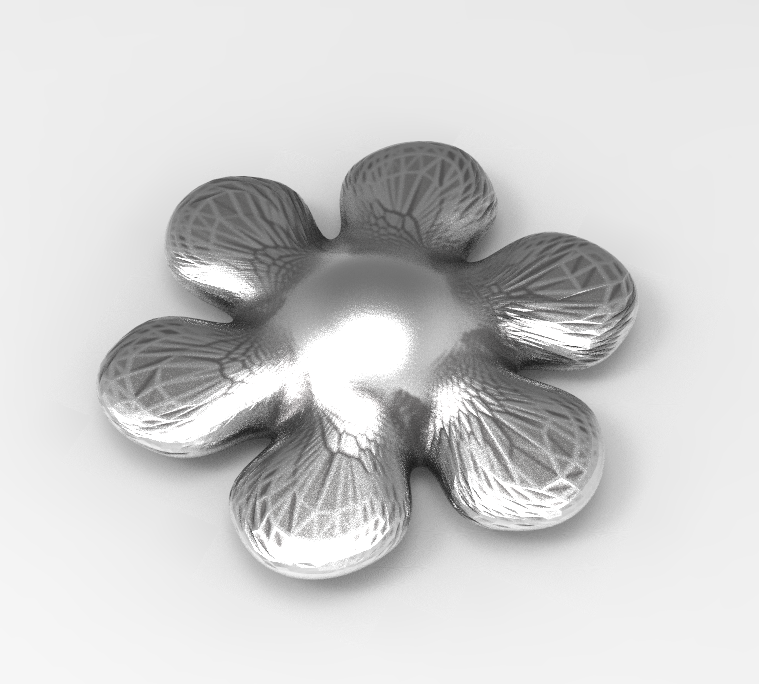
Anyway, I’m signing off. Time to actually go to bed.
another huichol test video

So I just ran a test last night on creating a Huichol beading tutorial using my iPad Pro with Apple Pencil, Adobe’s Illustrator Draw program to create the bead grid, Recolor, a coloring app, to color the beads, and AutoCAD Sketchbook to animate the thread path. It shows promise!

I don’t thing the text with the bead colors is necessary, but I’m looking for a way to incorporate the colors into the video. Perhaps having a “sliver” of the pattern at the bottom while showing the thread path at the top.

I’ve always wanted to know how to do the leaves that are commonly used in Huichol bracelets and those amazing necklaces…now to show that to others! Stay tuned…

ZBrush illustrations and beading tutorials...

Today a thought passed through my mind…since the majority of visitors to my site are looking for Huichol beading tutorials, is there an easier way to create them?

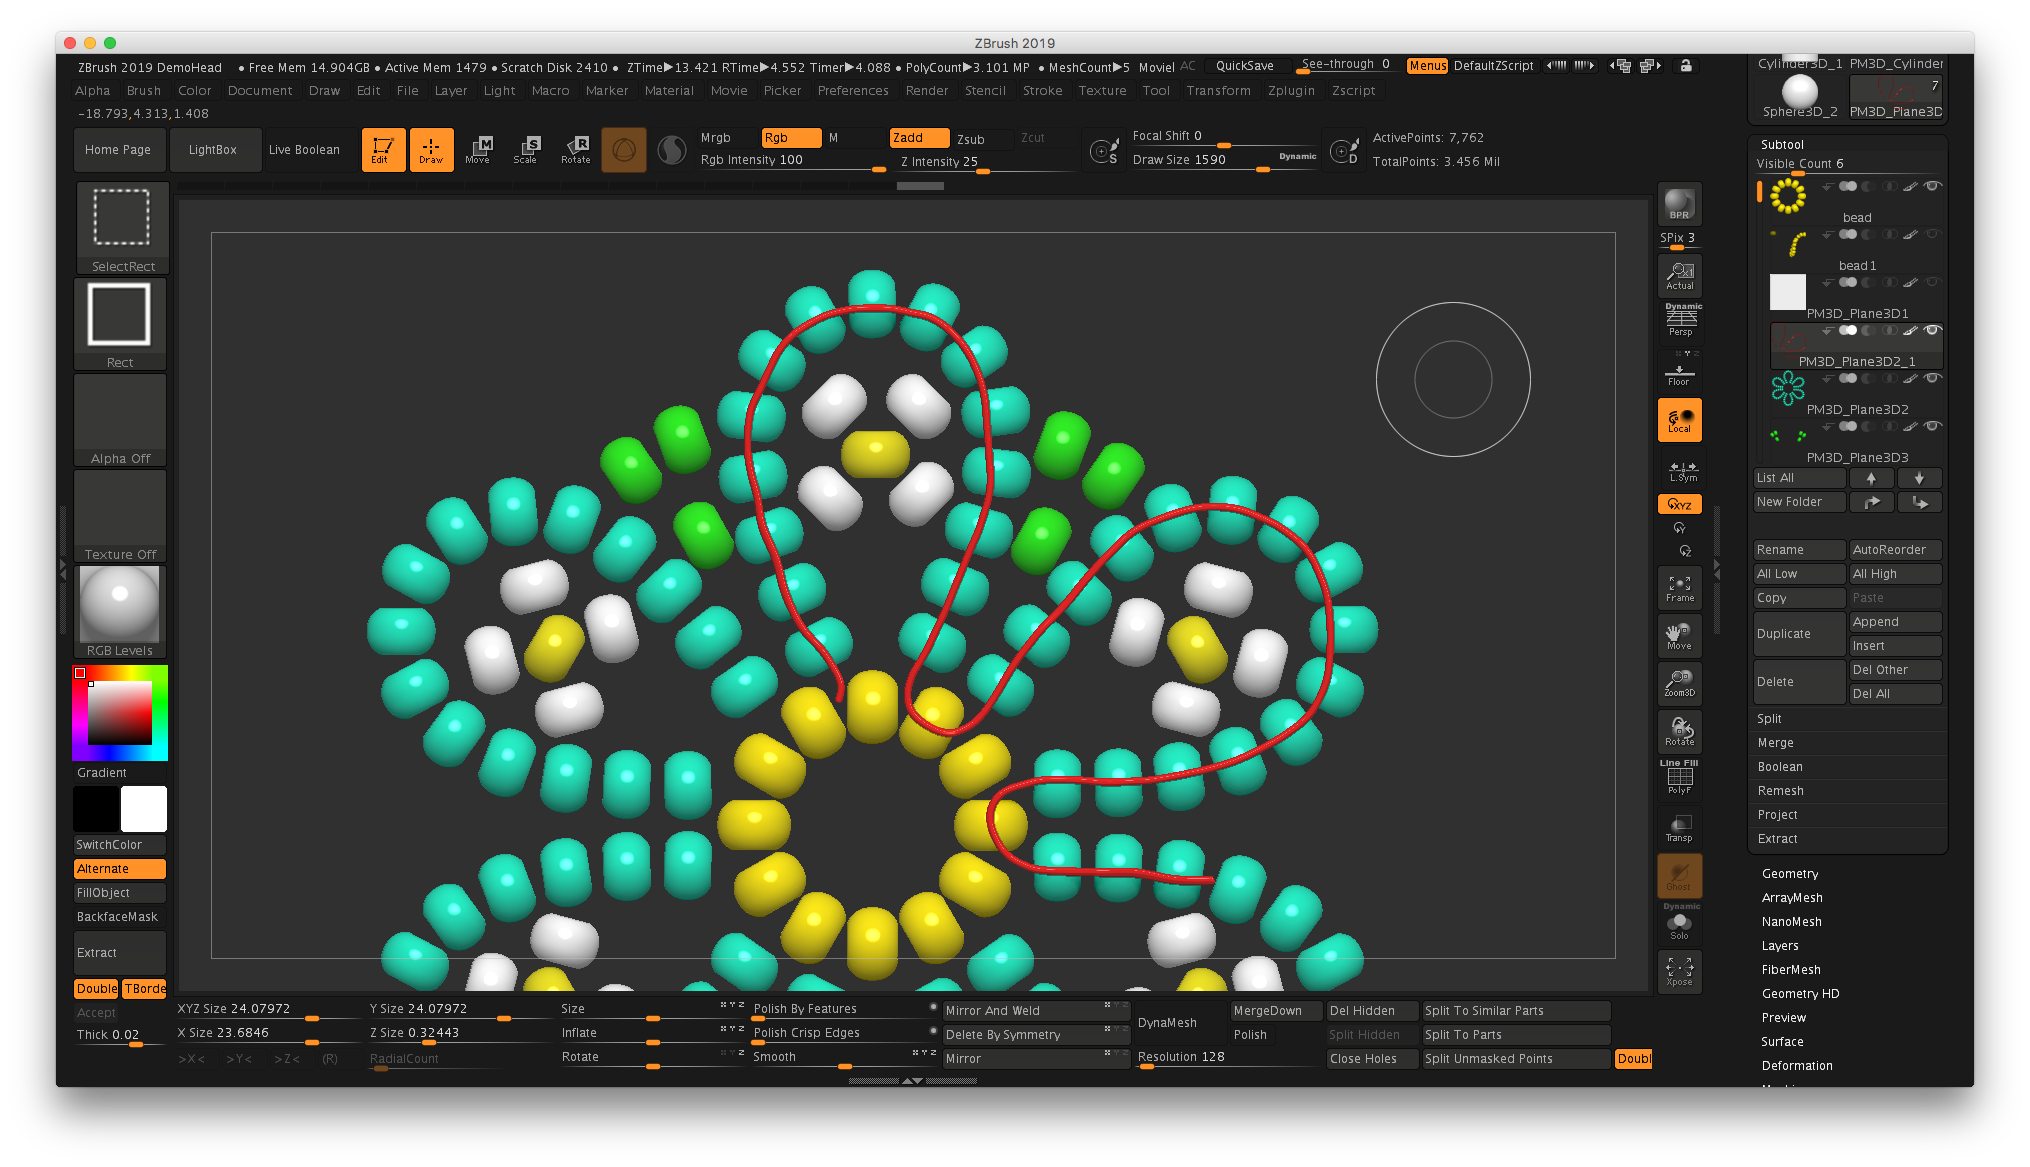
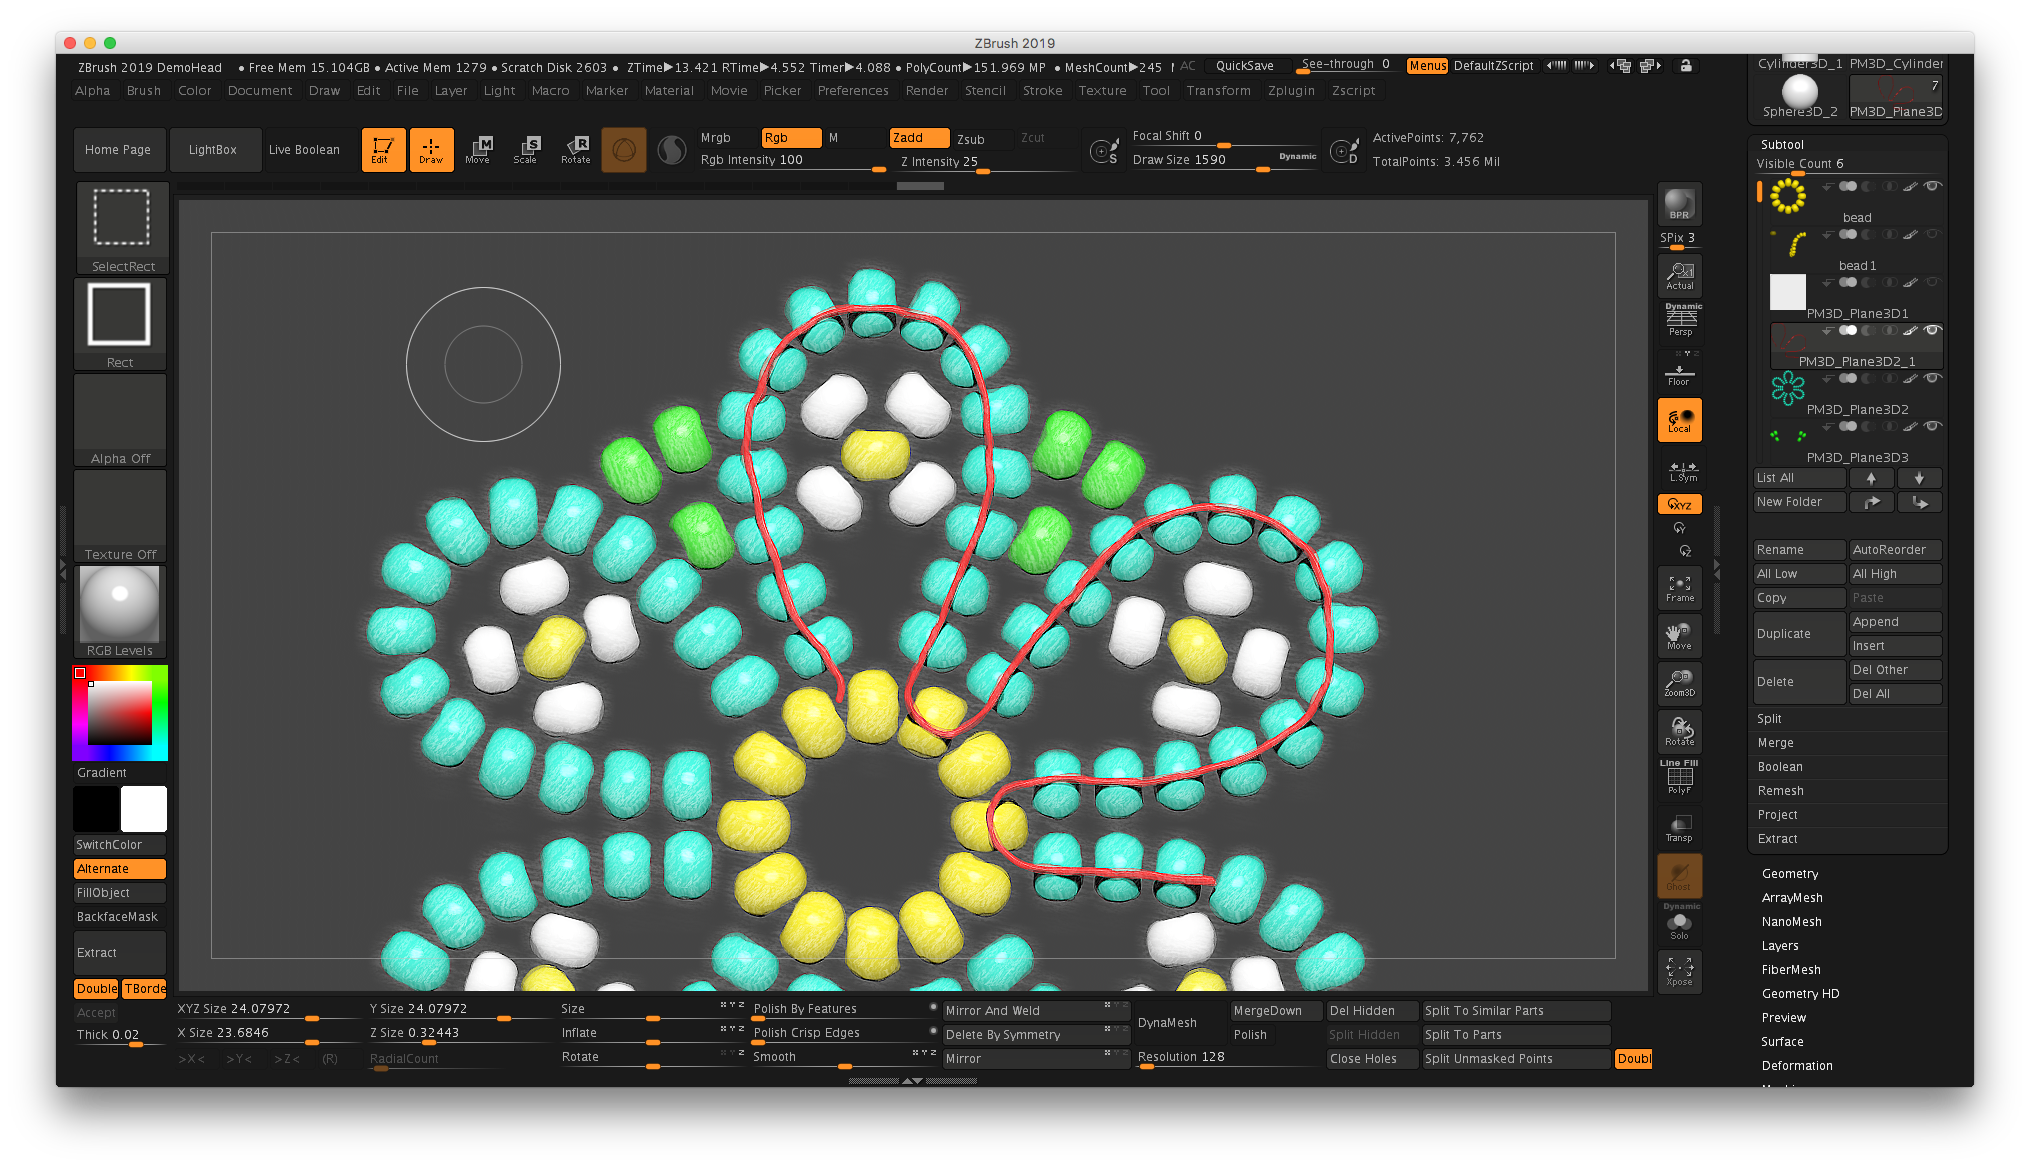
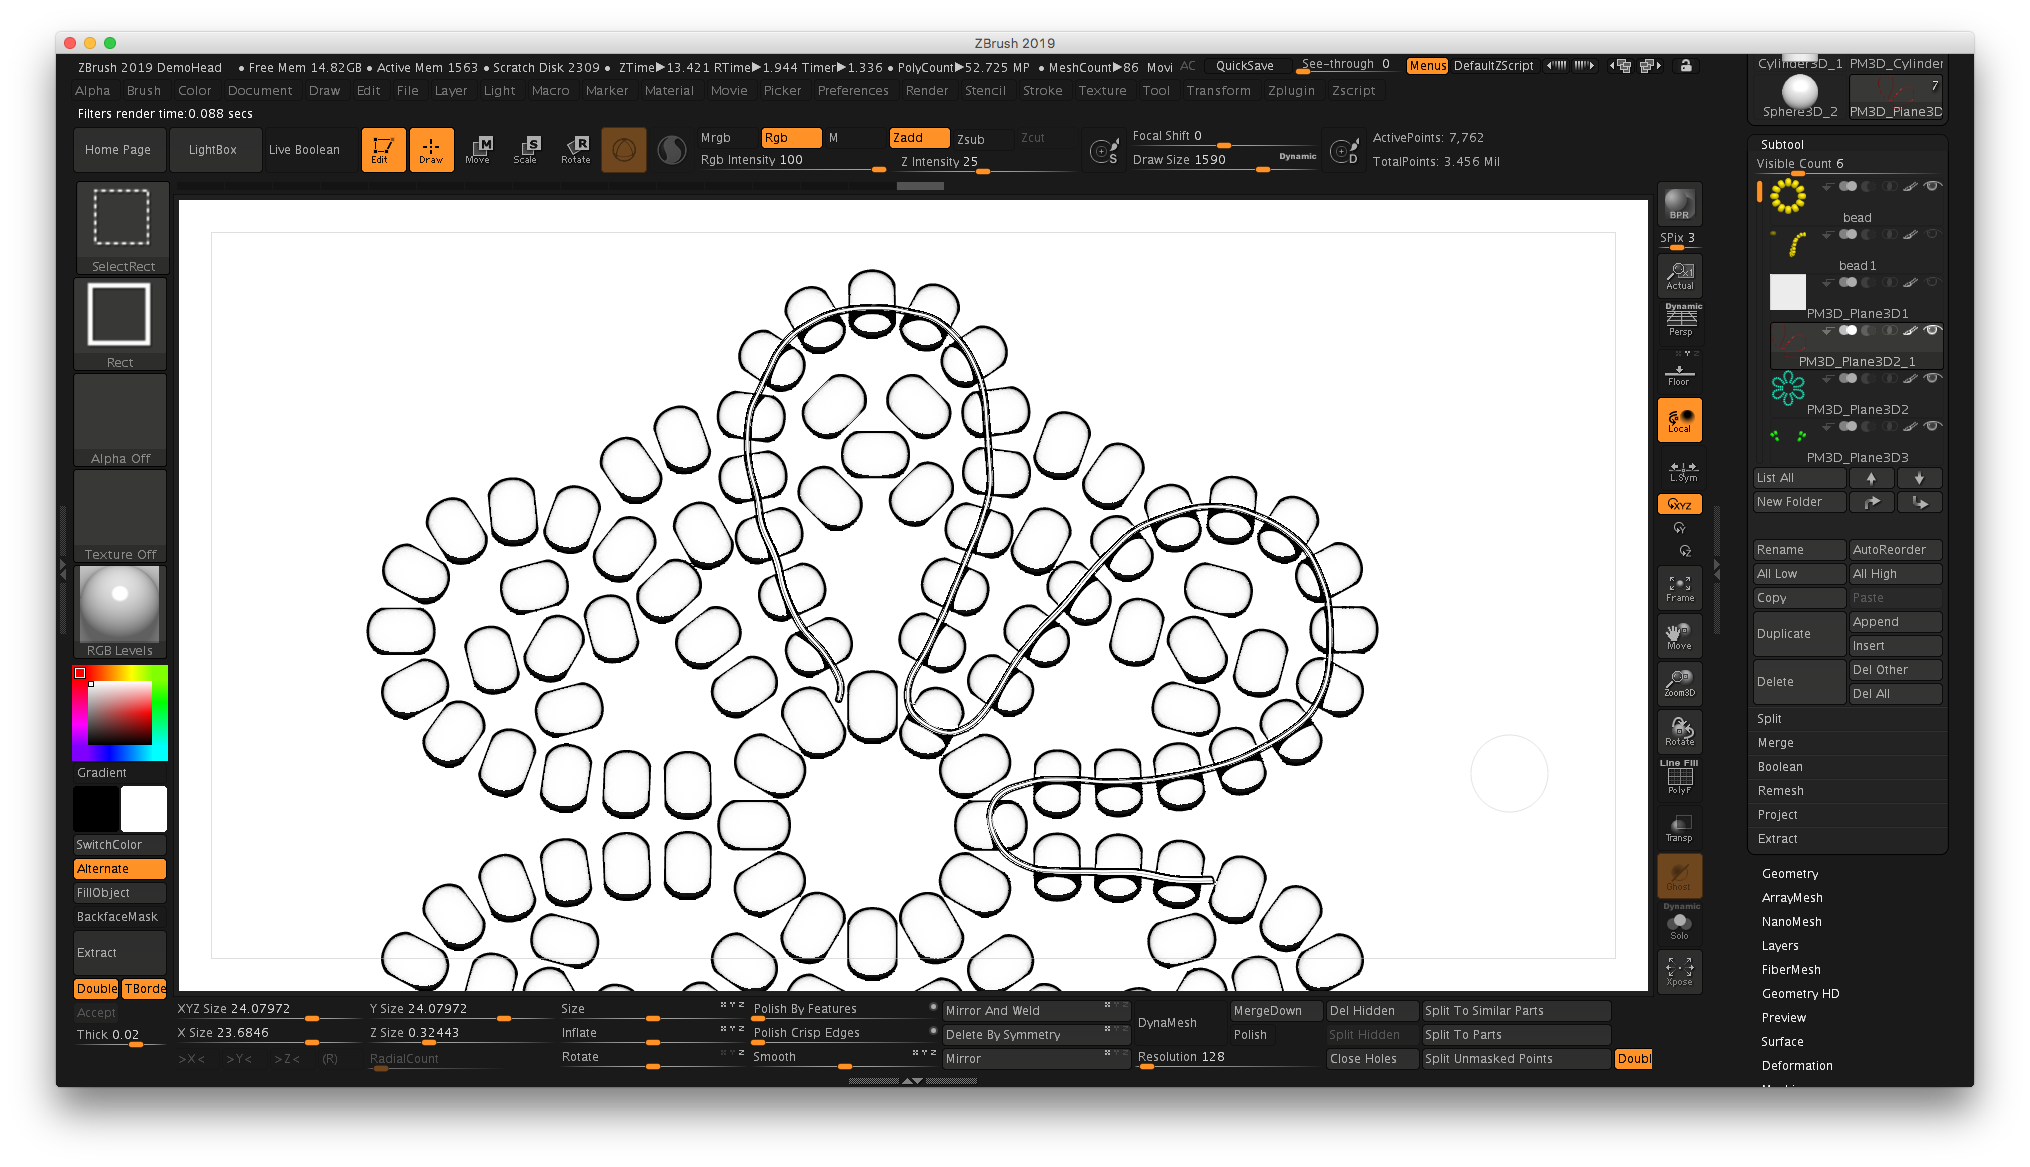
Last night I was playing around with a new feature in ZBrush 2019, the software I use for jewelry design (mostly cast pieces), and realized that I could apply the new “NPR (non-photorealistic) Filters” to the 3D renderings that make them look hand-drawn! What if I created my beading tutorials in ZBrush, then rendered the images, or even put little movies on my site that allowed people to see beading diagrams more clearly?

Voila! I did a quick model this morning, and sure enough, it works.


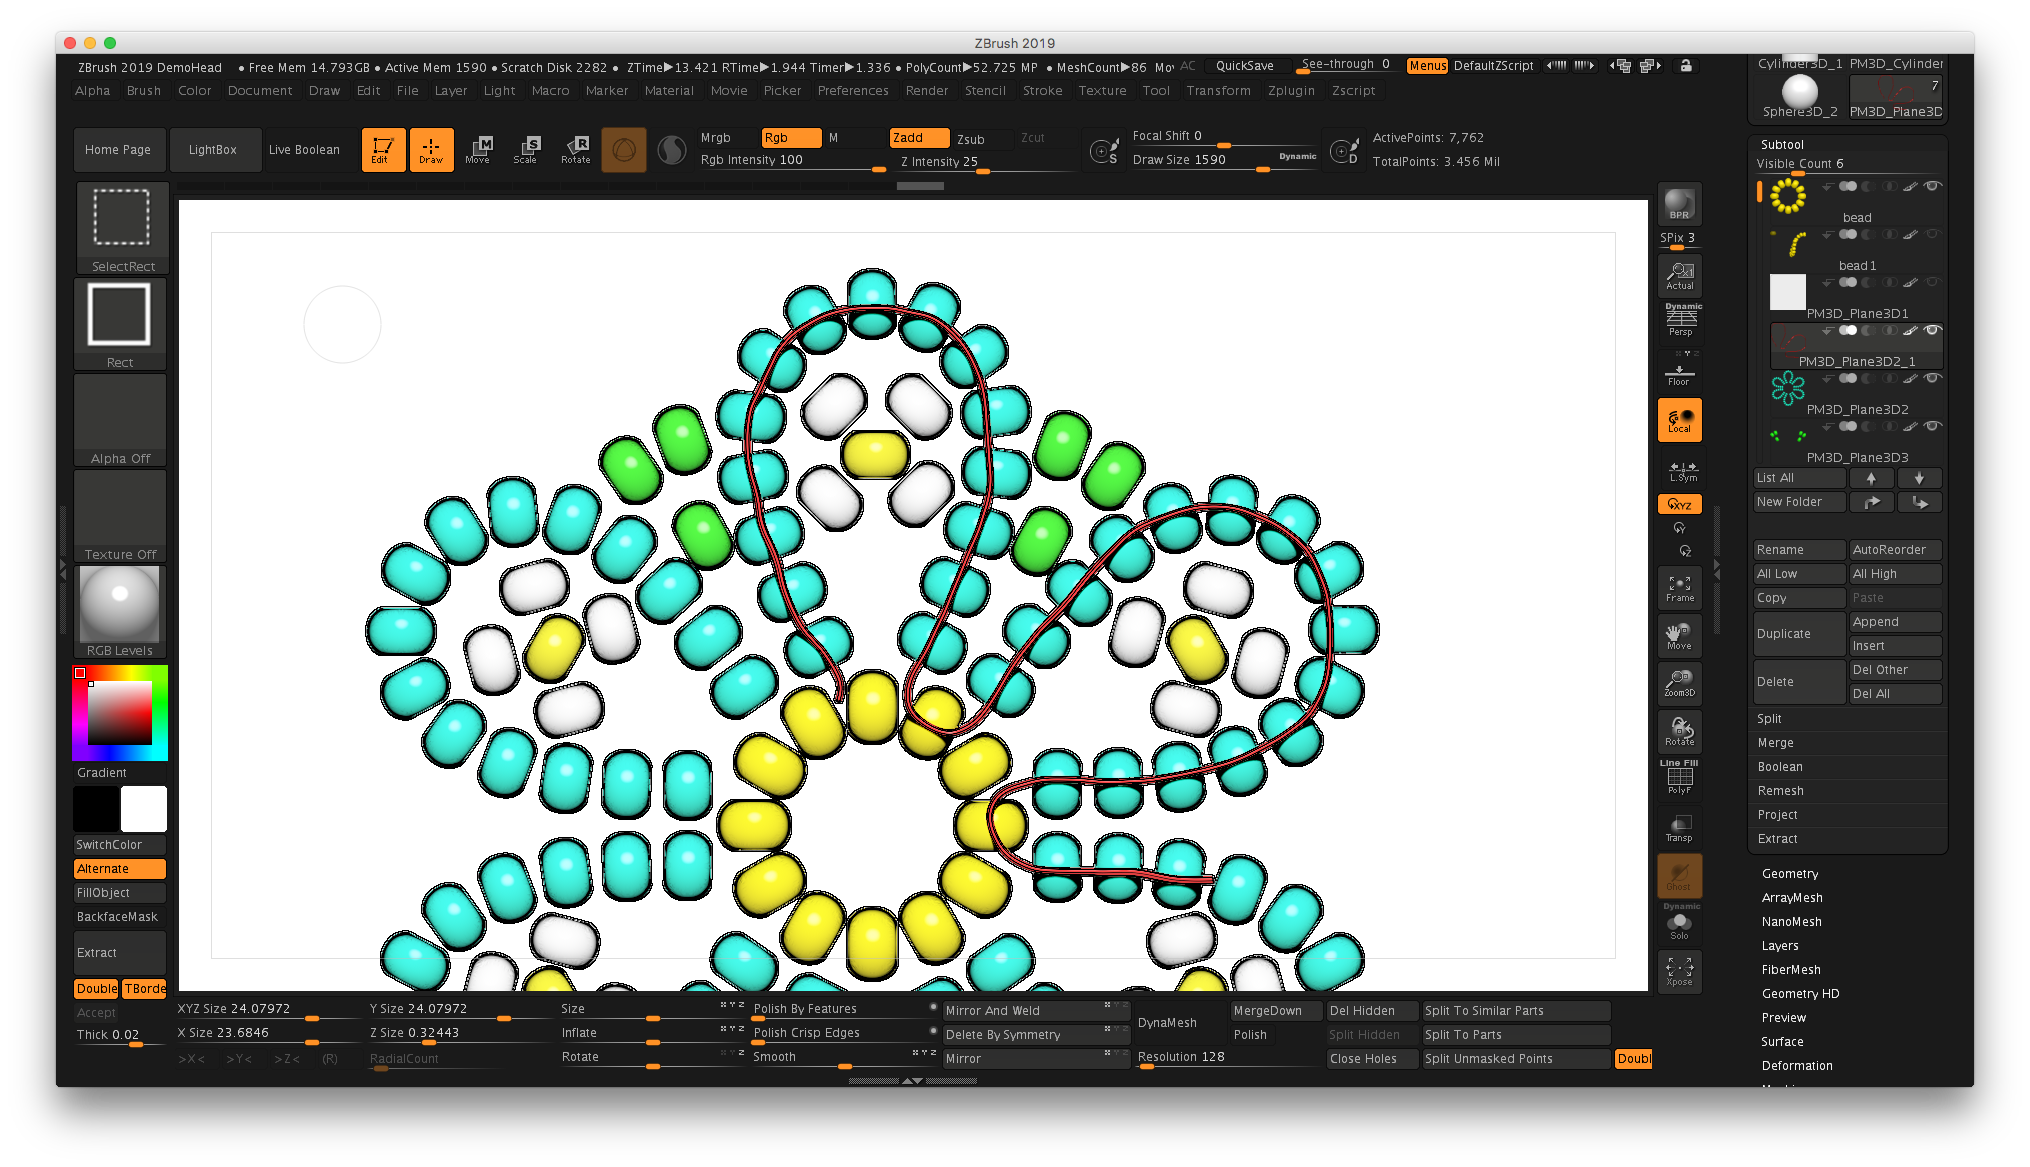
The cool thing is it can also produce a black and white drawing that could be printed so folks could color their own designs, either in a tap-to-color coloring book program on the iPad such as Recolor, or with traditional markers or colored pencils.

Anyway, this should make documentation a LOT easier. Stay tuned!

the rubber chicken pendant

I haven’t blogged in awhile because I’ve been remodeling my parents’ house. But while preparing a portfolio piece for a jewelry company, I made a series of sheets that show the design process of some of my more recent work.

Click to download the PDF of this file.

Click to download the PDF of this file.

So how did I make this little guy? I started with a DynaMesh Sphere from the Lightbox, then turned off Perspective. I used the Gizmo 3D in the Move mode to stretch the sphere into an egg shape.

Switch to the Draw mode. Using a mask where the neck should go (Cmd on Mac, Ctrl on PC), I reversed the mask (Cmd/Mac, Ctrl/PC and click on background) and used the Gizmo 3D “ball” in the Move mode to pull the neck out. Since your primitive is already a DynaMesh, after each major change, re-DynaMesh to refresh the mesh. If you want to see what’s happening, on the right side of the main canvas look for the PolyF button with a grid on it.

Using the same method, turn on Symmetry under the Transform menu, then you can mask off both legs at once in the Draw mode, then switch to the Move mode and use the Gizmo to pull the legs down.

Try using the Snakehook tool to pull out things like the toes on the feet…play around with the size. The shortcut for Snakehook is B-S-H on your keyboard.

Switch to the Clay Buildup tool for sculpting details…a good tip is to turn your intensity down to 5 so it doesn’t apply much material, which is easier to smooth with the shift key. The keyboard shortcut for Clay Building is B-C-B.

The arms were masked off, mask reversed, then pulled out to each side. Try using symmetry to do this, but you will need to move the Gizmo to the general vicinity of one of the arms…when you pull out to the side, it will “raise” both arms at once. To move the Gizmo, hold down Option/Mac or Alt/PC and drag the Gizmo over the masked area for one of the arms, release the key, then use your mouse to pull the horizontal arrow away from the body. Clear the mask and fine-tune with sculpting. To re-center, click on the third icon above the Gizmo to find unmasked center.

Another trick? After masking, you can hold down the Cmd/Mac or Ctrl/PC and click ON the model to soften/blur the edge of the mask. This will provide nice, rounded arms.

And finally, the t-shirt was applied to the chicken using a mask and the Mask Pen. Try switching the stroke to Lasso if you’d like. Sharpen the mask by clicking on the model while holding Cmd-Option/Mac or Ctrl-Alt/PC. Then use the Extract command from bottom of the SubTool palette.

I’ll do a tutorial on this one soon, but hopefully this will get you started!

MoI — moment of inspiration CAD software

types of CAD modeling

After taking an online course on jewelry in ZBrush, I was a little frustrated that the instructor was going back and forth between ZBrush ($795) and another piece of "parametric CAD" software that was more expensive. I had a few early attempts to stretch SketchUp's capabilities to make basic forms for ZBrush that worked okay, but since then I've learned more about ZBrush's ZModeler functionality for hard surface modeling.

Simple flower made in virtual "clay" in ZBrush

So you say, "Kat, you're using that crazy terminology again, and I have no idea what you're talking about." Let me explain.

ZBrush gives you the ability for more freeform modeling. Imagine sculpting with a ball of clay in real life...you can push and pull the material into organic shapes, creating a model in a very realistic way but in a new medium. The flower shown here is a very basic example of this type of freeform modeling in ZBrush. However, the flower was originally created in ZModeler as a hard-surface model, then sculptural details added with other more freeform brushes.

The ZModeler mode in ZBrush is great for creating hard-surface models...this would be like modeling a starfighter...you might start with basic shape and push and pull surfaces to make something more mechanical looking. Here's a fascinating time-lapse video of "Alex O" modeling a war helmet in ZBrush with ZModeler. In jewelry design, I might use the ZModeler functionality to create a square frame for a pendant, then an inner medallion, then switch over to soft sculpting to create the design. When creating a base for 3D printing, I also use the ZModeler functionality. Here's another great video from Alex O that shows him using ZModeler to make a geometric ring.

However, something like SketchUp (SketchUp Make, FREE download) is a little more rigid. I can create a box, then push and pull geometric shapes. But if I were making a box that I wanted to be exactly 20 cm, I have a precision built in to the program that can make that happen. That is a characteristic of a "parametric" 3D modeling program. That makes SketchUp...like AutoCAD, Fusion360 (cloud-based, FREE for hobbyists), Solidworks, and similar software...perfect for creating technical drawings and product designs. For example, I used SketchUp to design my jewelry workbench.

moment of inspiration (MoI)

I had some issues with creating printable models in SketchUp, so I started looking around for another "technical" drawing solution that wouldn't break the bank. Enter Moment of Inspiration, also known as MoI. MoI is $295, works on both Mac and PC, and has a 30-day trial.

At first I was a little skeptical. The interface was pretty basic, and definitely wasn't written to take advantage of the Mac interface I'm using. But then again, neither is ZBrush. After a couple of YouTube videos I was up and running, and I was able to figure out the rest on my own. 

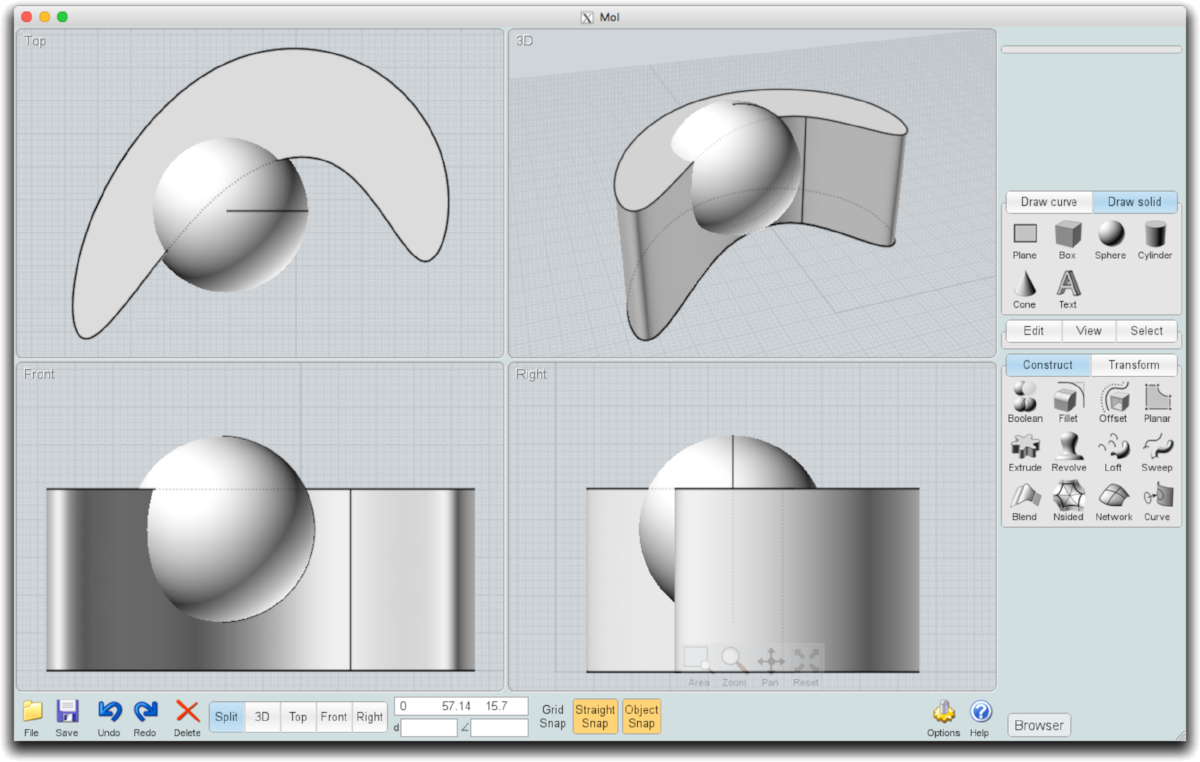
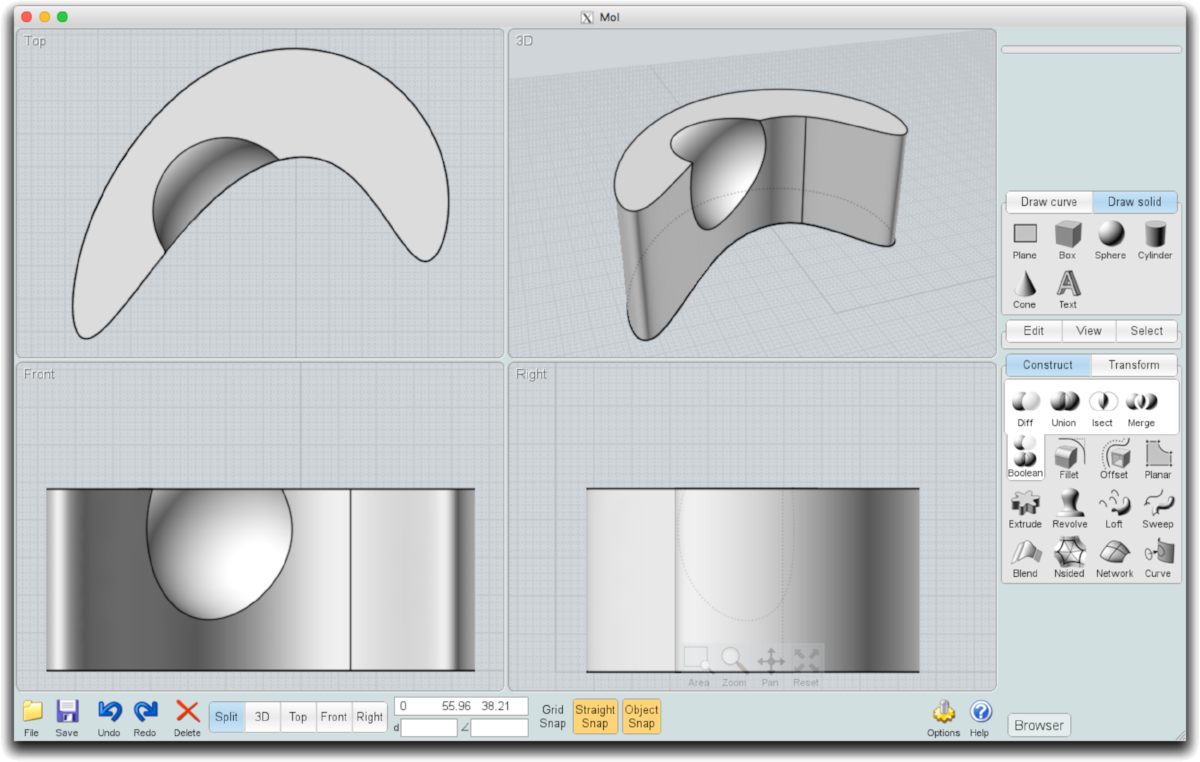
So what is MoI good for? Probably almost any kind of technical modeling you might want to do except freeform "clay" type modeling. You could take a freeform "extruded" shape and "subtract" a sphere from it. Combining different "primitive" shapes, such as cubes, cylinders, and spheres, you can make pretty complex models that export well. Turning on a "grid snap" or "object snap" helps line things up. Then you can export these items easily, bringing them into the PreForm or other "slicing" software that prepares the file for 3D printing.

Some rubber mold frames made in MoI

I jokingly say that the second phase of having access to a 3D printer is when you start making your own tools. I purchased some frames for making rubber molds from Rio Grande, but they were too wide to fit in a nifty little spring clamp that holds the split mold together while filling with hot wax. Additionally, trying to estimate the amount of two-part "RTV" (room temperature vulcanizing) mold material usually resulted in wasted material...and at $56 a container, it's too expensive to do that! So my "improved" version has markings on the side to indicate centimeters, and a handy spreadsheet calculates the exact volume and weight of RTV needed. Remember the ability to measure in a parametric modeling program? Because MoI works that way, my one centimeter marks are accurate when printed. In ZBrush, that would be more difficult.

And because I'm a dork, I added www.katkramer.com and my logo to the side...and it was backwards, so when the rubber mold is made, my website address doesn't read correctly. Oh well, there's always version 2.

So in a nutshell, MoI is a nice little program, and the models created are accurate in size. It is a nice alternative to more expensive programs for making basic models to bring into ZBrush.